





The Philosophy: Painting vs. Sculpting
A beginner often approaches contouring like painting by numbers, drawing dark lines where a tutorial tells them to. The result can be harsh, obvious stripes that don't blend with their features. A professional, however, thinks like a sculptor. They understand
that contour isn't about adding color; it's about creating the illusion of shadow. The goal is to gently recede certain areas to enhance the face's natural bone structure, not to draw on new cheekbones. This shift in mindset from painting to sculpting is the foundation of a sophisticated contour. Pros know that foundation creates a flat canvas, and contouring is about strategically adding back dimension in a way that looks completely natural.
The Placement: Why Higher is Better
One of the most common beginner mistakes on a round face is placing the contour too low. When you suck in your cheeks, a hollow forms. Many tutorials advise placing the contour there, but for a round face, this can drag the features down and inadvertently make the face appear wider. A pro knows the secret is to apply the contour higher, almost on top of the cheekbone, blending upward and outward toward the ear. This technique creates a lifting effect that elongates the face rather than widening it. Pros also contour the temples and jawline; shading the temples draws the eye upward, while defining just under the jawbone creates a sharper, more defined look from the side.
The Product: Choosing the Right Shadow
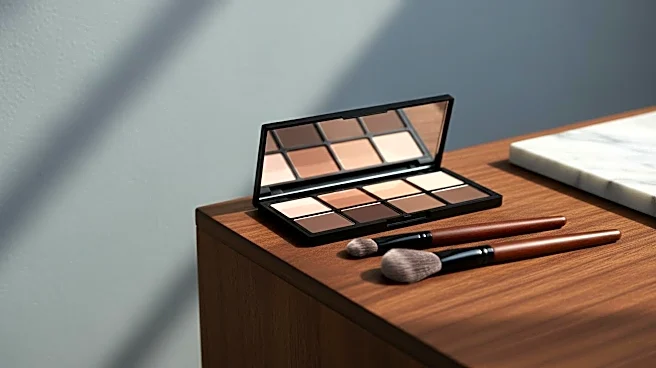
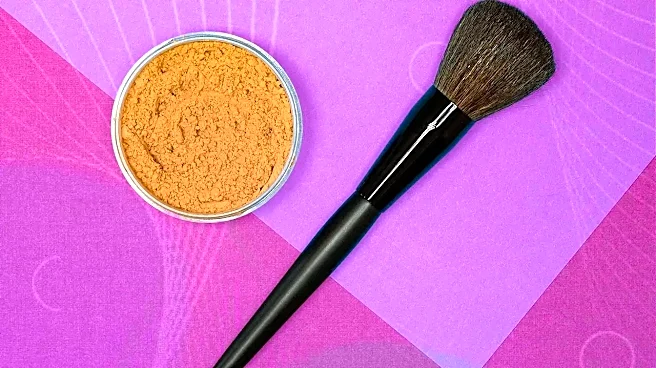
Beginners often grab the first bronzer they see. The problem? Most bronzers have warm, orange, or reddish undertones designed to mimic a tan. When used for contouring, these warm shades can look unnatural or muddy on the skin. Professionals are meticulous about their shade selection. They opt for contour products that are one to two shades deeper than the natural skin tone and, most importantly, have a cool or neutral undertone. These cooler, grayish-brown tones are much better at mimicking a real shadow. Whether it's a cream or a powder is a matter of preference and skin type, but the cool tone is non-negotiable for a believable sculpt.
The Blending: From Muddy to Seamless
A tell-tale sign of a beginner's contour is a harsh, unblended line. Blending is arguably the most crucial step, yet it's often rushed. A pro understands that the goal is a seamless gradient with no obvious start or end point. For round faces, the direction of blending is critical. Instead of just rubbing the product back and forth, pros use a damp beauty sponge or a dense brush to stipple and blend the contour in upward motions. This diffuses the product without moving it from its strategic placement, softening the edges while maintaining the lifting effect. Rushing this step or using the wrong tools can lead to a patchy, streaky finish that breaks the illusion of a natural shadow.
The Final Dimension: Highlight and Blush
Contouring doesn't exist in a vacuum. Beginners might stop after applying their contour, but pros know that highlighting and blush are essential partners in creating dimension. For a round face, highlighting is used to create vertical lines that elongate the face. A pro will apply a highlighter (one to two shades lighter than the skin tone) down the center of the forehead, the bridge of the nose, and the chin. This draws the eye up and down. A common beginner error is to highlight the apples of the cheeks, which can emphasize roundness. Pros apply blush just above the contour but below the highlight on the cheekbone, blending the three products together for a harmonious, lifted, and balanced finish.