



Step 1: The 'Goldilocks' Prep
Success starts long before you wrap a single strand. The number one mistake is starting with hair that’s too wet or completely dry. Hair that's soaking wet won't dry overnight inside a curling rod, leaving you with damp, undefined waves. You're aiming
for the "Goldilocks" zone: about 80-90% dry, where the hair feels cool to the touch but not actively wet. Start with clean, detangled hair. Applying a product for hold is crucial, especially for fine or straight hair. A lightweight volumizing mousse or a curl-enhancing cream applied from mid-lengths to ends provides the necessary "grip" for the hair to hold its new shape. For extra texture, a light mist of sea salt spray can also work wonders.
Step 2: Choose Your Curling Tool
Not all heatless curlers are created equal, and the best one depends on your hair and desired result. The most popular option is a satin or silk curling ribbon, which looks like a long, soft tube. These are great for creating uniform, bouncy curls and are generally comfortable to sleep in. The material is key; silk and satin reduce friction, which means less frizz. If you don't have a dedicated tool, a simple bathrobe belt works on the same principle, though it may be less comfortable. For tighter, more defined curls, flexible rods (flexi-rods) are a great choice. For looser, beachy waves, simply braiding your hair can be effective. The size of the tool matters: a thicker rod will give you looser, larger waves, while a thinner one creates tighter curls.
Step 3: Master the Wrapping Technique
How you wrap your hair is the most critical step. First, create a clean part where you intend to wear it. Place your curling ribbon over your head like a headband, using a claw clip to hold it in place at the top. Start with a small section of hair at the front. The smaller the section, the more defined the curl. Wrap that section away from your face, pulling it taut but not uncomfortably tight. After the first wrap, pick up a new section of hair and add it to the first before wrapping again. Continue this process, adding more hair with each loop, making sure to wrap the hair flat against the ribbon rather than twisting it like a rope. Consistent, even tension is key to avoiding messy or uneven results. Once you reach the end, secure it with a soft scrunchie to prevent kinks.
Step 4: Let It Set and Protect
Patience is a virtue, especially with heatless curls. Your hair must be 100% dry before you even think about unwrapping it. For most people, this means leaving the curler in for at least six to eight hours, making it a perfect overnight style. To protect your work while you sleep, securing the style is non-negotiable. After wrapping both sides, you can twist the rods and tie them together at the back of your head. For maximum frizz prevention, wrap your head in a silk or satin bonnet or scarf. This simple step minimizes friction against your pillow, keeping the wraps smooth and secure all night long.
Step 5: The Grand Unveiling
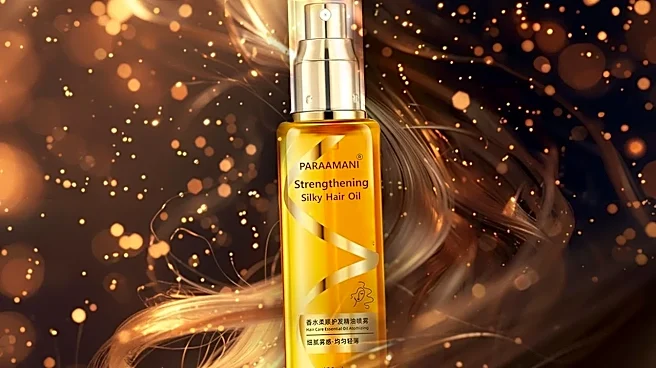
In the morning, after your hair is completely dry, it's time for the reveal. Gently remove the scrunchies and carefully unwind the hair from the ribbon. Don't rush this part; you don't want to snag or pull the fresh curls. Once the curler is out, resist the urge to immediately brush them. Brushing can pull out the curl pattern you just created. Instead, gently shake your head and use your fingers to separate the curls. Let the curls settle for a few minutes before styling further. To lock in your style and fight humidity, apply a light mist of a flexible-hold hairspray. For extra shine, you can apply a small amount of a lightweight hair oil or glossing spray to the ends.