




Start With a Gripping Primer
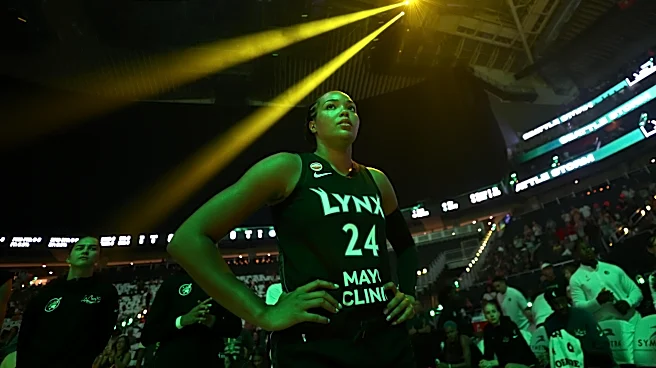
Under hot stage lights, sweat is inevitable. A primer is non-negotiable for creating a barrier between your skin and makeup. Opt for an oil-free, blurring, or long-wear formula over a dewy one. This gives your foundation something to cling to, ensuring
your look stays put through encores and overtime, while also preventing foundation from clogging pores.
Go One to Two Shades Darker on Foundation
What looks perfect in your bathroom mirror will likely appear ghostly under bright, cool-toned stage lights. The intense lighting washes out color, so performers and makeup artists consistently recommend choosing a foundation that is one to two shades darker or warmer than your natural skin tone. This simple adjustment prevents you from looking pale or unwell from the audience's perspective.
Choose a Matte, Not Dewy, Base
While a dewy glow is great for everyday life, on stage it translates to unflattering shine. The combination of sweat and powerful lights can make a dewy foundation look excessively greasy. A matte or satin-finish foundation is your best bet to control shine and maintain a polished appearance throughout a performance. This provides a smooth canvas without adding unwanted reflections.
Sculpt with Strategic Contour
Arena lighting is famously flattening, essentially erasing the natural shadows of your face. Contouring is the solution to bring that dimension back. Use a matte shade darker than your foundation to define the hollows of your cheeks, jawline, and the sides of your nose. This creates the illusion of shadow and structure that would otherwise be lost.
Use Shimmer to Highlight, Not for an All-Over Glow
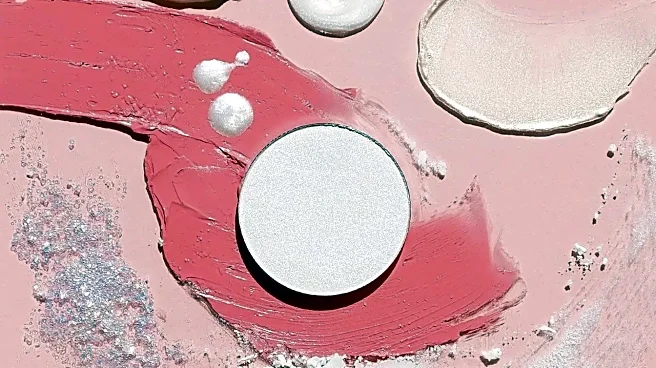
Highlighting is crucial for catching the light, but placement is everything. Under harsh lights, an all-over shimmer can look like sweat. Instead, use a frosty or shimmery powder strategically on the high points you want to bring forward, like the tops of your cheekbones, the bridge of your nose, and just above your cupid's bow. This helps attract and refract light, adding dimension back to the face.
Go Bolder With Your Blush
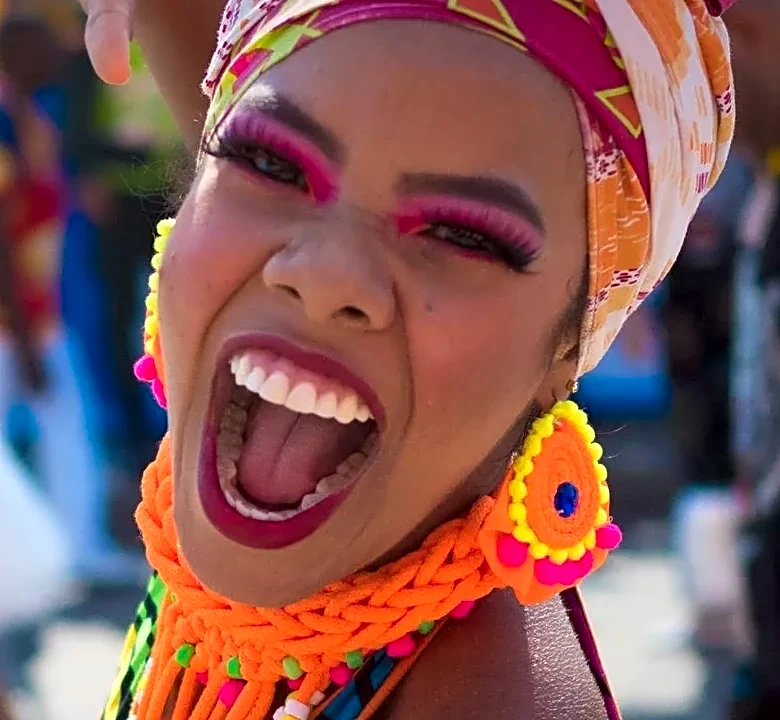
Color is one of the first things to disappear under stage lights, and blush is what gives your face life and vibrancy. You'll need to apply it more heavily than you think is necessary; what looks almost clown-like in person will appear as a healthy, natural flush from the cheap seats. Place it a bit higher on the cheekbones to lift the face.
Define Eyes with Matte Shadows
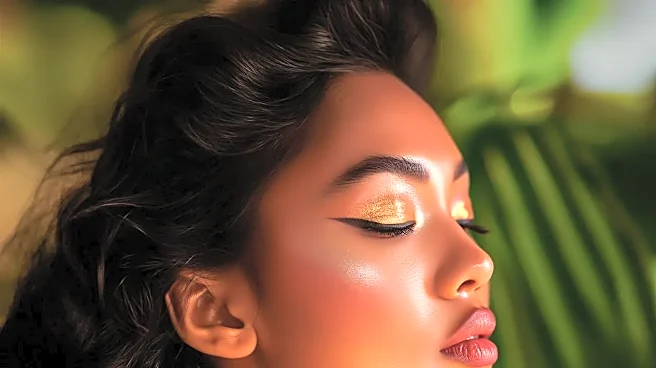
Your eyes are one of your most expressive features, but they can recede and look sunken without proper definition. Use matte eyeshadows to build contrast and shape. Apply a light neutral shade across the lid and under the brow, then use a darker neutral in the crease to create depth. Avoid overly ashy tones, which can look like dark circles under cool lighting.
Use Liquid or Gel Eyeliner for Sharpness
Pencils and crayons can smudge under hot lights and with perspiration. A waterproof liquid or gel eyeliner will provide a crisp, defined line that lasts. To make your eyes appear larger and more expressive from a distance, you can extend the line slightly beyond the outer corner of your eye. This ensures your expressions read clearly, even from the back row.
Embrace False Eyelashes
Mascara alone often isn't enough to make your lashes visible from afar. False eyelashes are a stage performer's best friend, instantly opening up the eyes and adding dramatic definition. If falsies feel too heavy, a lash primer followed by several coats of waterproof black mascara can also help create a bolder look.
Fill in and Darken Your Brows
Just like the rest of your features, eyebrows can get lost in the glare. Use a brow pencil or powder that is a shade or two darker than your natural brow color to fill them in and define their shape. This frames your eyes and ensures your expressions are clearly visible to the entire audience.
Choose a Saturated Lip Color
Nude or pale lip colors will completely vanish under strong lights. Opt for a lip color that is deeper or more saturated than you would normally wear. Line your lips first with a pencil one shade darker than your lipstick to create sharp definition and prevent bleeding. A satin or matte finish is preferable to high-gloss, which can create distracting reflections.
Lock It All In with Powder and Spray
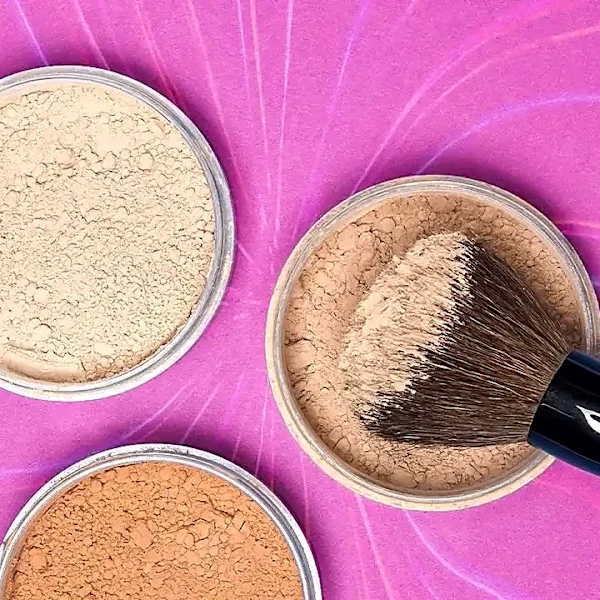
The final step is arguably the most important for longevity. After all your cream and liquid products are applied, set everything with a generous dusting of translucent setting powder, especially in the T-zone. Follow up with a professional setting spray to lock your entire look in place, making it resistant to sweat, heat, and humidity.