

From FOMO to Flow State
The secret to dodging festival FOMO (Fear Of Missing Out) isn't cloning yourself or sprinting between stages; it's a little prep work. Creating a personalized schedule grid transforms your experience from a frantic, reactive scramble into a confident,
intentional journey. This isn’t about rigid planning that kills spontaneity. It’s about creating a framework that liberates you from decision paralysis in the heat of the moment. By front-loading the tough choices, you free up your mental energy to simply enjoy the music, the atmosphere, and the discoveries you make along the way. Think of it as a treasure map where your must-see acts are the landmarks that guide your adventure.
Step 1: Assemble Your Intel
Before you can build your grid, you need the raw materials. First, grab the official festival schedule the moment it drops. Most major festivals now have apps that list set times and stages. Next, create your own tiered priority list. Tier 1 artists are your non-negotiables—the ones you’d regret missing no matter what. Tier 2 are the acts you’d really like to see, and Tier 3 are the “if it works out” artists you’re curious about. Finally, pull up the festival map. Note the locations of the stages, restrooms, food courts, and water stations. Understanding the physical layout is crucial. A 15-minute walk between two main stages can completely derail a seemingly perfect plan.
Step 2: Build the Grid Framework
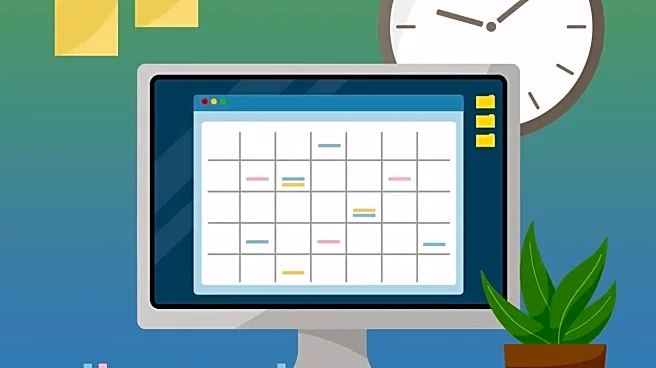
You don't need fancy software; a simple spreadsheet, a note-taking app, or even a large piece of paper and a ruler will do. Create a grid with time slots running down the vertical axis (in 15 or 30-minute increments) and the stage names running across the horizontal axis. This visual layout is the key. It immediately shows you what is happening simultaneously across the entire festival grounds at any given moment. Some dedicated fans even create and share spreadsheet templates online you can adapt. Make sure your time slots extend from the first act of the day to the very last, leaving no gaps.
Step 3: Plot Your Must-Sees First
This is where your plan takes shape. Go through your Tier 1 list and place each of those non-negotiable artists into their corresponding time and stage slots on your grid. This creates the skeleton of your festival experience. These are your anchor points for each day. Seeing them laid out visually will immediately reveal your first and most challenging schedule conflicts. Don’t panic—this is the point of the exercise. Identifying the conflicts now, when you have time to think, is infinitely better than realizing it when you have to make a split-second decision in a massive crowd.
Step 4: Resolve Conflicts and Make the Hard Calls
Your grid will now clearly show two Tier 1 acts playing at the same time. How do you choose? Consider a few tie-breakers. Which artist are you less likely to have a chance to see again? A legacy act on a rare tour or a unique B2B set often takes precedence over a DJ who tours frequently. How is your energy? Maybe you start at the high-energy dance set and then move to the more relaxed indie band for the second half. Splitting sets is a valid strategy. Check the map again. If the conflicting stages are a 20-minute walk apart, splitting might not be realistic. Make the tough call now and commit to it.
Step 5: Layer in Flexibility and Downtime
With your Tier 1 conflicts resolved, start populating the grid with your Tier 2 and Tier 3 artists. These are your flexible options. If you leave a set you aren't enjoying, your grid gives you an immediate menu of other options to check out. Crucially, schedule in more than just music. Block out time for meals, for meeting up with friends at a designated spot, and for aimless wandering. Some of the best festival memories come from discovering a new artist on a smaller stage or simply finding a quiet spot to decompress. A good plan includes room for the unexpected. Your grid is a guide, not a script.