


Choosing Your Palette
Embarking on your African mosaic garden art project begins with carefully selecting the right components to ensure both visual appeal and enduring quality.
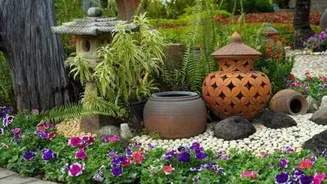
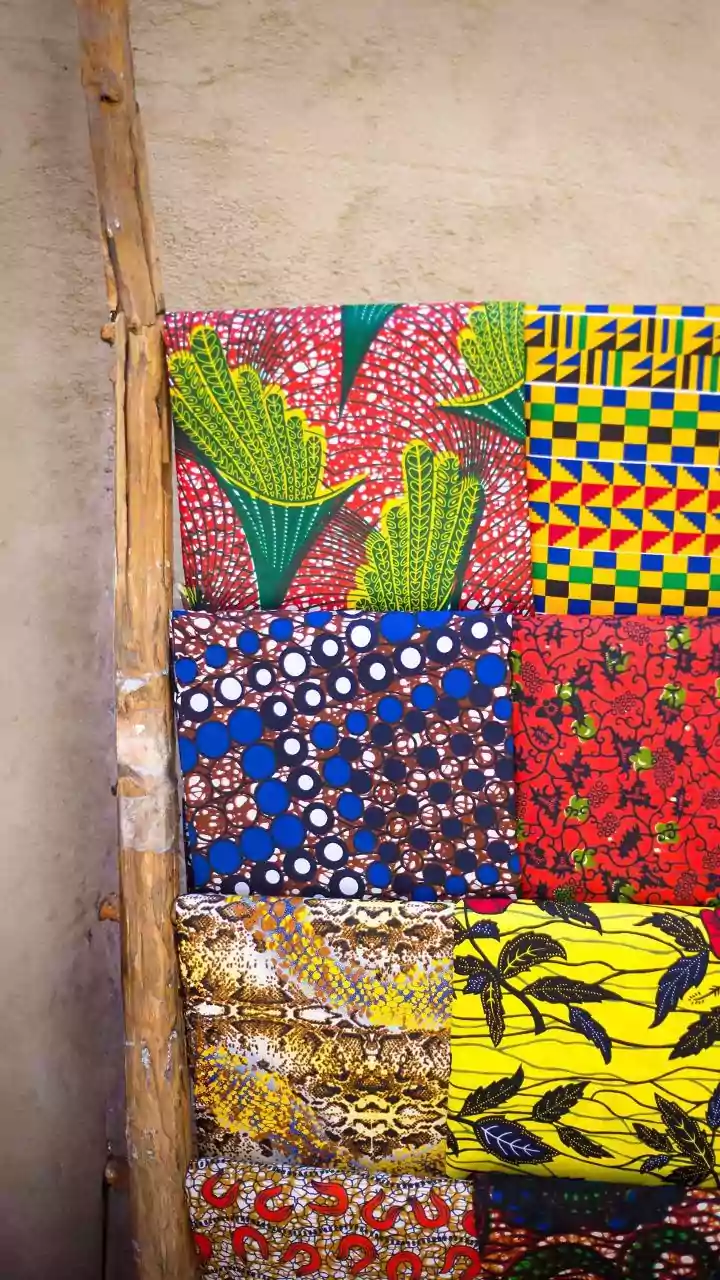
A wide array of broken ceramic pieces forms an excellent foundation, offering diverse colors and tactile textures that can bring your designs to life. Complementing these, fragments of colored glass can introduce a brilliant sheen and reflective qualities, catching the sunlight in captivating ways. It's paramount that whatever materials you choose are inherently resilient to the elements; they must withstand the rigors of outdoor exposure, including varying temperatures, moisture, and UV rays. Gathering an assortment of shapes and dimensions from these materials will allow for greater design flexibility and a richer final composition, preventing a monotonous appearance and encouraging a more dynamic aesthetic. The key is to think about how these different elements will interact with each other and the environment over time, ensuring longevity and sustained beauty for your garden feature.
Crafting Your Vision
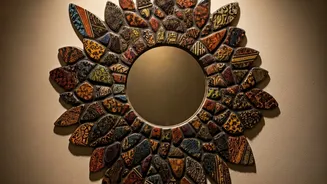
Before you begin the hands-on work, dedicating time to planning your mosaic's design will significantly streamline the creation process and lead to more satisfying results. Drawing inspiration from the rich tapestry of traditional African patterns is a fantastic starting point; these designs often feature striking geometric forms and bold, contrasting colors that translate beautifully into mosaic art. It’s highly recommended to translate your envisioned pattern from imagination onto paper through sketching or directly onto your chosen garden surface using chalk as a guide. This preliminary step allows you to experiment with various arrangements of your mosaic pieces, testing different layouts and color combinations until you achieve an aesthetic that truly resonates with your personal style and complements your garden's existing ambiance. This thoughtful preparation ensures that when you start the assembly, you have a clear roadmap to follow, minimizing guesswork and maximizing creative expression.
Piecing It Together
With your design finalized and materials gathered, the next phase involves the careful assembly of your mosaic artwork. Begin by meticulously arranging the individual pieces according to your pre-planned pattern. As you lay out each fragment, be mindful of leaving consistent, small gaps between them; these spaces are crucial for the subsequent grout application. To firmly affix each piece, employ an adhesive specifically formulated for outdoor use, as standard glues may degrade under environmental stress. Gently but decisively press each ceramic or glass shard into place, ensuring a secure bond without causing any of the pieces to fracture or shift during the installation process. This stage demands patience and precision, as a well-secured foundation is vital for the artwork's structural integrity and its ability to withstand the test of time in your garden setting.
Finishing Touches
The culmination of your mosaic art project involves two critical steps: grouting and sealing, which ensure both the aesthetic completion and the long-term preservation of your creation. Once all the individual pieces are securely adhered and dry, the task of grouting begins. Using a spatula or a similar tool, carefully fill the spaces between the mosaic fragments with grout, ensuring it is evenly distributed and completely fills all gaps. Allow the grout to cure thoroughly according to the manufacturer's instructions; this drying period is essential for its strength. Following the complete drying of the grout, the final, vital step is to apply a high-quality, waterproof sealant across the entire surface of the mosaic. This protective layer acts as a barrier against moisture penetration and environmental damage, safeguarding your beautiful garden art from the adverse effects of rain, sunlight, and fluctuating temperatures, thereby guaranteeing its visual appeal for years to come.