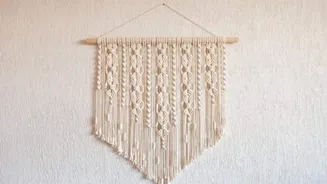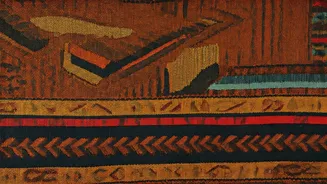


Embrace African Artistry
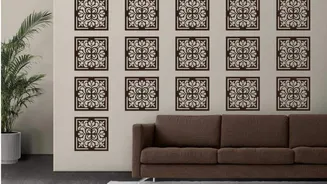
African patterns are celebrated globally for their striking colors and complex, visually arresting designs. Incorporating these motifs into your home decor
can dramatically elevate its aesthetic, turning ordinary walls into captivating focal points. The beauty of using stencils lies in their accessibility and affordability, offering a straightforward method for anyone to infuse their living environment with a unique cultural essence and sophisticated style. It’s an excellent way to personalize your space and add a touch of artistic flair without a hefty expense, making it an appealing project for homeowners looking to express their individuality.
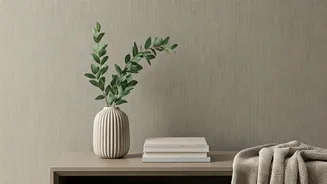
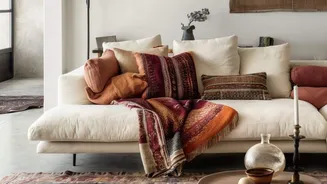
Selecting Your Pattern
The initial step in this decorative endeavor involves thoughtfully choosing a pattern that aligns with your vision for the space. Consider the scale of the wall you intend to adorn and the overall impact you wish to create – whether it’s a subtle accent or a bold statement. Popular choices often include intricate geometric arrangements, traditional tribal symbols, and delicate floral motifs, each offering a distinct personality and the potential to shape the ambiance of a room. A well-chosen pattern can set a specific mood, from energetic and vibrant to calm and serene, so take your time to find one that resonates with you and complements your existing decor.
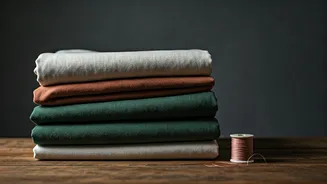
Gathering Your Supplies
To bring your stencil art to life, you'll need a few fundamental crafting supplies. This typically includes stencil sheets, which can be made from plastic or sturdy paper, and a sharp cutting tool like an exacto knife or precise scissors. Painter's tape is essential for securing the stencil to the wall, and of course, you'll need paints in your preferred color palette. These materials are readily available at most art supply stores or can be conveniently purchased online. Ensuring you have all necessary items prepared before you begin will contribute to a smoother, uninterrupted creative process, allowing you to focus on the execution of your design.
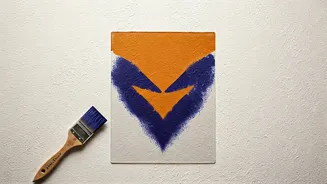
Applying the Paint
Once your stencil is meticulously cut and prepared, the next crucial step is to firmly attach it to the wall using painter's tape. This ensures the stencil remains immobile during the painting process, preventing any unwanted shifting or misalignment. For application, a sponge brush or a small roller is ideal for distributing paint evenly across the stencil's surface. It’s important to avoid overloading your applicator with paint to prevent it from seeping beneath the stencil's edges, which could mar the crispness of your design. A light, consistent application is key to achieving clean lines and a professional finish.
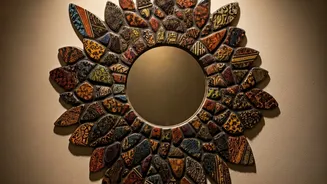
Achieving a Flawless Finish
To ensure your stenciled artwork looks polished and professional, patience is a virtue. Allow each section of applied paint to dry thoroughly before attempting to lift the stencil. This drying time is critical for preventing smudges and maintaining the sharp, defined edges of your pattern. Don't be afraid to get creative with color; consider incorporating multiple hues within a single pattern to add dimension and visual intrigue. If you're new to stenciling, it's highly recommended to practice on a less conspicuous area or a smaller surface first. This allows you to refine your technique and build confidence before tackling your main project.