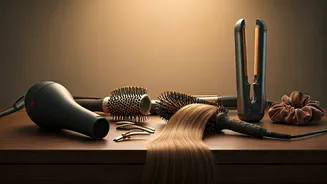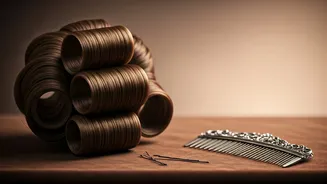

Essential Styling Tools
To achieve those perfect, old-school waves, gathering the right equipment is your first step towards success. A wide-tooth comb will be your best friend
for gently detangling your tresses without causing breakage. You'll also need a collection of sturdy bobby pins that can reliably hold your curls in place throughout the day. Don't forget a good quality setting lotion or mousse; these styling aids are crucial for imparting that desirable hold and a healthy sheen to your finished look. Having these simple yet effective tools readily available will significantly streamline the entire pin curling process, making it a more enjoyable and successful experience.
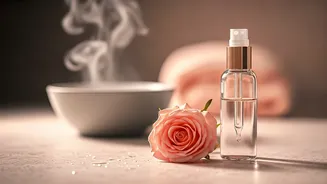
Preparing Your Hair
Before you even think about winding a curl, proper hair preparation is paramount for ensuring your vintage style lasts. Begin with hair that is clean and completely dry. Attempting to curl hair that is dirty or excessively oily can hinder the adherence of styling products, compromising the longevity of your curls. Once your hair is prepped, evenly distribute a setting lotion or mousse from root to tip. This crucial step provides the necessary grip and structure, allowing each individual curl to set and maintain its beautiful shape once styled. This foundation is key to unlocking that coveted, long-lasting hold.
Smart Hair Sectioning
Achieving uniform and symmetrical pin curls hinges on a methodical approach to sectioning your hair. The most effective method involves dividing your entire mane into four distinct sections – typically two at the top of your head and two at the bottom. For ease of styling, clip away the upper sections, allowing you to concentrate solely on the lower portions first. This organized strategy prevents any single section from becoming overwhelming and ensures you can meticulously work through each part of your hair, maintaining focus and achieving consistent results across your entire head.
Creating Beautiful Curls
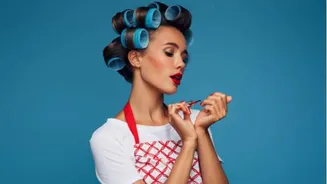
With your hair sectioned and prepped, it's time to start forming the curls themselves. From one of the lower sections, take a small, manageable strand of hair. Carefully wrap this strand around your finger, creating a tight coil that will eventually become your curl. Once the curl is formed, secure it directly against your scalp using a bobby pin. Placing the pin close to the scalp is vital for maximizing volume and ensuring the curl holds its shape. Repeat this meticulous wrapping and pinning process throughout the entire section before moving on to the next part of your head, gradually building your entire vintage hairstyle.
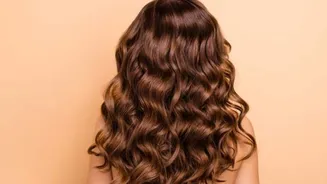
Setting and Releasing
Once every section of your hair has been transformed into a secured pin curl, the crucial setting phase begins. Allow these coiled beauties to rest for a minimum of 30 minutes, or until they feel completely cool to the touch. This waiting period is essential for the curls to set properly. When it's time for release, do so very gently. Carefully remove each bobby pin, taking care not to disturb the formed waves beneath. Patience during this stage ensures that your hard work pays off, revealing the stunning, voluminous vintage waves you've created without needing professional assistance.