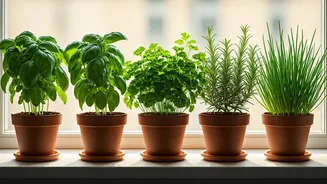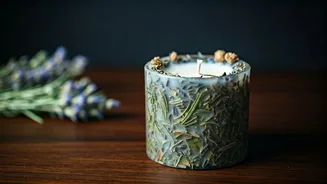


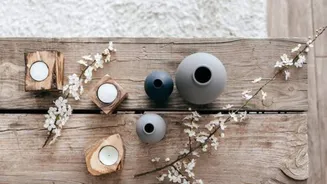
Selecting Aromatic Herbs
The journey to crafting serene candles begins with choosing the perfect herbs, each chosen for its distinct fragrance and therapeutic qualities, often
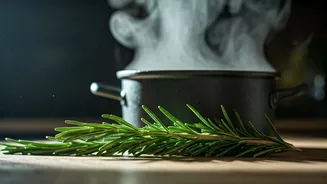
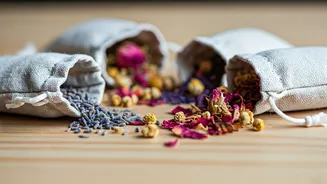
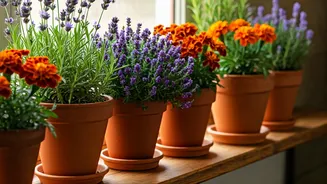
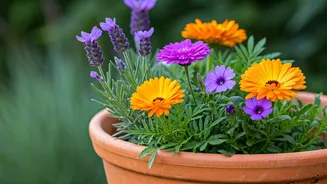
rooted in centuries of African tradition. Lavender is a universally recognized choice for its profoundly relaxing scent, widely celebrated for its ability to ease tension and promote restful sleep. Rosemary, beyond its culinary uses, offers an invigorating aroma that can sharpen focus and clarity, making it a wonderful addition for a workspace candle. Sage, traditionally used for its purifying properties, imparts a clean, earthy scent that can help clear the mind and create a sense of spiritual renewal. The magic truly unfolds when you begin to experiment with different herb combinations, discovering unique aromatic profiles that resonate personally and create a bespoke sensory experience. Think of blending the floral notes of lavender with the herbaceous depth of rosemary, or the grounding essence of sage with a hint of a more uplifting herb. This careful selection process is foundational to infusing your homemade candles with their intended calming and beneficial effects, transforming them from mere decor into functional wellness tools.
Preparing the Wax Base
Once your botanical choices are made, the next crucial step involves preparing a pristine wax base, the very foundation of your calming creation. For this, you have two excellent options: beeswax and soy wax. Beeswax, a gift from nature, is prized for its extended burn time and a subtle, natural honey-like aroma that complements the added herbs. It's a traditional choice that burns cleanly, releasing negative ions that can help purify the air. Alternatively, soy wax offers a sustainable and vegan-friendly alternative, known for its even and consistent burn. It has a lower melting point, making it easier to work with and less prone to overheating. Whichever wax you choose, the process involves gentle melting over low heat until it achieves a liquid state. Maintaining a steady, moderate temperature is vital; overheating can degrade the wax's quality, potentially leading to an uneven surface or cracks in your finished candle, disrupting the aesthetic and burn quality. Patience here ensures a smooth, stable canvas for your infused herbs.
Infusing Herbs into Wax
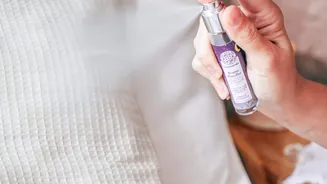
With your chosen wax beautifully liquefied and at the perfect temperature, it's time to imbue it with the aromatic essence of your selected herbs. This infusion is where the candle's therapeutic properties truly come to life. You have a couple of effective methods to achieve this. The most direct approach is to add the dried herbs themselves straight into the melted wax. Ensure they are finely chopped or small enough to distribute evenly without clumping. Alternatively, for a more concentrated and potent fragrance experience, consider using essential oils extracted from your chosen herbs. These oils capture the plant's aroma and therapeutic benefits in a highly concentrated form. Regardless of your chosen method, the key is thorough mixing. Stir the wax and herb mixture gently but consistently for several minutes. This ensures that the herbs or essential oils are evenly dispersed throughout the molten wax, guaranteeing that each moment the candle burns, the calming aroma is released uniformly, creating a consistent and delightful olfactory experience.
Wicks and Pouring Technique
The final stages of candle making involve carefully positioning the wick and executing a smooth pour of your herb-infused wax. Before you add the liquid wax, ensure the wick is perfectly centered within your chosen mold or container. You can utilize a wick sticker to secure the base to the bottom, and a wick holder, or even simple tools like pencils or chopsticks laid across the rim, to keep the wick upright and centered as the wax cools. This precise alignment is crucial for an even burn and to prevent the flame from leaning and creating an uneven melt pool. When it’s time to pour, do so slowly and steadily. A gentle pour helps to minimize the introduction of air bubbles into the wax. These bubbles can mar the candle's surface, creating an undesirable aesthetic once hardened, and potentially affecting how the candle burns. Pouring in stages, allowing the wax to cool slightly between additions, can also help mitigate bubble formation and ensure a smooth, glassy finish, ready to bring tranquility to your space.