


Material Selection Essentials
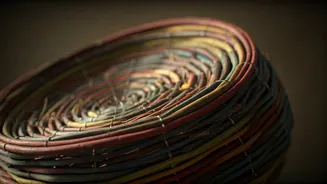
Embarking on your DIY bead curtain adventure begins with thoughtful material selection. The goal is to harness the potential of items often overlooked,
giving them a new lease on life. Think about readily available household discards such as old magazines and newspapers, which can be transformed into colorful, rolled beads. Plastic bottles offer another versatile option; their caps can be painted and drilled, or their bodies cut into interesting shapes. Even fabric scraps can be cut into strips or patterns to mimic traditional African beadwork. The crucial aspect is choosing materials that possess a degree of durability to withstand handling and stringing, yet remain pliable enough to be manipulated easily into bead-like forms. This initial step is where creativity truly flourishes, setting the stage for a visually captivating and environmentally conscious creation.
DIY Bead Creation Techniques
Once you've gathered your recycled treasures, the next exciting phase is transforming them into individual beads. This process is more accessible than one might imagine, requiring basic tools and a touch of patience. For paper-based materials like magazines and newspapers, you can achieve a classic bead look by cutting them into long, thin strips. These strips are then meticulously rolled around a fine cylindrical object, like a toothpick, to form a bead shape. Securing these rolled beads with a layer of glue ensures their structural integrity. Plastic bottle caps can be cleaned, painted in vibrant hues, and then carefully drilled through to create a hole for stringing. This hands-on crafting of each bead allows for a personalized touch and can be adapted to create a diverse array of shapes and sizes, contributing significantly to the unique character of your final curtain.
Building the Curtain Frame
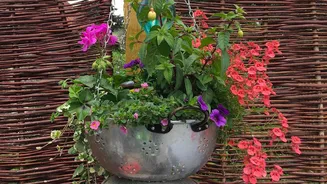
A robust foundation is paramount for any hanging décor, and your bead curtain is no exception. The frame serves as the primary support structure, ensuring your creation hangs elegantly and remains stable. For this purpose, natural materials like wooden dowels or bamboo sticks prove to be excellent choices. Their inherent strength provides reliable support, while their relatively lightweight nature prevents undue stress on hanging points. When selecting your frame materials, consider the desired width of your bead curtain. It's vital to construct a frame that is proportionally balanced, capable of holding the weight of all the strung beads without warping or sagging. A well-built frame not only guarantees longevity but also contributes to the overall aesthetic appeal of the finished piece.
Stringing and Assembly
With your frame prepared and your unique beads meticulously crafted, the assembly phase is where your vision truly comes to life. The act of stringing connects each individual element into a cohesive whole. You'll need a strong, durable stringing material for this task – think robust thread or even clear fishing line, which offers an almost invisible support. Begin by securely anchoring one end of your chosen string to one side of the frame. Then, proceed to thread your DIY beads onto the string, following the design you've envisioned. This could involve a repeating pattern, a gradient of colors, or a more freeform arrangement. Continue this systematic process, adding beads and securing them at intervals along the frame, until all sections of your curtain are filled and complete. This methodical approach ensures a neat and professional finish.
Finishing Touches and Installation
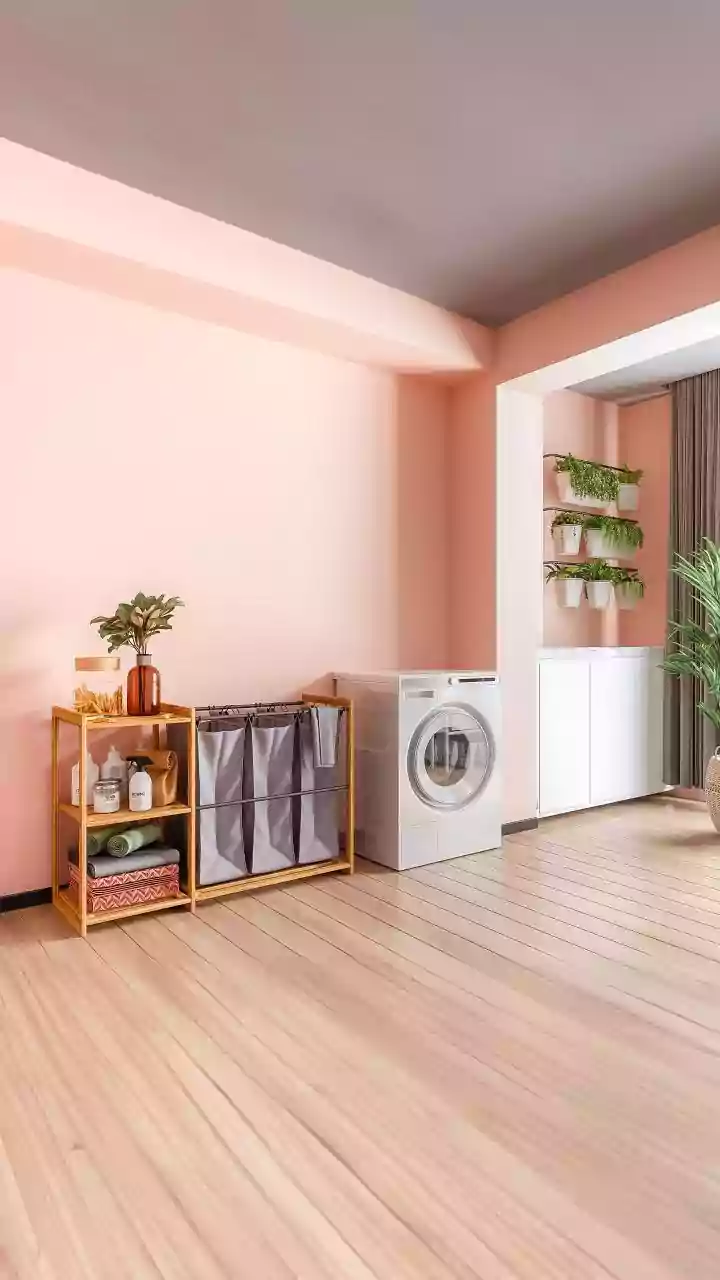
The final steps involve refining the appearance of your bead curtain and ensuring its seamless integration into your living space. Once all the beads are strung and secured, take a moment to trim any excess threads or strings, creating a clean and polished look. You might also consider adding further decorative embellishments, such as small tassels fashioned from leftover fabric scraps or other bits of recycled material, to enhance the curtain's visual appeal. When it comes to installation, careful placement is key. Ensure the curtain is hung at an appropriate height, ideally aligning with door frames or window sills. This not only makes it look intentional but also prevents it from becoming a tripping hazard or obstructing easy passage through doorways or walkways.