

Material Selection Essentials
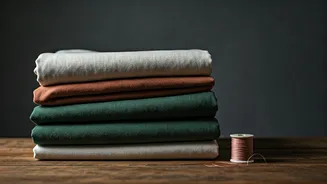
Embarking on the creation of an abstract African mirror hinges significantly on selecting the appropriate components. You'll require salvaged ceramic fragments,
a robust substrate for your mirror, a reliable adhesive formulated for ceramic bonding, and grout for filling in the spaces. The diversity in color and texture of your ceramic shards will greatly contribute to the visual richness and depth of the final artwork. It is paramount that the base you choose is sufficiently sturdy to bear the collective weight of the ceramic pieces you intend to affix. Thorough planning in this initial stage ensures a durable and aesthetically pleasing outcome, setting the foundation for the entire project's success and longevity. Paying close attention to each element will elevate your DIY mirror from a simple craft to a distinctive piece of art.
Designing Your Masterpiece
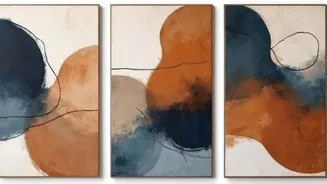
Before the adhesive comes into play, dedicating time to conceptualizing your pattern is a crucial step. You can begin by sketching your ideas on paper, or directly onto the mirror's substrate using chalk for a tangible preview. African art is celebrated for its distinctive use of geometric motifs and assertive shapes; these are precisely the elements you should aim to integrate into your design. Experiment with various configurations of your ceramic shards, arranging them to achieve a sense of equilibrium and visual harmony. This iterative process of placement and adjustment allows you to refine your vision, ensuring the final composition is both balanced and captivating. A well-thought-out design phase will prevent potential issues during assembly and result in a more cohesive and impactful final product.
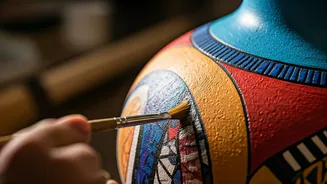
Assembling the Shards
With your design finalized and ready for execution, the assembly process can commence. Apply a generous amount of adhesive to the reverse side of each individual ceramic piece. Then, meticulously position each shard onto the mirror base, following the layout you've previously established. Apply gentle yet firm pressure to each piece to ensure a secure bond without risking further damage or breakage to the delicate ceramic fragments. Patience is key here; working methodically will prevent misplacements and ensure that each shard adheres effectively. This careful arrangement is what brings your envisioned pattern to life, creating the unique mosaic that will define your African-inspired mirror's aesthetic.
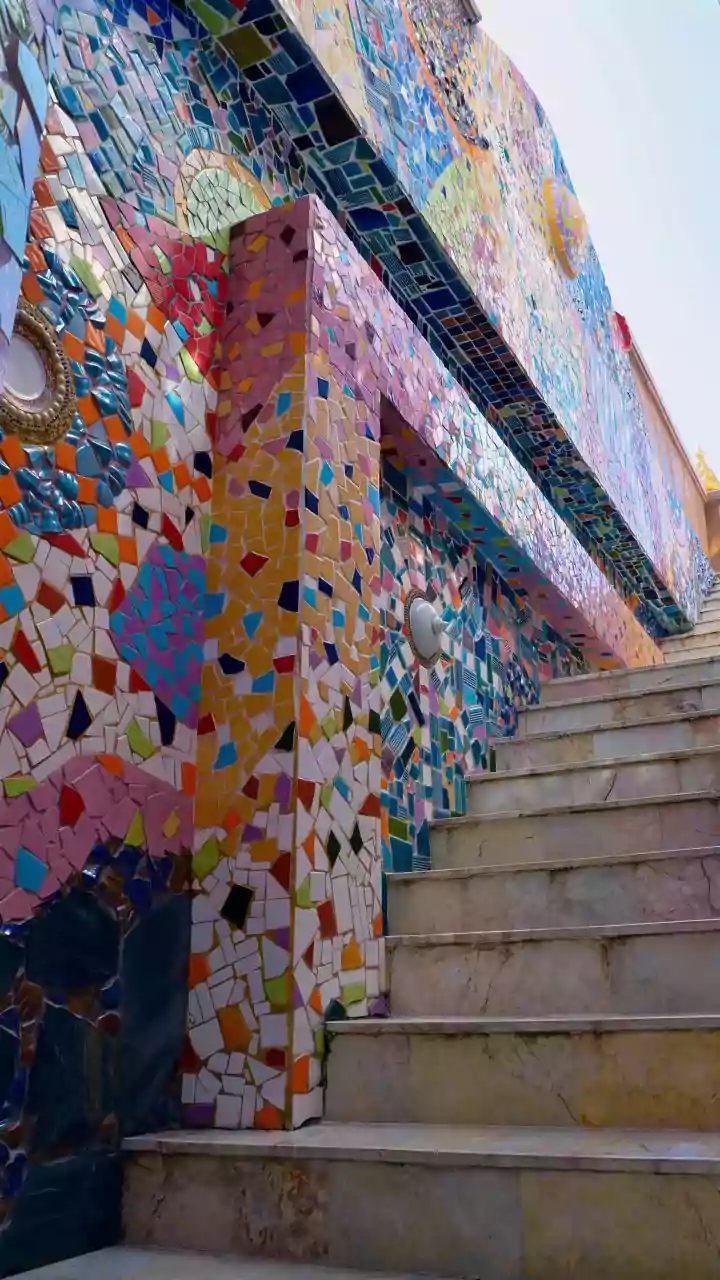
Grouting for Polish
Once all the ceramic pieces have been securely attached and have had adequate time to dry, the next vital step involves applying grout to fill the interstitial spaces. This not only reinforces the structural integrity of your mosaic but also imparts a professional, polished appearance by unifying the individual shards. Carefully spread the grout into all the gaps, ensuring it fills them completely. Following the grout's initial setting, use a slightly damp cloth to gently wipe away any excess material from the surface of the ceramic pieces and the mirror itself. This meticulous cleaning prevents unsightly grout residue and significantly enhances the overall visual appeal, giving your creation a finished and refined look.
Showcasing Your Art
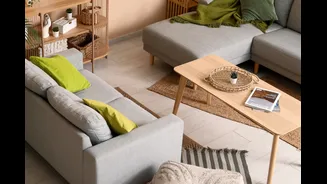
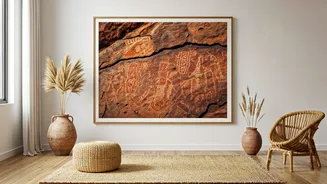
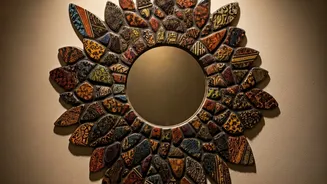
After allowing ample time for the grout and adhesive to cure thoroughly, your abstract African mirror is ready to be displayed. Select a prominent location in your home where its unique artistry can be fully appreciated. Consider how lighting can accentuate the textures and colors of the ceramic mosaic; strategic illumination can dramatically enhance its visual impact. Ensure that when you hang your creation or place it on a stand, it is mounted securely. This final step transforms your handcrafted piece from a project into a treasured decorative element, reflecting both your creativity and a connection to artistic traditions.