

Step 1: The Great Thaw
Your journey begins days before the feast with the most critical and often misjudged step: thawing. Never thaw a turkey on the counter, as this allows the outer layers to enter the bacterial 'danger zone' while the inside is still frozen. The safest method is in the refrigerator. Place the wrapped turkey on a lipped tray to catch any drips and allow about 24 hours for every 4 to 5 pounds of turkey. A 16-pound bird will need about four full days. If you're short on time, you can use the cold-water method. Keep the turkey in its leakproof wrapper, submerge it in cold water, and change the water every 30 minutes. This method takes about 30 minutes per pound, but you must cook the turkey immediately after it’s thawed.
Step 2: Get Ready to Roast
Once thawed, it's time to prep.
Remove the turkey from its packaging and take out the neck and giblet bag from the cavities. Many guides recommend rinsing the bird, but food safety experts now advise against this, as it can splash bacteria around your sink and kitchen. Instead, the secret to crispy, golden-brown skin is to get it as dry as possible. Pat the entire surface and inside the cavity thoroughly with paper towels. For extra flavor and moisture, you can rub a seasoned compound butter under the skin of the breast and legs. Simply mix softened butter with salt, pepper, and your favorite fresh herbs like thyme and rosemary. Trussing the legs with kitchen twine will help the turkey cook more evenly and create a picture-perfect presentation.
Step 3: The Main Event - Roasting
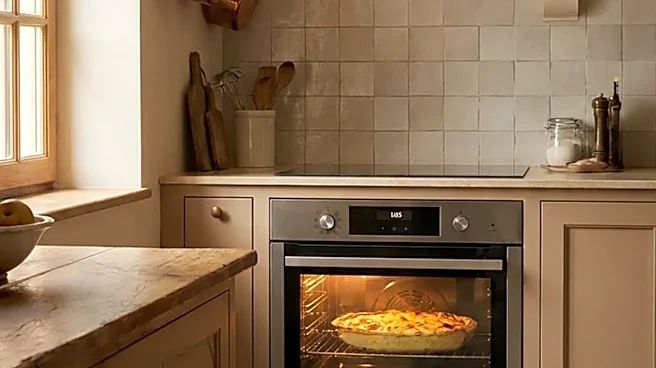
Set your oven rack to the lower third and preheat to 325°F or 350°F. Place the turkey breast-side up on a rack inside a roasting pan. Roasting times are estimates, but a good rule of thumb is to plan for about 13-15 minutes per pound for an unstuffed turkey. The only way to truly know when it's done is to use a meat thermometer. For food safety, the turkey must reach an internal temperature of 165°F. Check the temperature in three places: the thickest part of the breast, the innermost part of the thigh, and the innermost part of the wing, making sure not to touch any bone. If the breast starts to get too dark before the thighs are done, you can loosely tent it with aluminum foil.
Step 4: The All-Important Rest
This step is not optional. Once your turkey hits 165°F, remove it from the oven and transfer it to a cutting board. Let it rest for at least 20 to 30 minutes before you even think about carving. Some chefs recommend resting it for even longer, up to 45 minutes. This waiting period allows the juices, which have been pushed to the surface by the oven's heat, to redistribute throughout the meat. If you slice into it too soon, all that moisture will pour out onto the cutting board, leaving you with dry turkey. Don’t cover it tightly with foil while it rests, as the steam will make that crispy skin you worked for soggy.
Step 5: Carve with Confidence
Carving isn't as complex as it looks. First, remove the entire leg and thigh section by slicing through the skin between the body and the thigh. Pull the leg outward and cut through the joint. Separate the drumstick from the thigh at the joint. Next, remove the wings in a similar fashion. To carve the breast, make a deep horizontal cut just above the wing joint. Then, starting at the breastbone, slice downward along the rib cage until your knife meets the horizontal cut, releasing the entire breast in one piece. Place the breast on your cutting board and slice it against the grain into beautiful, even pieces. Arrange everything on a platter and get ready to accept your compliments.