






Why Bother With a DIY Recipe?
Professional scar wax can be pricey and hard to find, especially in the October rush. Making your own is incredibly cost-effective and perfect for beginners who want to experiment with special effects makeup. The biggest advantage is customization. You can easily adjust the recipe's texture and, most importantly, tint the wax to perfectly match your skin tone for a seamless, believable effect that store-bought options can't always guarantee. Plus, it’s a fun, creative project that uses simple, accessible ingredients like petroleum jelly and flour.
Your Two-Ingredient Shopping List
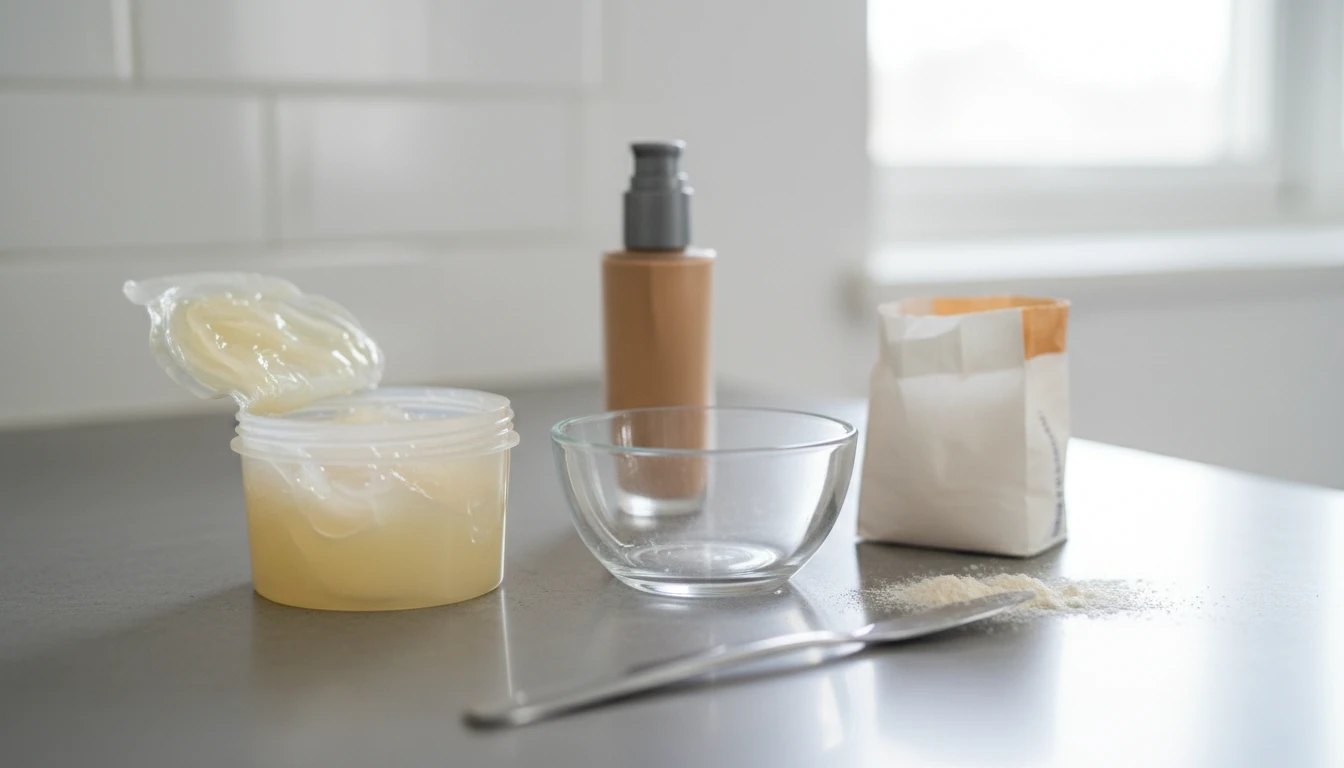
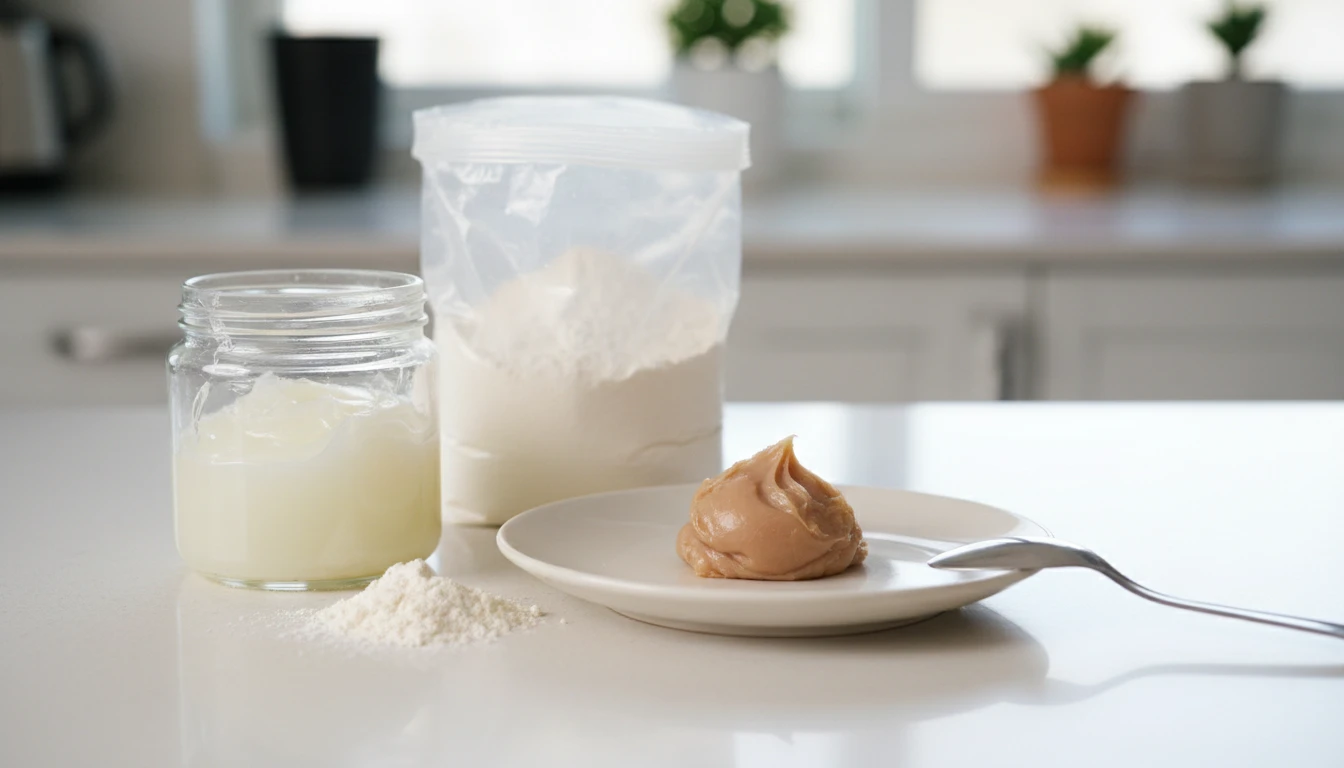
You don't need a special shopping trip for this recipe. You likely have everything required right now. The core components are simply petroleum jelly (like Vaseline) and all-purpose flour. Some recipes
substitute cornstarch for flour, which also works well as a thickener. For coloring, you’ll want a bit of your liquid or cream foundation. For tools, grab a small bowl for mixing and a butter knife or spoon for stirring.
Step-by-Step: Mixing Your Scar Wax
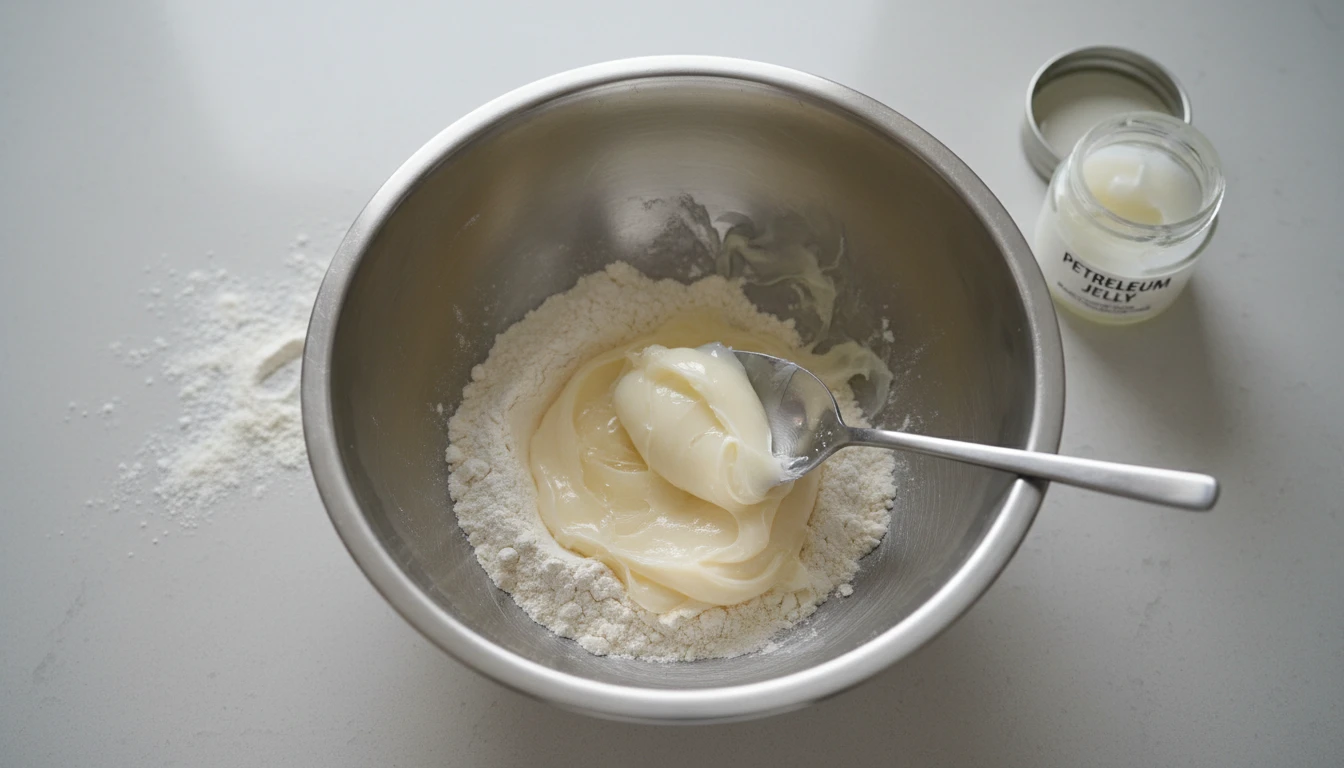
Creating the wax is as simple as making dough. Start by mixing one part petroleum jelly with two to three parts flour in your bowl. The exact ratio can be adjusted as you go. Knead the mixture with your hands or a spoon until it forms a pliable, putty-like consistency. If the wax feels too sticky or soft, add a little more flour until it’s firm but still easy to mold. If it becomes too dry or crumbly, work in a tiny bit more petroleum jelly. The ideal texture should be a firm ball that doesn’t stick excessively to your fingers.
Getting the Color Just Right
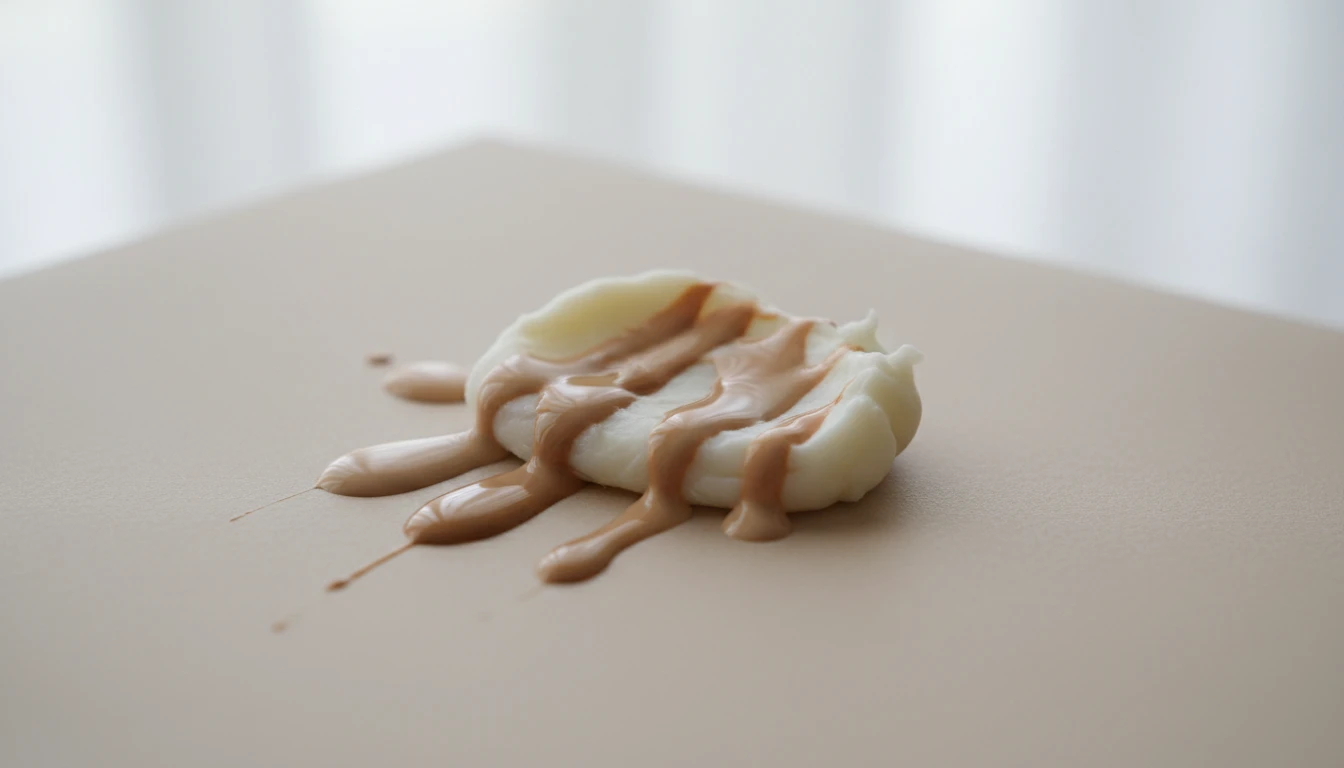
For a truly realistic effect, the wax needs to match your skin. Once you have the right consistency, add a few drops of your liquid foundation and knead it into the wax until the color is evenly distributed. Keep adding foundation until you achieve a shade that blends seamlessly with your skin. This step eliminates the need for heavy makeup application over the wax later, making your fake wounds look like they're part of your actual skin. Before applying to your face, it's always wise to test a small amount on your arm to check for any skin sensitivity.
How to Apply and Sculpt Your Wounds
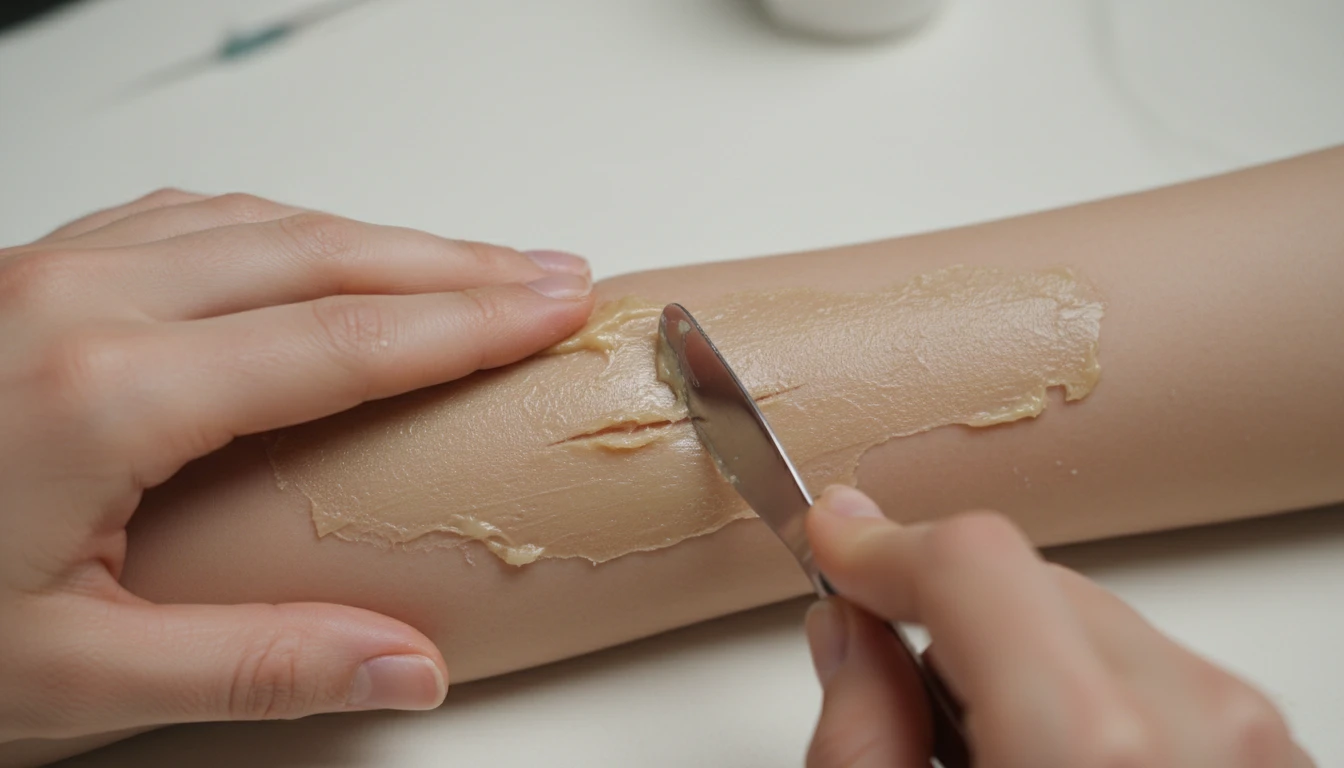
Start with clean, dry skin. For better hold, especially if you'll be wearing it for hours, you can apply a thin layer of skin-safe adhesive like spirit gum first, but it's not always necessary for short-term wear. Take a small amount of your homemade wax, roll it into a snake-like shape for a long gash or a ball for a puncture wound, and press it onto your skin. Use your fingers (dabbed with a little petroleum jelly to prevent sticking) to smooth and blend the edges of the wax into your skin. Once the base is blended, use a toothpick, the back of a butter knife, or another small tool to gently carve a line or hole into the center of the wax to create the 'wound'.
Finishing Touches for Gory Glory
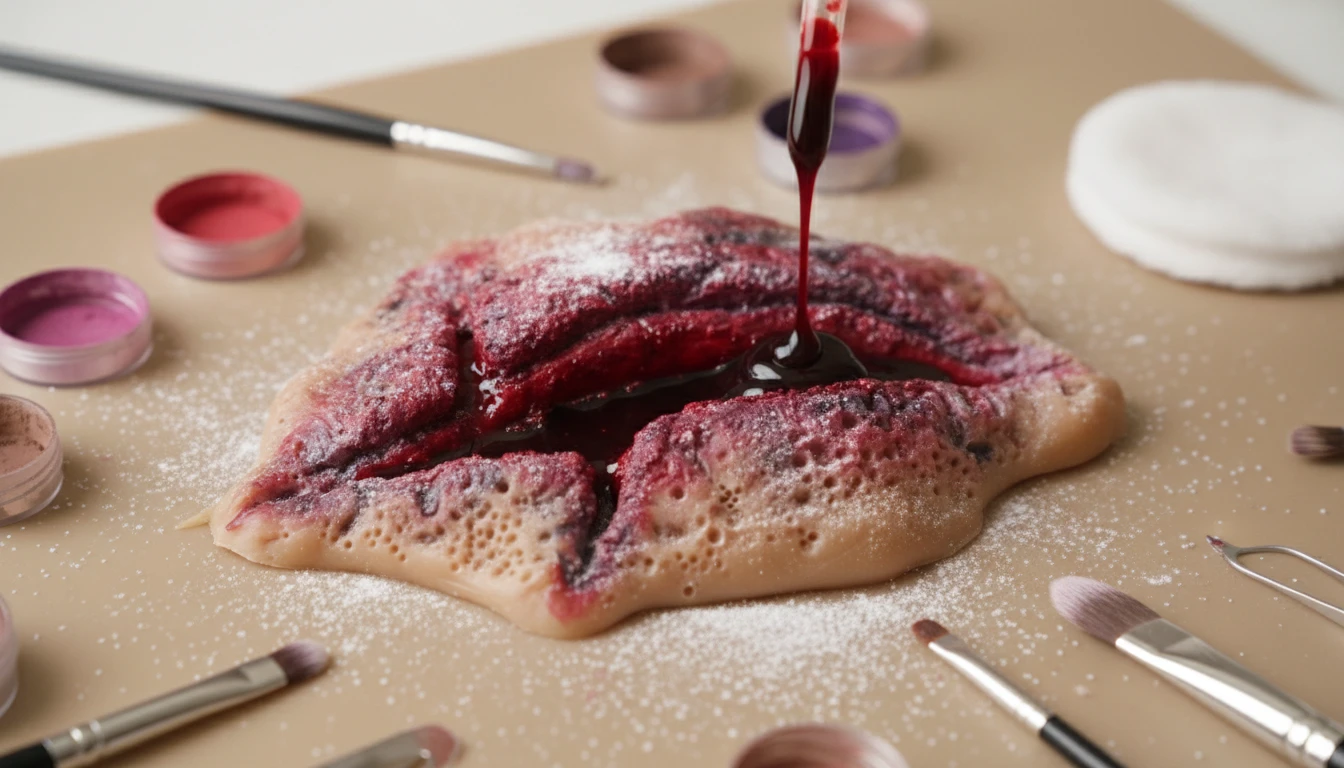
With the wound sculpted, it's time for the gory details. You can add a dusting of translucent powder to set the wax and reduce shine. Use makeup to add depth and irritation. A little red, purple, and black eyeshadow dabbed around the edges will create a bruised effect. For the inside of the cut, fill it with red lipstick or fake blood. You can even make your own fake blood by mixing corn syrup with red food coloring and a touch of flour or cornstarch to thicken it. These final touches will transform your simple sculpted wax into a horrifically realistic injury.