






1. Prep Your Canvas
The secret to makeup that lasts begins before you even touch a color palette. Start with a clean, moisturized face. Hydrated skin holds onto makeup more effectively than dry skin. After your moisturizer has fully absorbed, it's time for the most critical step: primer. A good primer creates a smooth, grippable surface for your makeup and, more importantly, acts as a barrier between your skin and heavy, potentially pore-clogging costume paints. Look for a silicone-based or 'gripping' primer, which will fill in pores and create a shield that helps your masterpiece stay put all night. Let the primer set for a few minutes before moving on to the next step.
2. Build Your Base & Layer Your Colors
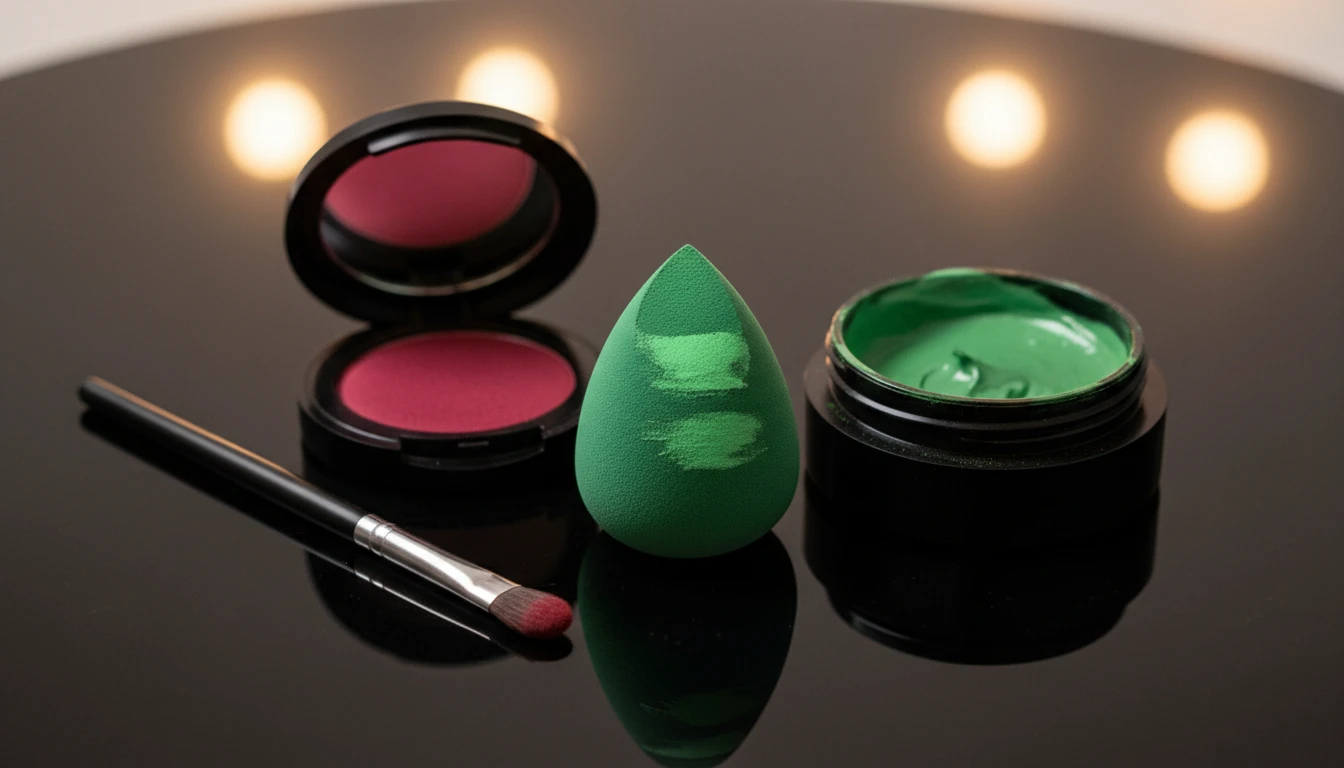
Whether you're going for a ghoulish green or a ghostly white, apply your base color in thin,
even layers. Using a damp makeup sponge can help you build coverage without it looking cakey. For more intense looks using face paints, some professionals prefer alcohol-activated makeup, which is known for its smudge-proof finish once it dries. If you're using cream-based products, remember that layering is key. For elements like flushed cheeks or dramatic contours, layering a cream or liquid blush with a similar-toned powder blush on top will dramatically increase its longevity.
3. Get Precise With Details
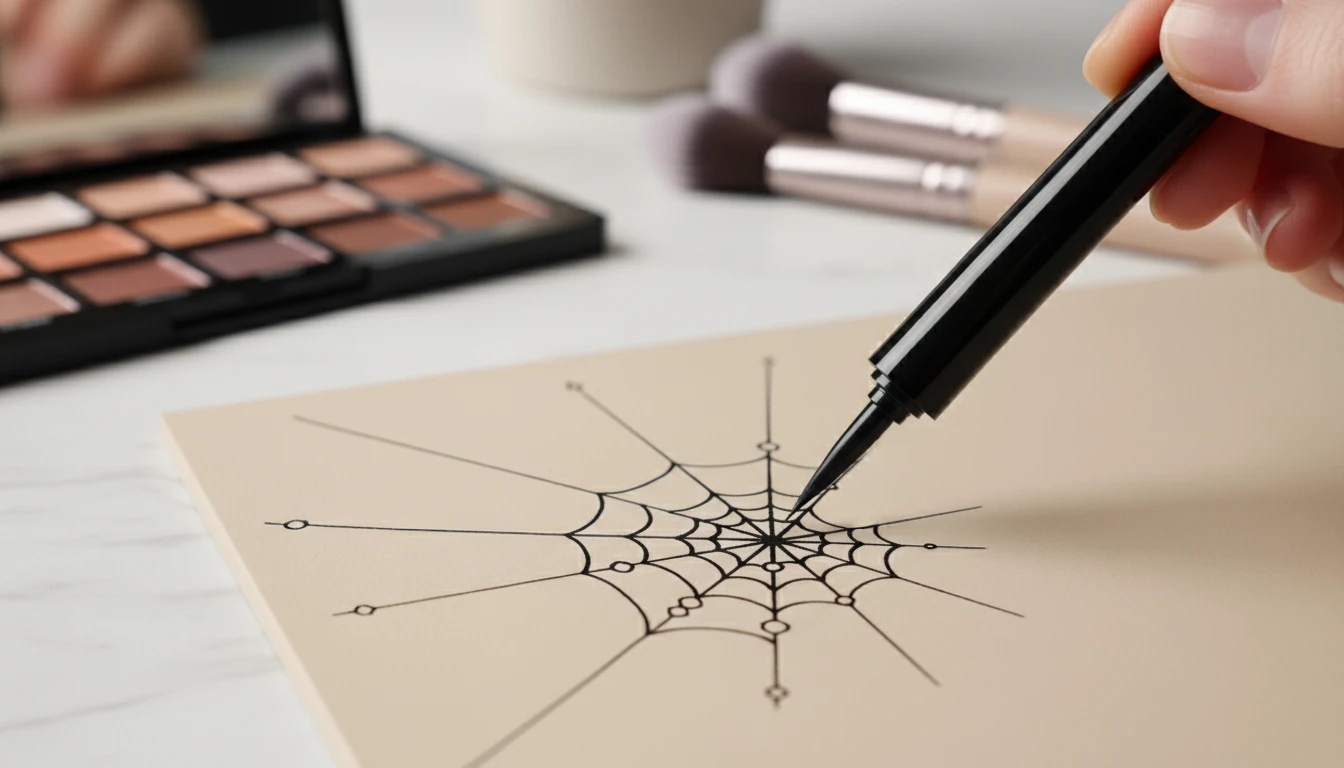
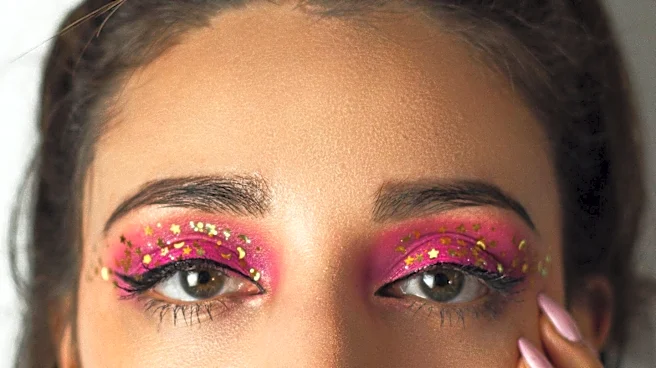
For sharp lines, intricate designs, or dramatic cat-eyes, a waterproof liquid eyeliner is often easier and more reliable than a paintbrush dipped in face paint. You can find liquid liners in a variety of colors beyond basic black to create spiderwebs, stitches, or other fine details with precision. When it comes to eye makeup, an eyeshadow primer is essential to prevent colors from creasing or fading. Choose waterproof formulas for both your eyeliner and mascara to avoid the dreaded 'raccoon eyes' after a few hours of wear.
4. Apply Prosthetics and Adhesives
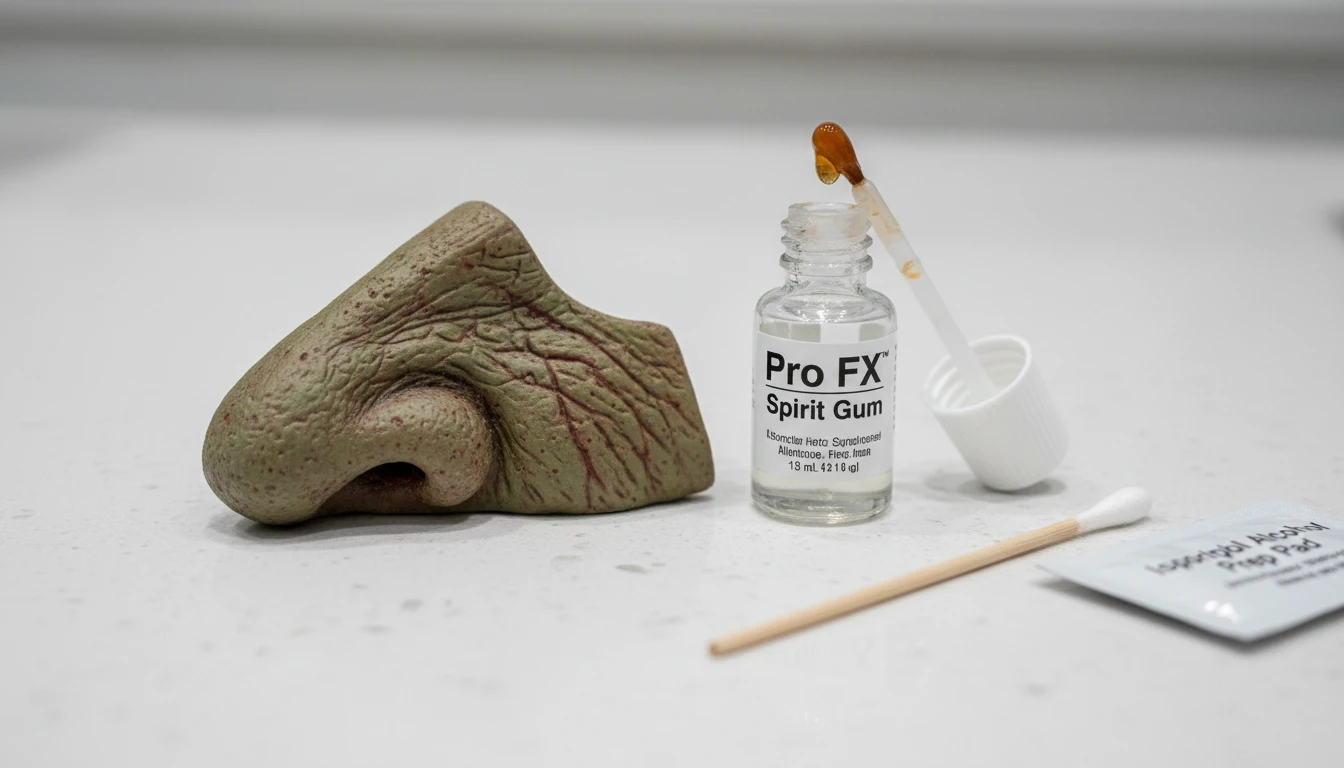
If your look involves prosthetics like a witch's nose, horns, or fake wounds, the application order matters. First, make sure the area of skin is clean and free of oils by wiping it with a bit of rubbing alcohol. Before applying makeup, you need to attach the prosthetic. Fit the piece to your face first to ensure it sits correctly. Apply a thin layer of a skin-safe adhesive like spirit gum or liquid latex to either your skin or the appliance itself, then press it firmly into place. Once the prosthetic is secure, you can blend the edges into your skin using more liquid latex and bits of tissue for a seamless transition before applying color.
5. Lock It All Down
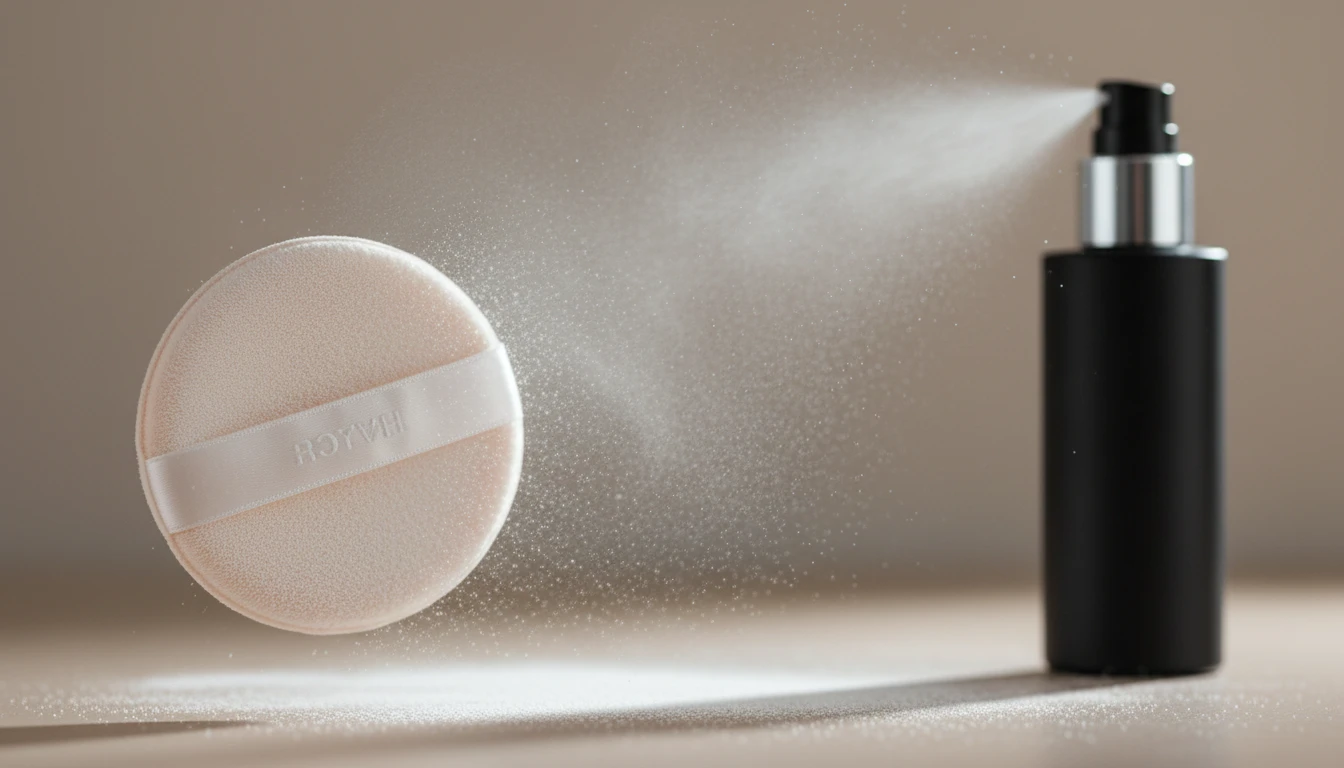
Once your makeup is complete, it's time to set it. This is a non-negotiable step for long-lasting Halloween looks. The most common method is to generously apply a translucent setting powder over any cream-based makeup. Use a powder puff or a fluffy brush to press the powder into the skin, which helps absorb excess oil and 'locks' the makeup in place. After dusting off any excess powder, the final step is a setting spray. For heavy-duty Halloween makeup, a 'fixing spray' can be even better, as it creates a durable film over your entire look. Hold the bottle about eight inches from your face and mist evenly.
6. The Aftermath: Safe Removal
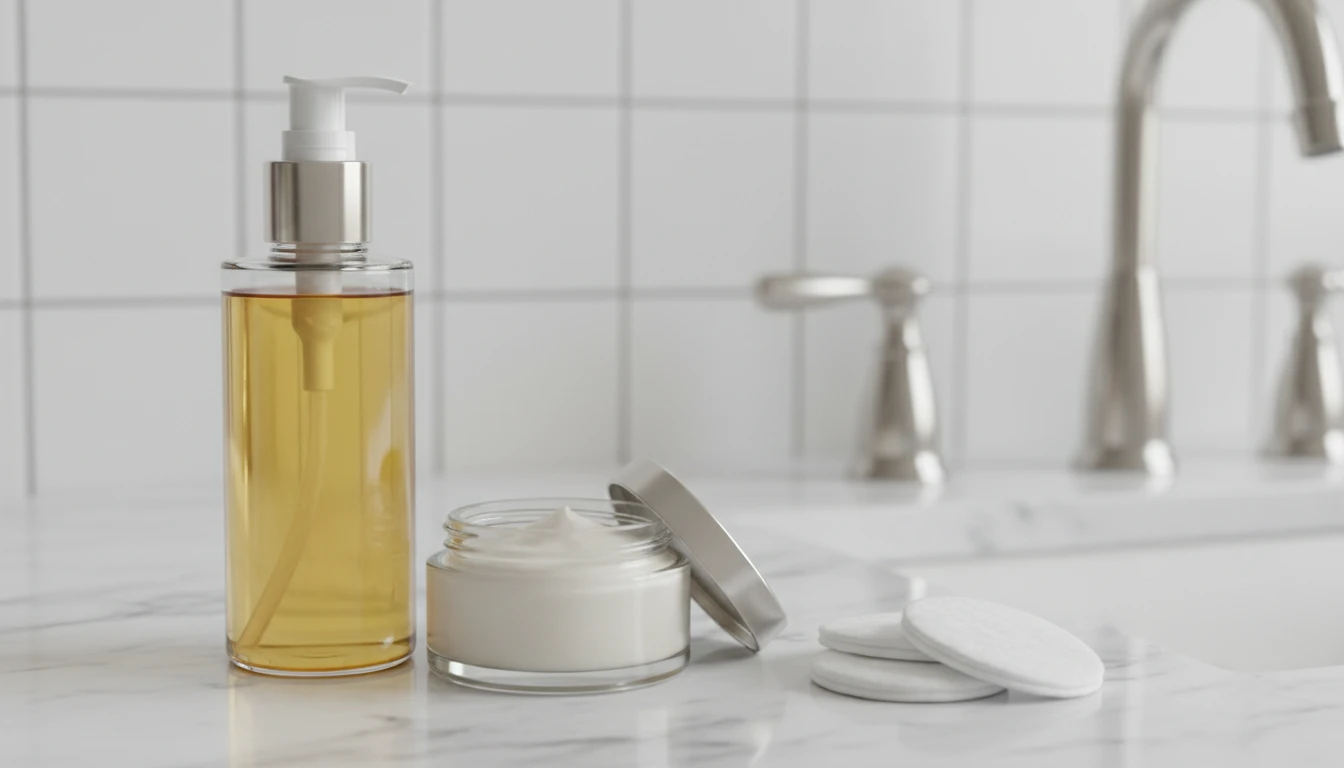
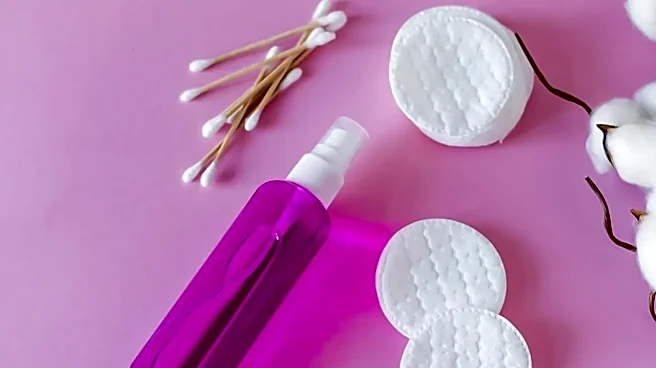
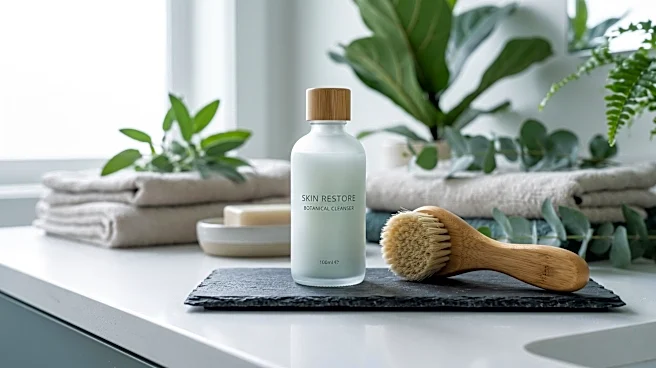
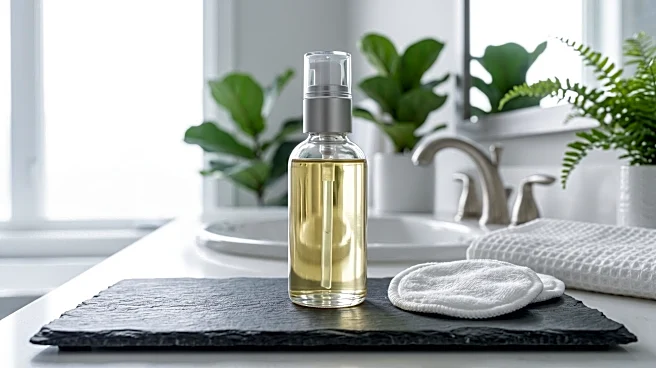
At the end of the night, resist the urge to scrub your face with a makeup wipe. Heavy Halloween makeup requires a more thoughtful approach. Start with an oil-based cleanser or a cleansing balm. Massage it onto your dry skin to break down the heavy pigments, waxes, and adhesives. For stubborn eye makeup or prosthetics, hold a cotton pad soaked in an oil-based remover against the area for 20-30 seconds to dissolve the product before gently wiping. Follow up with your regular gentle, water-based cleanser to remove any remaining residue. This 'double cleansing' method ensures your skin is truly clean without being harsh or irritating.