






Why Your Fake Blood Looks Too Fake
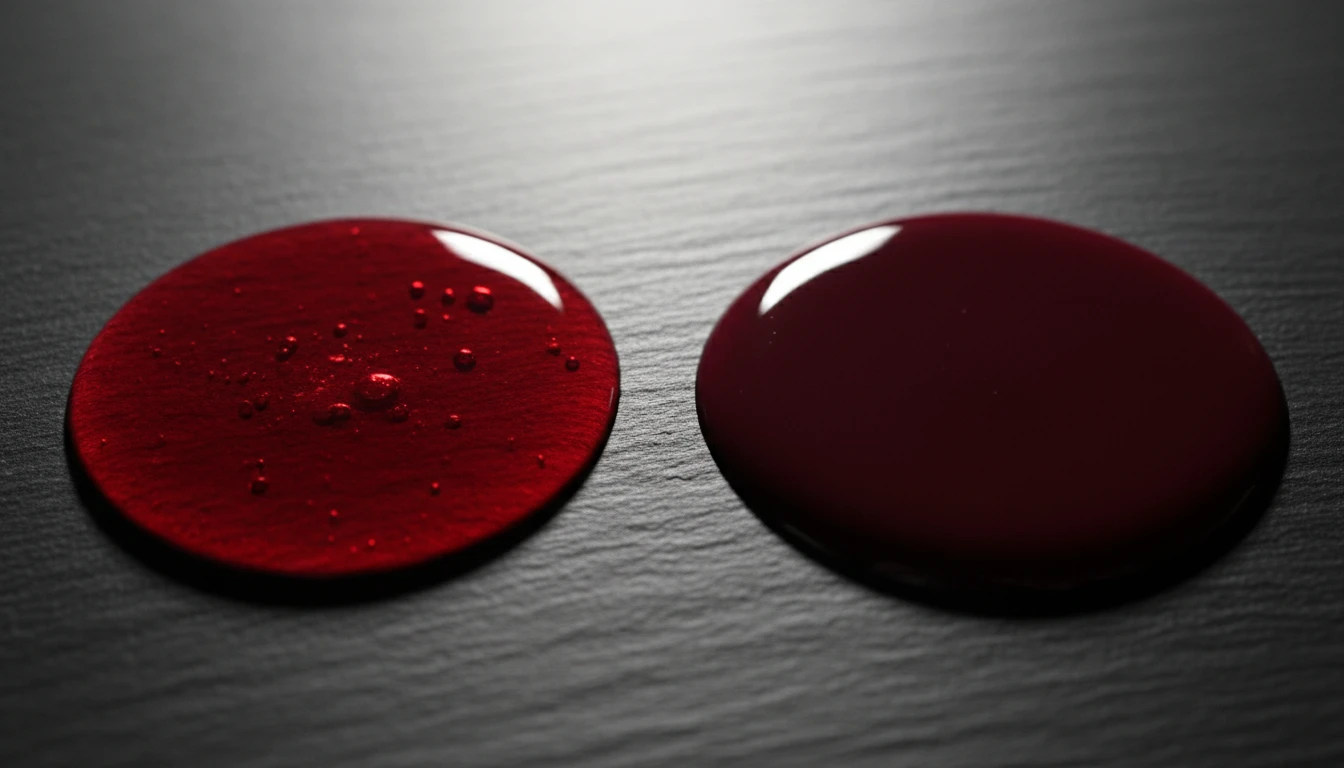
The biggest problem with most store-bought and basic homemade fake blood is color and opacity. Real blood isn't just cherry red; it's a deep, dark crimson that turns brownish as it oxidizes. When freshly exposed to air, it’s bright, but it quickly darkens. Most simple recipes using only corn syrup and red food coloring fail because they lack this depth. They end up looking like candy topping, not carnage. The second issue is translucence. Real blood is opaque. Light doesn't shine through it. A purely syrup-based mixture is often too see-through, which gives away the game immediately. To achieve true realism, you need to solve both the color and the opacity problem.
The Simple Trick: Add Chocolate
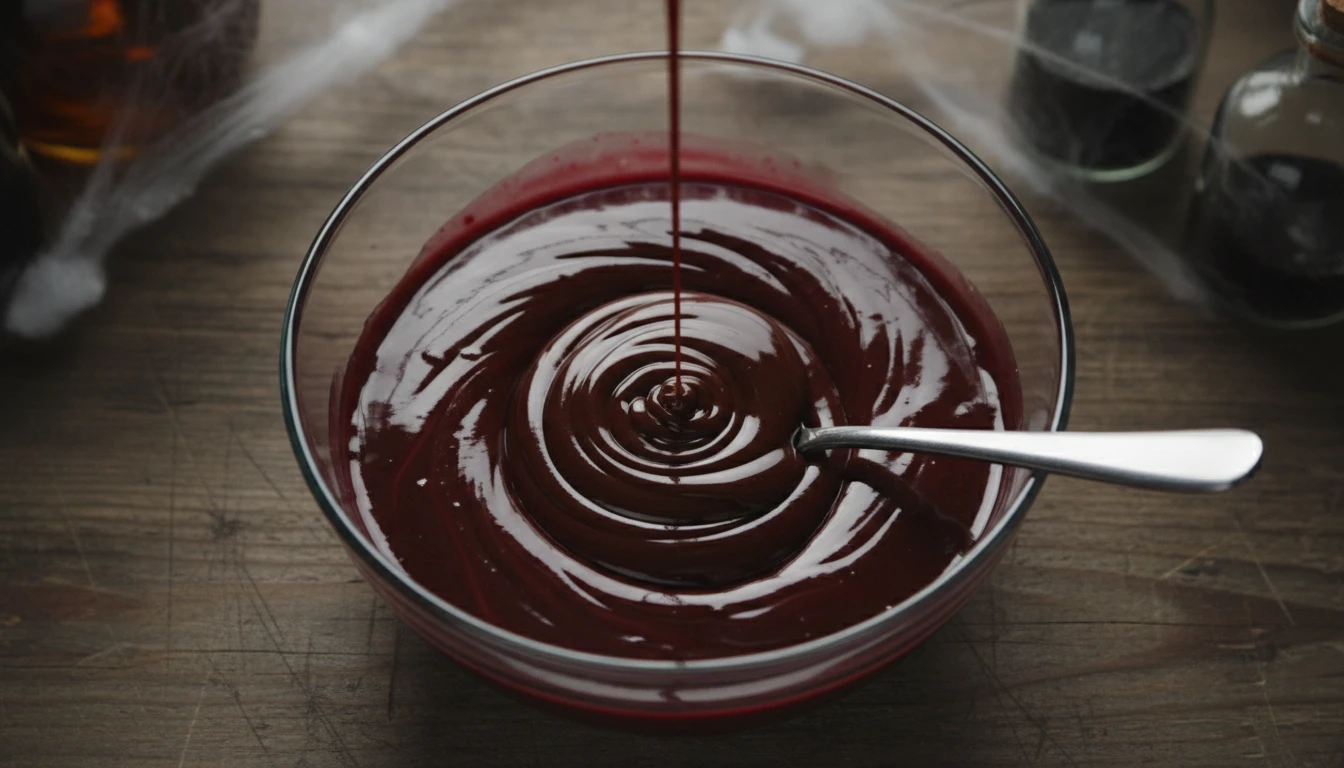
Here it is, the one simple trick that special effects artists and seasoned Halloween
pros swear by: add chocolate syrup. It might sound strange, but this single ingredient is the key to transforming your basic red mixture into something truly gruesome. The chocolate syrup works on multiple levels. First, it instantly darkens the red food coloring, shifting it from a candy-apple red to a much more believable deep burgundy. The brown tones are essential for mimicking the color of real, oxidizing blood. Second, it adds the necessary opacity, making the mixture look like a viscous fluid rather than colored sugar water. Some recipes suggest cocoa powder, which also works well for darkening and adding a bit of texture. A small amount of blue or green food coloring can also help deepen the red, but chocolate syrup often provides the perfect color and consistency in one easy step.
The Perfect All-Purpose Blood Recipe
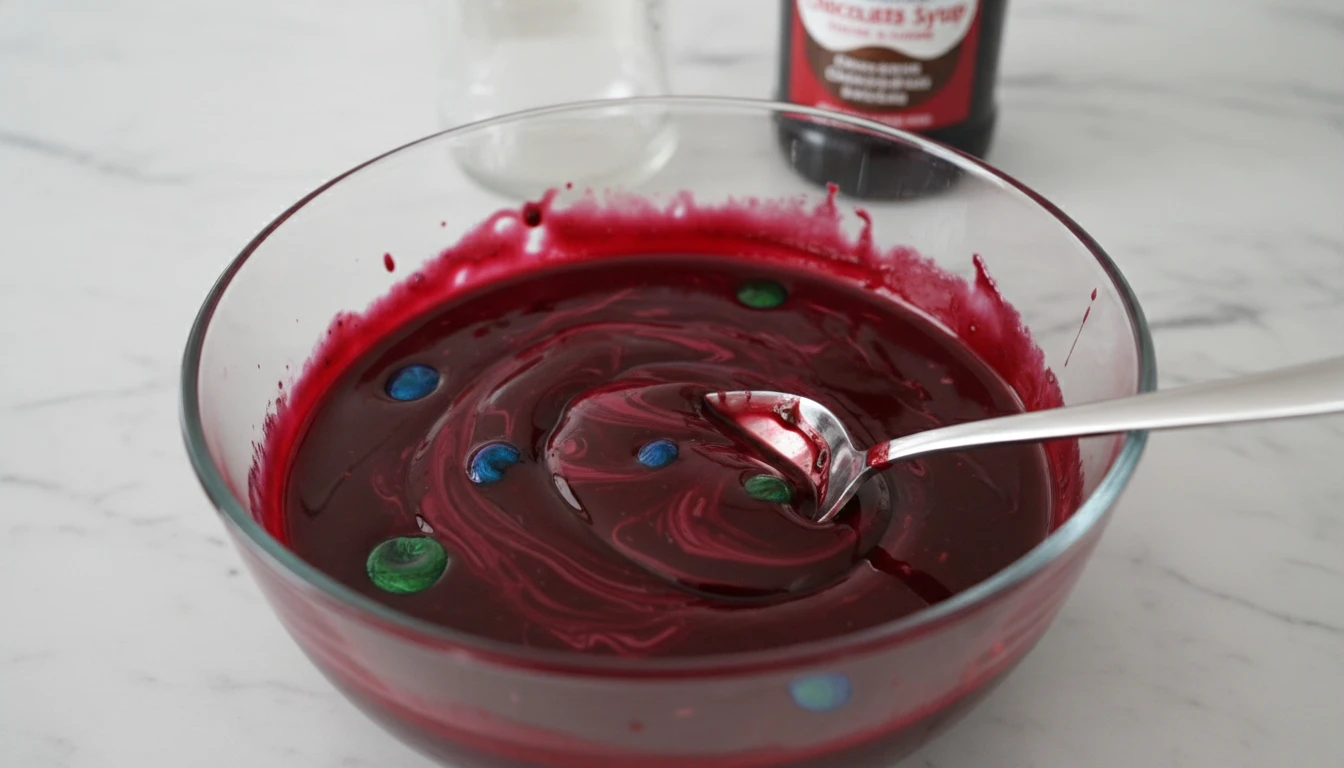
Ready to make your own? This recipe is simple, edible, and incredibly effective. In a bowl, combine two parts light corn syrup with one part chocolate syrup. Mix them together thoroughly. Now, slowly add red food coloring, stirring continuously until you achieve a deep red color. Don’t be shy with the red, but stop before it looks unnaturally bright. For an even more authentic look, add just one or two drops of blue or green food coloring to the mix. This will counteract the artificial brightness of the red and give it a more complex, venous tone. Stir everything together until smooth. The result will be a thick, dark, and opaque blood mixture that drips and clings realistically.
Customizing Your Gore for Different Effects
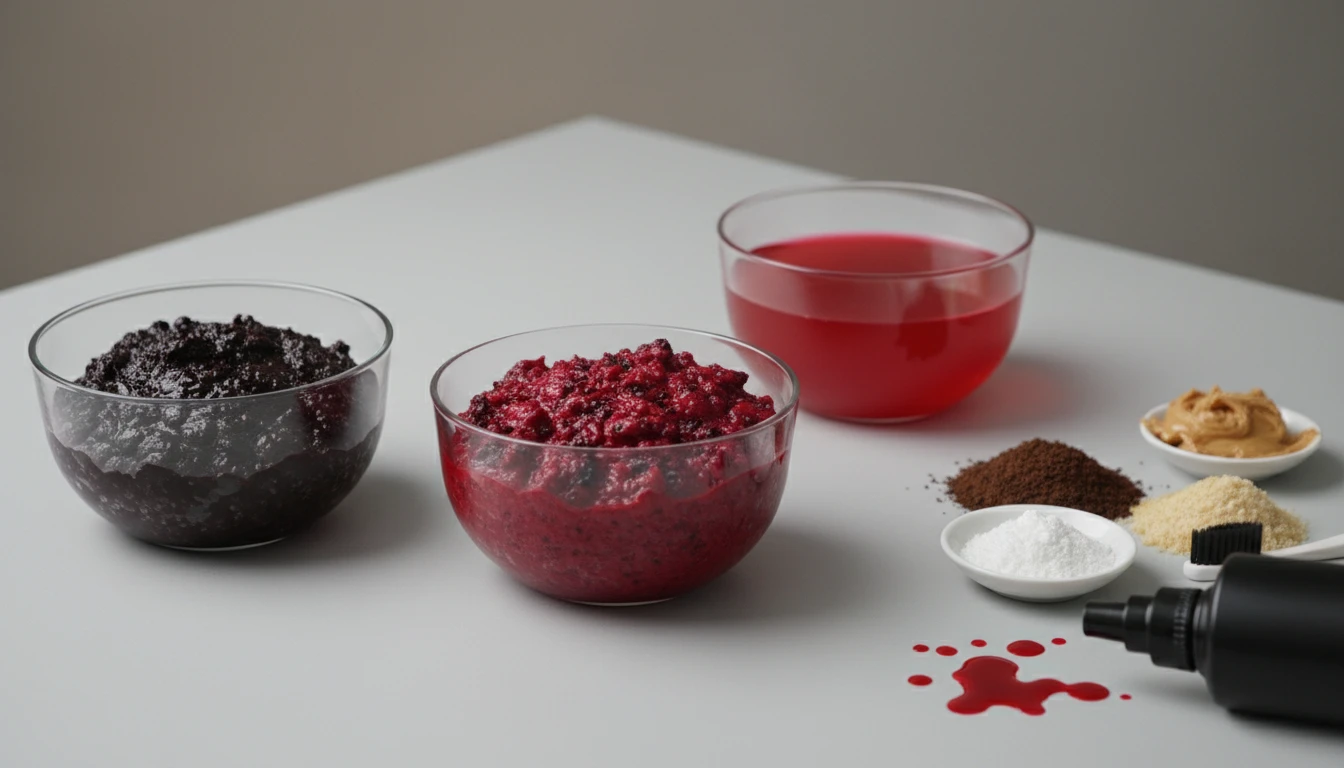
Not all blood is the same, and your effects shouldn't be either. You can easily modify the base recipe to suit your gory needs. For thicker, clotted blood that's perfect for scabs or deep wounds, mix in a little cornstarch or flour until you reach the desired paste-like consistency. For a chunkier, more gruesome texture, consider adding a pinch of instant coffee grounds, fine breadcrumbs, or even chunky peanut butter. If you need a thinner mixture for splatters, simply thin the base recipe with a small amount of water. You can then load it into a spray bottle or use a toothbrush to flick it for a realistic spray pattern.
Application Tips from the Pros
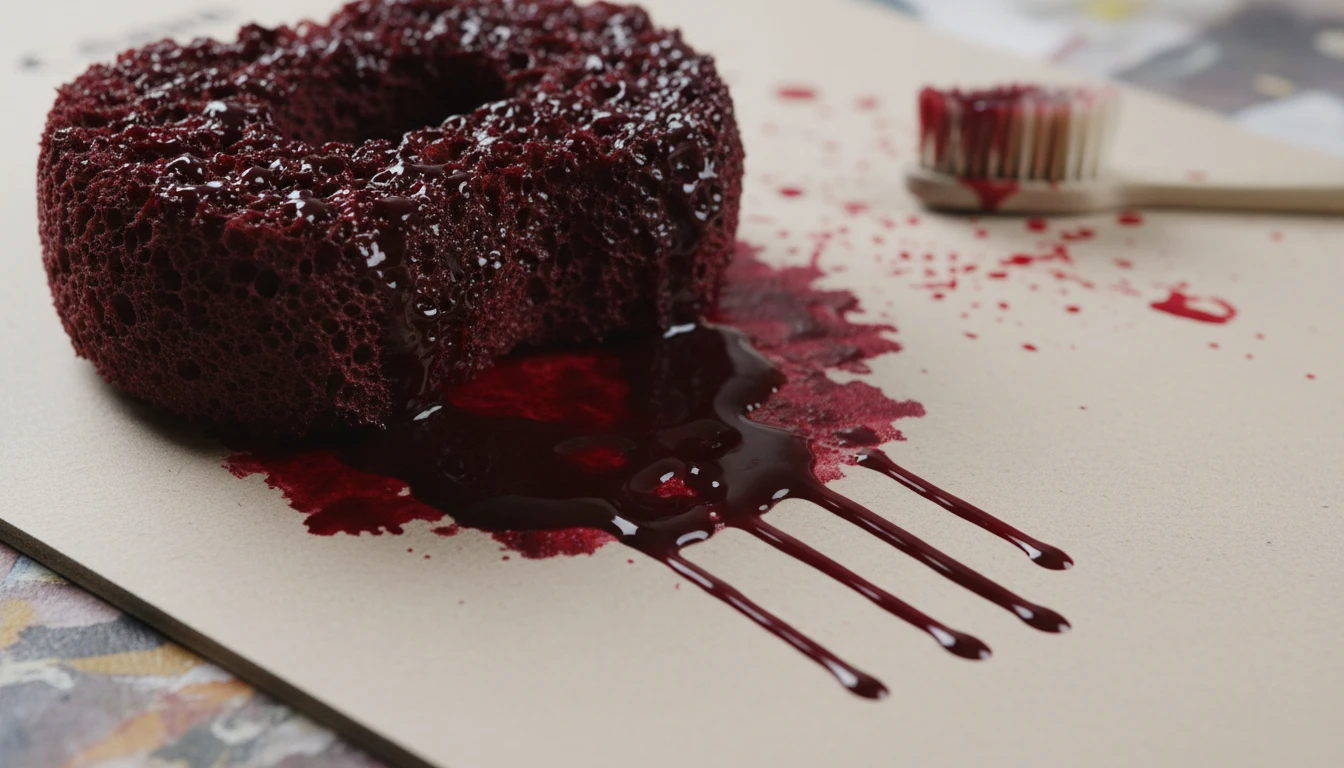
How you apply the blood is just as important as the recipe. For scrapes and road rash, use a coarse texturing sponge (a stipple sponge) to dab the blood onto the skin. This creates an uneven, abraded look. For drips, apply the blood and let gravity do the work; the natural, random paths will look more convincing. For splatters, dip the bristles of an old toothbrush into your thinner blood mixture and flick them with your thumb. Always remember that homemade blood, especially recipes with corn syrup and food coloring, can stain skin and clothing permanently. Be sure to test it on a small, hidden area of any fabric first, and protect your work surfaces before you begin.