


1. Find Your Planter Style
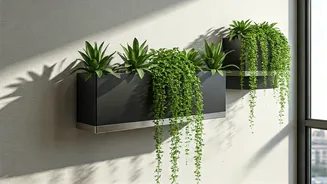
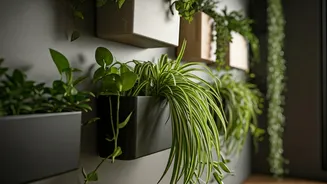
Before you start drilling, get familiar with the main types of vertical planters. The most common are fabric pocket planters, which are great for beginners and have individual pouches for each plant. For a more integrated look, consider modular systems.
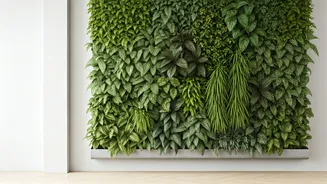
These are stackable plastic or ceramic pots that can be arranged in various configurations, allowing you to expand your garden over time. Finally, for a true statement piece, there are framed “living wall” kits. These often come with a self-contained irrigation system and create a stunning, art-like effect, though they require more commitment and a higher budget. Your choice depends on aesthetics, budget, and how much of a green thumb you have.
2. Location Is Everything
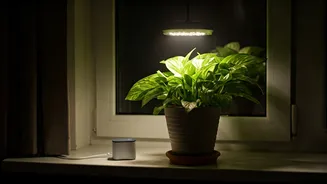
Don’t just pick an empty wall and hope for the best. Plants have needs, and the biggest one is light. Observe your apartment throughout the day to identify a spot that gets the right amount of sun for the plants you want. South-facing walls are drenched in light, perfect for succulents and sun-loving herbs. North-facing walls offer much less direct light, making them ideal for shade-tolerant plants like ferns and pothos. Also, consider the wall itself. Is it drywall, plaster, or brick? You’ll need the correct hardware (like toggle bolts or anchors for drywall) to ensure your planter is secure, especially once it’s heavy with soil, plants, and water. A falling garden is a tragedy for both your plants and your security deposit.
3. Choose Your Plants Wisely
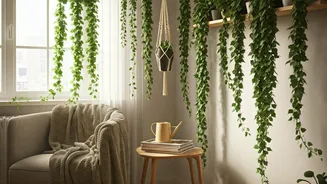
Not all houseplants are created equal when it comes to vertical living. The best candidates are relatively low-maintenance, don't have massive root systems, and look good while doing it. Trailing plants are a fantastic choice because they create a lush, cascading effect. Think golden pothos, philodendron, and string of pearls. For a sunnier spot, a collection of succulents like echeveria and sedum can create a beautiful, drought-tolerant tapestry of colors and textures. If you’re placing it in your kitchen, consider a vertical herb garden with mint, basil, and parsley. Always try to group plants with similar light and water needs together to make care easier.
4. Master the Installation
Once you have your planter, plants, and location, it's time to mount it. First, read your lease. Some landlords have strict rules about drilling into walls. If you’re a renter, using a series of strong, removable adhesive hooks (for very lightweight systems) or opting for a freestanding vertical planter might be a safer bet. If you are cleared to drill, measure twice, drill once. Use a level to ensure your planter is straight—it’s an aesthetic detail you’ll be grateful for later. When securing the planter, use anchors rated for well above the estimated final weight. A gallon of water weighs over eight pounds, and wet soil is heavy. A securely mounted planter is a safe planter.
5. Perfect Your Watering Technique
Watering a vertical garden is different from watering a normal pot. Gravity is your main challenge; water will naturally run from the top pockets to the bottom ones. This means top plants can dry out quickly while bottom plants can become waterlogged, leading to root rot. To avoid this, water the top pockets slowly and sparingly until you see moisture beginning to seep through. For many systems, it’s best to take the planter down (if possible) and water it in a sink or bathtub, letting it drain completely before rehanging it. Some modular systems have built-in reservoirs that make watering easier. Whatever your setup, get in the habit of checking the soil moisture with your finger rather than watering on a rigid schedule.