


First, What Are Microgreens?
Don't confuse them with sprouts. Microgreens are tiny, edible vegetable greens harvested just after the first true leaves have developed. Think of them as the baby stage of plants like kale, radish, cilantro, or broccoli. They are packed with concentrated
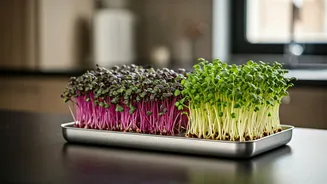
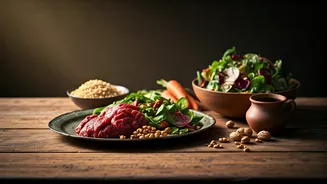
flavor—radish microgreens taste intensely peppery, while cilantro microgreens offer a potent herbal punch. Beyond their culinary appeal, studies from the USDA and University of Maryland have shown that microgreens can contain significantly higher levels of vitamins and carotenoids than their mature plant counterparts. They're a simple way to add a burst of nutrition and gourmet flair to salads, sandwiches, and soups.
Gathering Your Simple Supplies
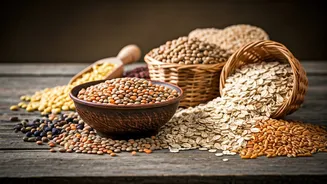
You don't need a green thumb or a sprawling garden. Your shopping list is short and affordable. You'll need: * **Seeds:** Look for seeds specifically labeled for microgreens or sprouting to ensure they haven't been treated with fungicides. Easy starters include broccoli, kale, radish, and peas. * **Trays:** Shallow containers (1-2 inches deep) work best. You can buy specialized microgreen trays or simply use recycled plastic takeout containers with a few drainage holes poked in the bottom. * **Growing Medium:** Coco coir (a coconut husk fiber) is a popular, beginner-friendly choice as it's sterile and retains moisture well. Potting soil or specialized seed-starting mix also work perfectly. * **Light:** A sunny windowsill is often enough. If you lack natural light, a simple LED grow light or even a standard fluorescent shop light placed a few inches above the tray will do the trick.
Step 1: Plant Your Seeds
Start by moistening your growing medium. You want it damp, like a wrung-out sponge, not soaking wet. Fill your tray with about an inch of the medium and gently press it down to create a flat, even surface. Now, scatter your seeds densely across the entire surface—you want them close together, almost shoulder-to-shoulder. Unlike traditional gardening, crowding is encouraged here. Once sown, lightly mist the seeds with water from a spray bottle. There's no need to cover most seeds with more soil; they just need to make good contact with the moist medium below.
Step 2: The Blackout Period
This is the secret to a strong, even crop. For the first 2-4 days, the seeds need darkness to germinate properly. Cover your tray with a second, inverted tray or a piece of cardboard to block out all light. This tricks the seeds into thinking they are buried under soil, encouraging them to root deeply and sprout uniformly. During this time, check on them daily. If the surface looks dry, give them a light misting to maintain humidity. You'll soon see tiny, pale sprouts beginning to push upwards.
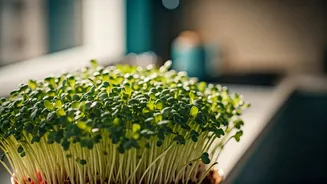
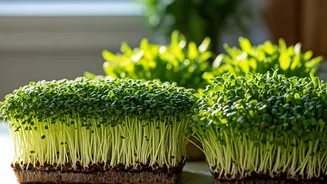
Step 3: Let There Be Light
Once your sprouts are about a half-inch tall (usually after 3-4 days), it's time to uncover them and introduce them to light. Move the tray to your sunny windowsill or place it under your grow light. The pale yellow shoots will quickly turn a vibrant green as they begin to photosynthesize. The key during this phase is proper watering. Instead of watering from above, which can damage the delicate stems, water from the bottom. Place your growing tray inside a slightly larger tray without holes and add about a half-inch of water to the outer tray. The medium will soak up the water through the drainage holes, hydrating the roots without disturbing the greens.
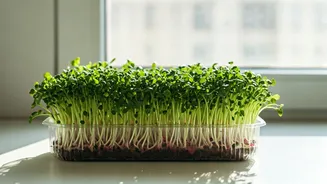
Step 4: Harvest and Enjoy
Your microgreens will be ready to harvest in about 7-14 days from sowing, depending on the variety. They're ready when they've developed their first set of "true leaves," which look different from the initial two "seed leaves" (cotyledons). To harvest, use a sharp pair of scissors or a knife and cut the stems just above the soil line. It's best to harvest them as needed, right before you plan to eat them, for the best flavor and texture. Rinse them gently in cool water, pat them dry, and add them to your favorite dishes for an instant upgrade.