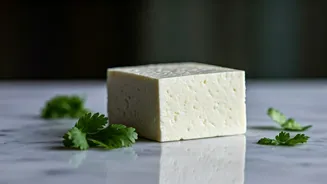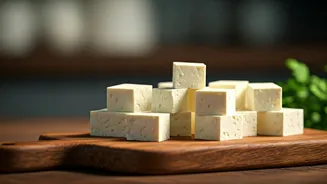


The Golden Rule: Always Start with a Soak
This is the single most important step to transforming your paneer experience, especially with the firm, vacuum-sealed blocks common in U.S. grocery stores. Before you do anything else, cut your paneer into cubes or slabs and place them in a bowl of hot
(not boiling) salted water for 15-20 minutes. This simple act does two magical things. First, it rehydrates the cheese, which may have lost moisture during processing and storage. Second, it tenderizes the protein structure, relaxing it from a tight, squeaky block into a soft, supple foundation for your dish. After soaking, gently pat the cubes dry with a paper towel before proceeding. You will be astonished at the difference this one step makes. It’s the closest you can get to the texture of fresh, homemade paneer without making it yourself.
Marinate for More Than Just Flavor
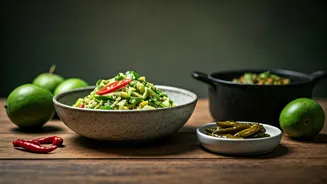
A good marinade is your paneer’s best friend. While its primary role is to infuse the relatively mild cheese with flavor, it also plays a crucial part in maintaining texture. A marinade with a slightly acidic base—like yogurt (dahi), lemon juice, or even a touch of tomato paste—works wonders. The acid helps to tenderize the surface of the cheese, preventing it from getting tough during cooking. A classic tandoori-style marinade combines thick yogurt, ginger-garlic paste, and spices like turmeric, chili powder, and garam masala. Let the paneer marinate for at least 30 minutes, or up to a few hours in the refrigerator. This not only guarantees every bite is packed with flavor but also provides a protective coating that helps it withstand the heat of the pan.
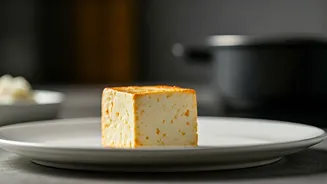
Master the Sear: Hot, Fast, and Uncrowded
The biggest mistake cooks make is treating paneer like a vegetable that needs to be cooked through. Paneer is already cooked; your goal is simply to heat it and give it texture and color. The best way to do this is with a quick, high-heat sear. Use a heavy-bottomed skillet (cast iron is perfect) and get your oil or ghee shimmering hot. Most importantly, do not overcrowd the pan. Place the paneer cubes in a single layer with space between them. Overcrowding drops the pan’s temperature, causing the paneer to steam instead of sear. When it steams, it leeches water and becomes tough and rubbery. Work in batches if you have to. Sear each side for just a minute or two until it’s beautifully golden-brown. This creates a delicious, slightly crisp exterior while keeping the inside soft and pillowy.
Timing is Everything in a Curry
If you are adding paneer to a simmering sauce like in paneer butter masala or palak paneer, timing is critical. Never, ever boil paneer in a sauce for an extended period. This is a one-way ticket to rubbery cheese. The sauce itself should be completely cooked and the flavors developed before the paneer even thinks about joining the party. If you have seared your paneer cubes first (highly recommended for texture), add them to the hot curry during the last 2-3 minutes of cooking. This is just enough time for the paneer to warm through and absorb some of the sauce's flavor without overcooking. If you’re using un-seared, soaked paneer, you can add it and simmer gently for about 5 minutes, but no longer. Think of it as the final garnish, not a long-simmering ingredient.
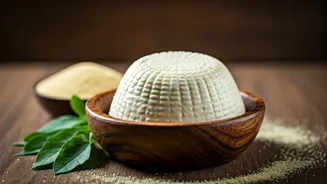
A Note on Homemade vs. Store-Bought
While these tips will vastly improve store-bought paneer, it’s worth noting that homemade paneer has a naturally softer, more delicate texture. This is because it’s typically made with whole milk and hasn’t been pressed and compacted as aggressively for commercial packaging and a long shelf life. Making paneer at home is a surprisingly simple process of curdling milk with an acid like lemon juice or vinegar and pressing the curds. If you ever find yourself with a free hour and a half-gallon of whole milk, giving it a try can be a revelation. But for everyday cooking, the soaking and searing techniques will get your store-bought block incredibly close to that coveted homemade quality.