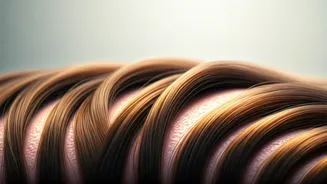


The Unseen Final Act: Sealing the Cuticle
The secret isn’t another expensive shampoo or a complicated treatment. It’s a simple technique: sealing your hair’s cuticle. Think of your hair shaft as being covered in tiny, overlapping shingles, like the tiles on a roof. This is the cuticle. When you wash
your hair, especially with warm water, these ‘shingles’ lift up. This is great for letting in the nourishing ingredients from your conditioner, but if you leave them lifted, your hair becomes vulnerable. An open cuticle leads to moisture loss, creates a rough texture that doesn't reflect light (causing dullness), and allows humidity to enter the hair shaft, which results in frizz. The final, non-negotiable step in any effective hair routine is to smooth those cuticles back down.
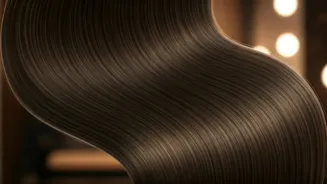
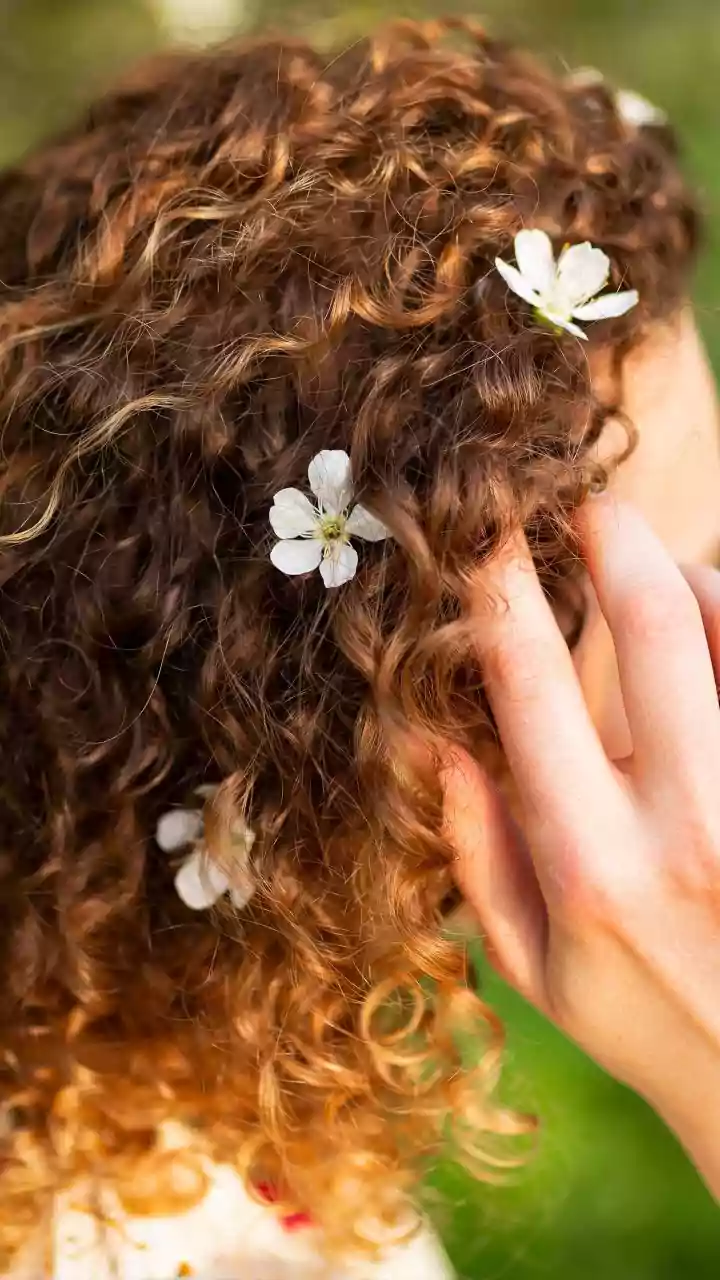
Why This Simple Step Is a Game-Changer
Closing the cuticle is the equivalent of putting a top coat on a manicure or a sealant on a wooden deck—it protects what’s underneath and enhances the final result. When the cuticles are flat and sealed, your hair shaft becomes smooth and uniform. This has three immediate benefits. First, you get a massive boost in shine because a smooth surface reflects light evenly. Second, you significantly reduce frizz because a sealed cuticle creates a barrier that prevents atmospheric moisture from penetrating the hair and causing it to swell. Finally, you lock in the moisture and nutrients from your conditioner, keeping your hair hydrated and healthier for longer. Skipping this step is like leaving the door open after you’ve turned on the air conditioning—you’re letting all the benefits escape.
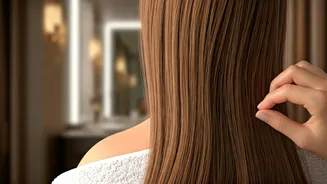
Method 1: The Cold Water Rinse
The easiest and most cost-effective way to seal your hair cuticle is with a blast of cold water. After you’ve thoroughly rinsed out your conditioner with lukewarm water, turn the temperature down as cool as you can comfortably tolerate for the final 30 seconds of your shower. You don’t need an ice bath; just a refreshing stream of cold water is enough. The cool temperature causes the cuticle to contract and lie flat, instantly smoothing the hair’s surface. Focus the stream from the roots to the ends. It might feel bracing at first, but this quick, free technique makes a noticeable difference in shine and smoothness, especially for those with relatively healthy hair to begin with.
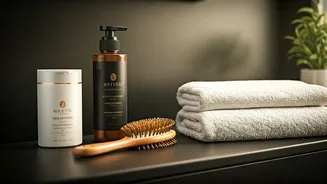
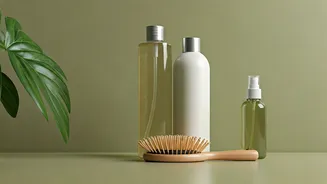
Method 2: The Right Leave-In Product
If a cold rinse isn’t for you, or if your hair is particularly dry, damaged, or coarse, a targeted product is your best bet. Lightweight leave-in conditioners, serums, and hair oils are specifically formulated to seal the cuticle. After you get out of the shower and gently towel-dry your hair so it’s damp but not dripping, work a small amount of product through your mid-lengths and ends. Look for products with silicones (like dimethicone), which are excellent at creating a weightless, protective coating, or natural polymers that smooth the hair shaft. Apply sparingly—a dime-sized amount is often enough for medium-length hair. This not only seals the cuticle but also provides a layer of protection against heat styling and environmental damage.
Method 3: A Sealing Oil Finisher
Not all oils are created equal. Some oils (like coconut or olive) are better at penetrating the hair shaft to moisturize it, while others excel at sitting on top of the hair to seal it. For this final step, you want a sealing oil. Good examples include jojoba oil, argan oil, and grapeseed oil. These can be used in two ways. You can apply a few drops to damp hair before styling to lock in moisture, or you can use an even smaller amount on dry, styled hair to tame flyaways and add a final layer of shine and protection. The key is to use a very light touch; otherwise, you can weigh your hair down. This finishing touch physically holds the cuticle down, giving your hair that polished, salon-quality look.