


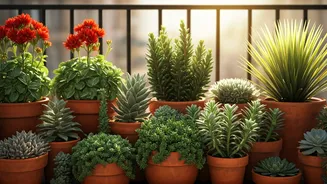
Meet Bhindi: An Edible Ornamental
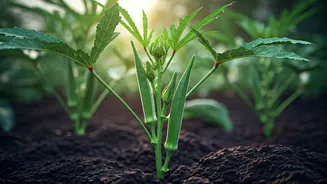
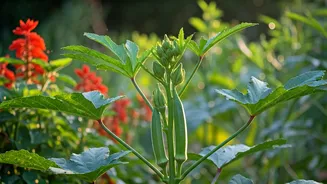
In many parts of the world, particularly India, Bhindi is simply the word for okra. But thinking of it just as a vegetable for gumbo or frying is selling it short. This plant, a member of the mallow family alongside hibiscus and hollyhock, is a true ornamental
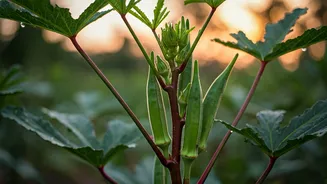
in its own right. It grows into a tall, stately stalk, often reaching heights of four to six feet, providing a fantastic vertical accent in a garden bed. Its leaves are large and handsome, creating a lush, tropical feel. The real showstoppers, however, are the flowers. Each stalk produces a series of stunning, creamy-yellow blossoms with deep crimson or burgundy centers. These hibiscus-like flowers are delicate, beautiful, and last only a day, but the plant produces them in succession, ensuring a continuous display throughout the hottest months of the summer. A row of Bhindi plants can create a beautiful, temporary summer hedge that is both productive and profoundly attractive.
The 'Pre-Monsoon' Planting Strategy
The headline’s mention of “pre-monsoon” is a key piece of climate-savvy advice that translates perfectly to American gardens. In a monsoon climate, you plant just before the season of intense heat and heavy rain arrives. For gardeners in the U.S., this means planting okra in late spring, after the last threat of frost has passed and the soil has truly warmed up—typically to at least 65°F. This timing gives the plant a chance to establish a strong root system before the peak stress of summer’s high temperatures and humidity sets in. By getting a head start, the plant becomes more resilient, better equipped to fend off pests, and more productive. For most of the country (USDA Zones 5-11), this window falls between mid-May and early June. In the warmest parts of the South and Southwest, you can start as early as April. This strategy ensures your Bhindi is thriving when other, more delicate plants begin to wilt under the summer sun.
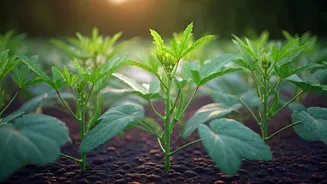
Simple Steps for Planting Success
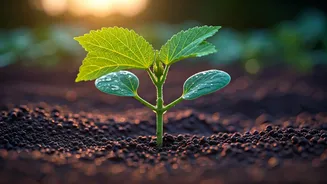
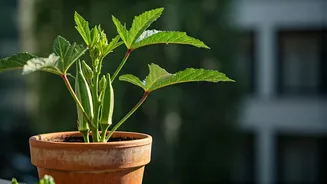
Okra is famously easygoing, making it an excellent choice for beginner gardeners. It asks for only two things in abundance: sun and heat. Pick the sunniest spot in your garden, as okra needs at least six to eight hours of direct sunlight per day to flourish. The soil should be well-drained; while okra isn’t overly picky, it dislikes having its roots sitting in water. You can improve heavy clay soil by mixing in compost to improve drainage and add nutrients. Plant the seeds about one inch deep and space them roughly 12 to 18 inches apart to give each plant enough room to branch out. Water them well after sowing and keep the soil lightly moist until the seedlings emerge, which usually takes about a week or two in warm soil. Once established, they are impressively drought-tolerant, though consistent watering will yield a better harvest.
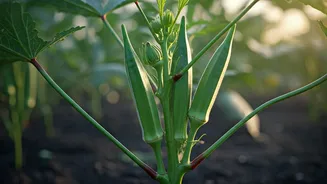
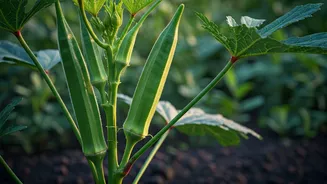
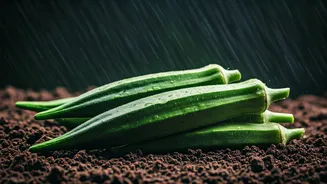
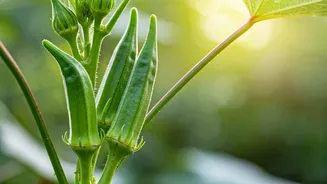
Harvesting for Tenderness and Beauty
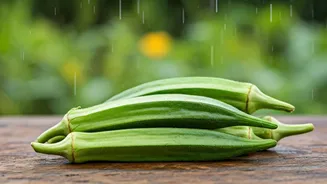
The key to delicious okra is harvesting it at the right time. The pods grow incredibly fast, and what was a tender 3-inch pod on Monday can become a tough, woody 7-inch giant by Wednesday. For the best texture and flavor, aim to harvest the pods when they are just 2 to 4 inches long. Use a sharp knife or pruning shears to snip the pod off with a small piece of stem attached. The most important tip for a long and productive season is to harvest frequently. Check your plants every other day. Regularly picking the pods encourages the plant to produce more flowers and, consequently, more okra. If you let pods mature on the stalk, the plant will think its job is done and stop producing. So, by harvesting for your kitchen, you are also signaling the plant to keep making its beautiful flowers and extending its ornamental value deep into the summer.