


The Green Wall Dream
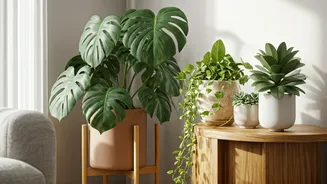
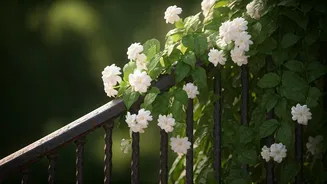
A living wall, also known as a vertical garden, is exactly what it sounds like: a collection of plants grown on a vertically suspended panel. This isn't just about lining up pots on a shelf. True living walls integrate plants into a self-contained structure,
creating a stunning tapestry of foliage that can transform a sterile room into a vibrant, natural sanctuary. They've become a staple in high-end architectural design, boutique hotels, and modern offices for a reason. They serve as living art, a focal point that brings the calming, restorative feeling of the outdoors inside. This connection to nature, often called biophilia, is linked to reduced stress and increased well-being. A living wall isn't just decoration; it's an experience.
A Breath of Fresh... Reality
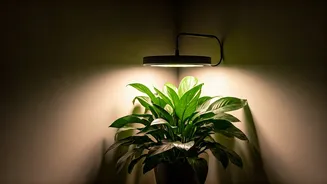
Now, let’s talk about that “air purifying” claim. It stems from a famous 1989 NASA study which found that common houseplants could remove volatile organic compounds (VOCs) like benzene and formaldehyde from the air in a sealed chamber. This is scientifically true. However, translating this to your home is tricky. Subsequent research has shown that to replicate NASA’s results in an average-sized room with normal air circulation, you’d need hundreds, if not thousands, of plants. The air-filtering effect of a small, decorative living wall is, unfortunately, negligible. A better approach is to focus on ventilation by opening windows and using air purifiers with HEPA filters if clean air is your primary goal. So, why get a living wall? For its undeniable aesthetic beauty, the joy of tending to it, and the proven psychological benefits of being around greenery.
Your Budget-Friendly U.S. Blueprint
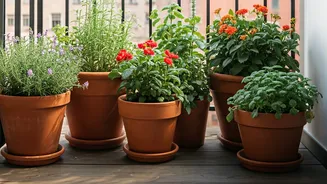
The headline mentions a ₹2,000 budget, which is roughly $25. While that exact price is tough to hit in the U.S. for a full wall, you can absolutely create a beautiful, small-scale living wall for under $75. The key is a smart, DIY approach. Forget custom-built, irrigated systems. Your budget-friendly blueprint relies on simple, modular components. The most popular method involves fabric pocket planters. These are essentially durable felt sheets with multiple pockets sewn in, designed to hold soil and plants. You can find them online for $15-$25. The other components are just as accessible: a bag of quality potting mix ($10), a selection of small starter plants ($20-$30), and basic wall hooks for mounting. This approach puts a stylish, impactful project well within reach.
Choosing Your Wall-Worthy Plants
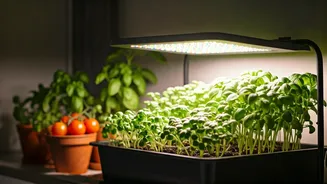
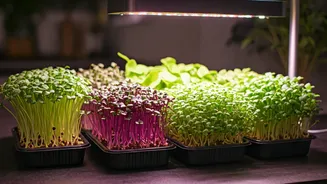
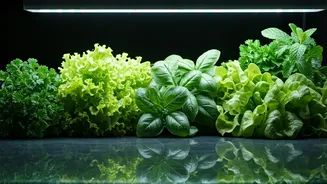
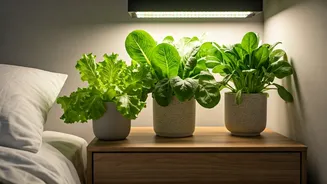
The best plants for a beginner's living wall are resilient, low-maintenance, and happy in small containers. Look for trailing plants that will create a beautiful cascading effect. Here are a few excellent choices: * **Golden Pothos (Epipremnum aureum):** The undisputed king of easy-care houseplants. It's incredibly forgiving, trails beautifully, and tolerates a wide range of light conditions. * **Heartleaf Philodendron (Philodendron hederaceum):** Similar to pothos with lovely heart-shaped leaves. It's another trailing vine that's nearly impossible to kill. * **Spider Plant (Chlorophytum comosum):** Known for its arching leaves and the little “spiderettes” it produces, which can be propagated into new plants. They are tough and adaptable. * **Arrowhead Plant (Syngonium podophyllum):** This plant has attractive arrow-shaped leaves and comes in various colors. It enjoys the contained environment of a wall pocket. * **Bird’s Nest Fern (Asplenium nidus):** For a different texture, this fern’s wavy, bright green fronds grow in a rosette shape. It loves humidity, making it great for kitchens or bathrooms.
Simple Step-by-Step Assembly
Ready to build? It’s easier than you think. First, choose your location. A spot with bright, indirect light is ideal for the plants listed above. Securely mount your fabric pocket planter to the wall using appropriate hooks or screws for your wall type—remember, it will be heavy when watered. Next, fill each pocket about two-thirds full with potting mix. Now for the fun part: gently remove each plant from its nursery pot, loosen the root ball slightly, and place it into a pocket. Add a little more soil to secure it in place. Once all your plants are in, water each pocket thoroughly until the soil is moist, allowing excess water to drain. Arrange the trailing vines to your liking and step back to admire your new living artwork.