


Why Okra is Your Summer Hero
Forget what you think you know about okra. Often relegated to Southern stews or dismissed for its potential sliminess, homegrown okra is a different beast entirely. It's a vegetable that doesn’t just tolerate summer heat; it craves it. While your lettuce
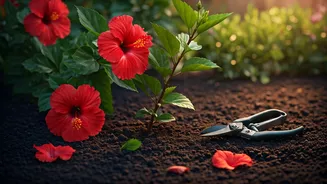
is bolting and your spinach has surrendered, a well-tended okra plant will be thriving, producing tender pods and showing off its stunning, hibiscus-like yellow flowers. For the balcony gardener, okra is a low-maintenance champion. It’s relatively drought-tolerant once established, isn't particularly fussy, and its vertical growth habit makes it a space-efficient choice. Plus, the culinary payoff is huge. When you harvest pods young (no more than 3-4 inches), they are crisp, sweet, and entirely slime-free, perfect for grilling, roasting, or quick-pickling. It’s a chance to reclaim a misunderstood vegetable and turn your sun-drenched patio into a productive oasis.
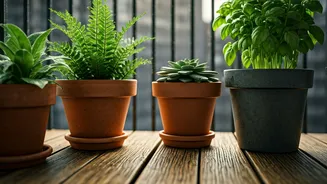
Choosing Your Pot and Variety
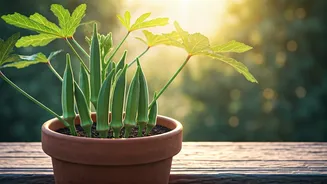
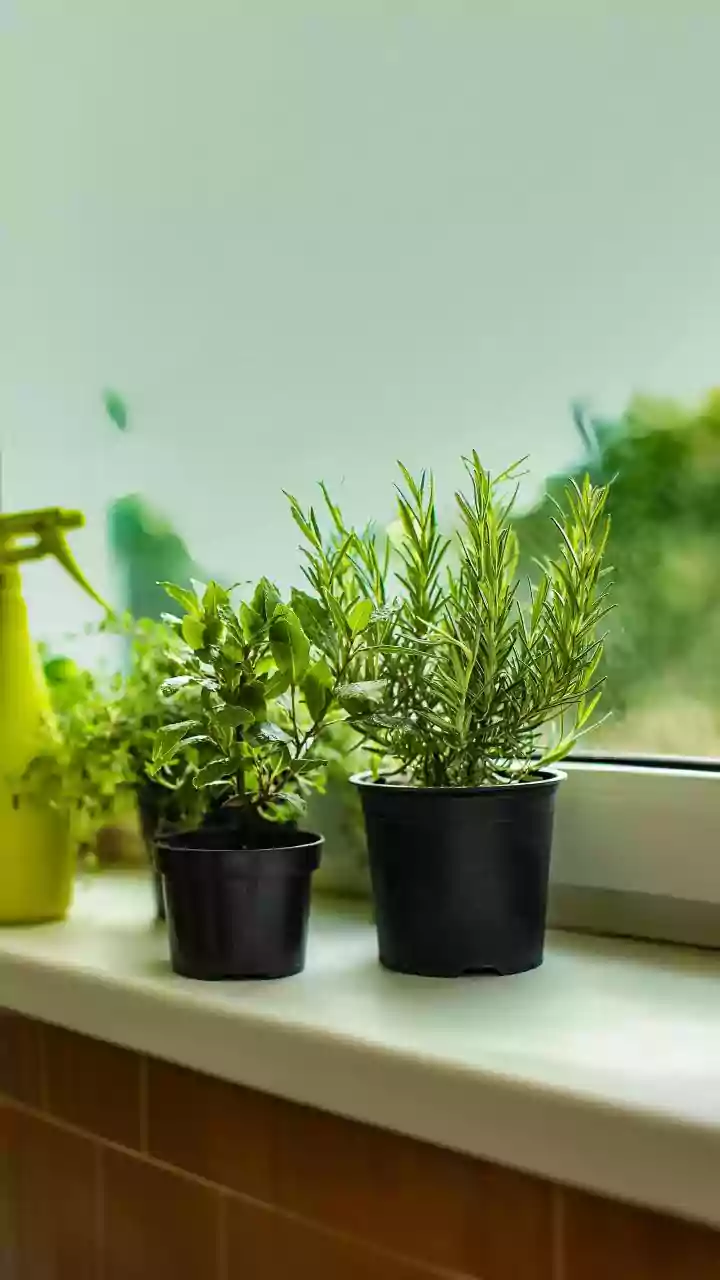
Success with container okra starts with giving it the right home. Okra develops a long taproot, so depth is more important than width. Choose a pot that is at least 5 gallons in volume and, ideally, 12-18 inches deep. A larger pot holds more soil and moisture, which means less frequent watering for you during the peak of summer. Terracotta, fabric grow bags, or any plastic container will work, as long as it has excellent drainage holes at the bottom. Not all okra varieties are created equal for container life. While you can grow any type, compact or dwarf varieties are your best bet. Look for names like ‘Baby Bubba’, ‘Cajun Delight’, or ‘Green Fingers’. These types stay smaller (around 3-4 feet tall instead of 6-8 feet) and are bred for high productivity in a compact space. Even a classic like ‘Clemson Spineless’ will do well if given a large enough pot. For a pop of color, the beautiful ‘Red Burgundy’ variety looks as good as it tastes.
Planting and Sun Worship
Okra is a warm-weather crop, period. Do not rush to plant it. Wait until all danger of frost has passed and nighttime temperatures are consistently above 60°F. The soil needs to be warm for the seeds to germinate. To give them a head start, you can soak the hard seeds in warm water overnight before planting. Fill your chosen container with a high-quality potting mix, not garden soil, which is too heavy and compacts easily. Plant 2-3 seeds about one inch deep in the center of the pot. Water them in gently. Once the seedlings are a few inches tall and have a set of true leaves, select the strongest one and snip the others at the soil line to avoid disturbing the roots. Now for the most important rule of okra club: sun. Your okra plant needs a minimum of six, and ideally eight or more, hours of direct, unfiltered sunlight per day. A south- or west-facing balcony is perfect. This is not a plant for a shady corner.
Water, Food, and Simple Care
During its early life, keep the soil consistently moist but not waterlogged. Once the plant is established and growing vigorously, it becomes more resilient. A good rule of thumb is to water deeply whenever the top inch or two of soil feels dry. On brutally hot days, your container plant may need water every day. A layer of mulch, like straw or wood chips, on top of the soil can help retain moisture and keep the roots cool. Okra is a heavy feeder. About a month after planting, start feeding it every 2-3 weeks with a balanced liquid fertilizer, following the package directions. This will fuel its rapid growth and ensure a steady supply of pods. Keep an eye out for pests like aphids, which can sometimes cluster on new growth. A strong spray of water from a hose or a treatment with insecticidal soap is usually all that’s needed to keep them in check.
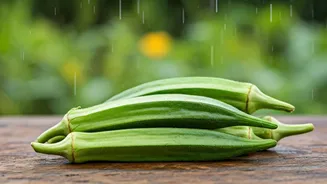
The Joy of a Continuous Harvest
This is the fun part. About two months after planting, your okra will start producing. The key to both the best flavor and a long harvest season is to pick the pods frequently. Check your plant every other day. Pods are at their prime when they are just 2-4 inches long—tender and crisp. Any larger, and they begin to turn woody and tough. Use a sharp knife or pruning shears to snip the pod off the stalk, leaving a small stub behind. A word of caution: many okra varieties have small, fuzzy spines on the leaves and stems that can cause skin irritation. It’s a good idea to wear gloves and long sleeves when harvesting. The more you pick, the more the plant will produce. This isn't a one-and-done harvest; a healthy container okra plant can keep giving you fresh pods all the way until the first frost.