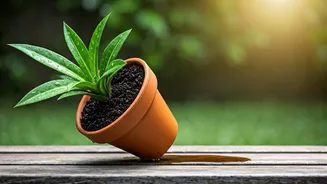


The Hidden Problem with Deep Pots
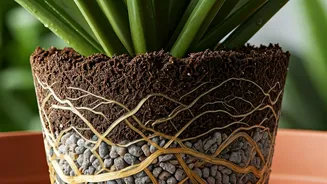
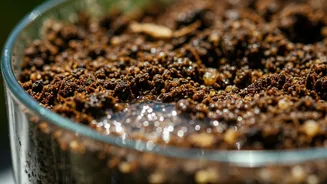
You’ve chosen a beautiful, deep pot for your new fiddle-leaf fig, giving it plenty of room to grow. But weeks later, it looks miserable. The problem isn’t necessarily how much you water, but where that water goes. In any container, a phenomenon called
a “perched water table” occurs. This is a zone at the bottom of the pot where the soil becomes completely saturated with water, refusing to drain further due to the conflicting forces of gravity and cohesion. Think of a sponge: even after it stops dripping, the bottom inch remains soaked. In a pot, this swampy layer at the bottom has no air, which is a death sentence for most plant roots. They can't absorb nutrients and begin to rot, leading to the classic symptoms of “overwatering”—even if the top of the soil feels dry.
How Tilting Changes Everything
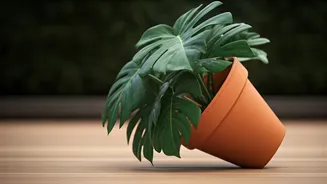
This is where a little high school physics comes in handy. By simply tilting your pot, you change the geometry of the container relative to gravity. The effective height of the soil column is increased, and its width is decreased. This simple shift forces the perched water table—that soggy bottom layer—to occupy a much smaller volume of soil in the lowest corner of the pot. More importantly, it dramatically increases the amount of well-drained, properly aerated soil available to your plant's roots. You aren't magically creating drainage; you're just tricking the water into moving out of the areas where roots need to breathe. The water that would have saturated the entire bottom of a level pot is now confined to a small, pointy corner, leaving the rest of the root zone healthier and happier.
When to Use the Tilt Technique
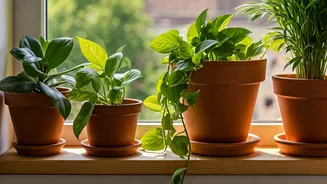
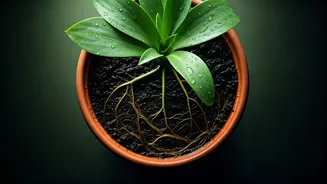
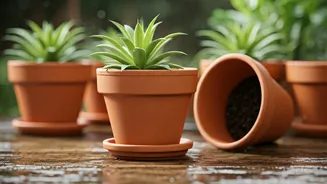
This trick isn't for every plant, but it’s a game-changer in specific situations. It's most effective for plants that are highly sensitive to root rot and prefer to dry out between waterings. Think succulents, cacti, lavender, rosemary, and many Mediterranean herbs. If you’ve ever killed a succulent by looking at it wrong, this method is for you. It's also an excellent solution when you have no choice but to use a pot that’s a bit too large or deep for a plant’s current root system. Planting a small succulent in a massive, deep decorative urn is a classic recipe for disaster. By tilting the pot, you create a shallower, better-draining environment within that larger container, effectively customizing the pot's internal conditions to suit your plant's needs without having to repot it.
A Step-by-Step Guide to Tilting
Ready to give it a try? The process is simple. First, find a sturdy, waterproof wedge to prop up your pot. A brick, a flat stone, or even a piece of treated wood will work perfectly. Place the wedge under one side of your pot to achieve a noticeable tilt of 15 to 30 degrees. Now, here’s the most important step: when you place your plant in the pot, don't plant it at an angle. Keep the plant's root ball level and its stem pointing straight up toward the sky, parallel to the ground, not to the tilted rim of the pot. Backfill with soil around the root ball. This might look a little strange at first, with a mound of soil on one side and a shallow area on the other, but the plant will be correctly oriented. Water as usual, and you’ll notice that excess water drains far more quickly and completely than before.