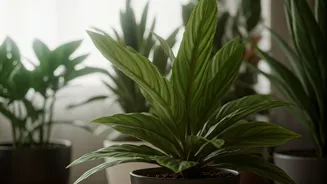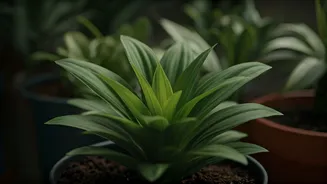


The Telltale Signs of Overwatering
Before you can fix the problem, you have to correctly diagnose it. Overwatering is insidious because its symptoms can mimic those of underwatering, tricking well-intentioned owners into watering even more. The key is to look at the whole picture. The most
common red flag is yellowing leaves, particularly the lower, older ones. Unlike the crisp, brown leaves of a thirsty plant, these often remain soft. Another major clue is wilting, even when the soil is damp to the touch. This happens because the waterlogged roots can no longer absorb oxygen and function properly, effectively suffocating the plant. Look closer for other signs: a mushy or blackened stem base, soil that smells sour or swampy, and the presence of fungus gnats, which thrive in consistently moist conditions. If you see these signs, it's time to act, not reach for the watering can again.
Performing Root Rot 'Emergency Surgery'
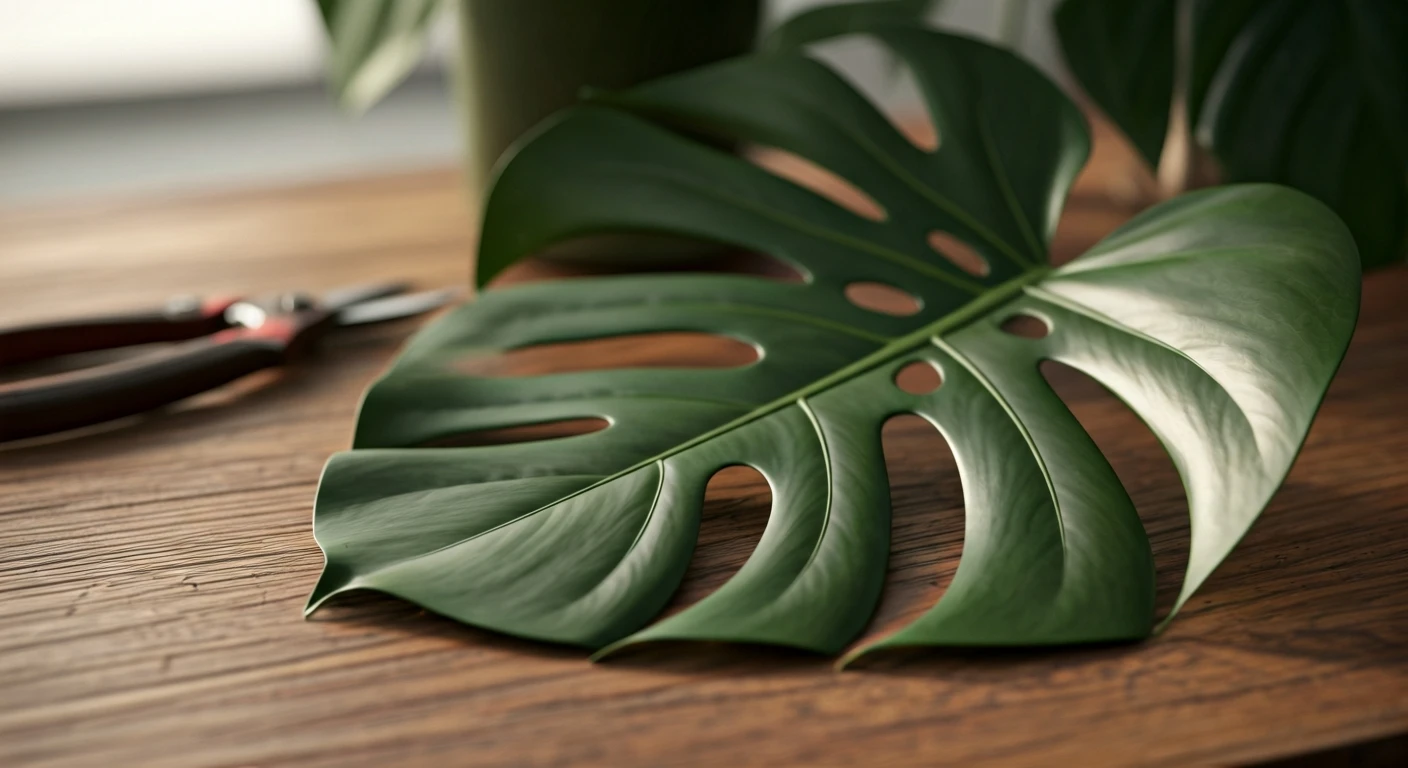
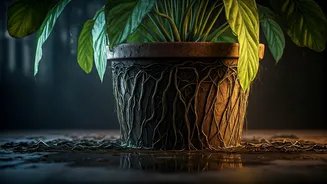
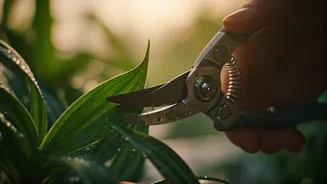
If you suspect severe overwatering has led to root rot, you’ll need to perform a plant rescue mission. First, gently slide the plant out of its pot. Don't yank it by the stem; tip the pot and tap the bottom until it loosens. Now, inspect the root ball. Healthy roots are typically firm, pliable, and whitish or light tan. Rotted roots are the opposite: they will be dark brown or black, feel mushy and slimy, and may even fall apart in your hands. They often emit a distinct, unpleasant odor of decay. If you find rot, it's time for surgery. Using a clean, sharp pair of scissors or pruning shears, carefully trim away every single affected root. Be thorough—leaving even a small amount of rot can allow the infection to spread. If you have to remove a significant portion of the root system (more than a third), it’s wise to prune a corresponding amount of foliage from the top of the plant. This rebalances the plant, reducing the demand on the smaller root system as it recovers.
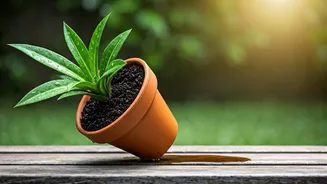
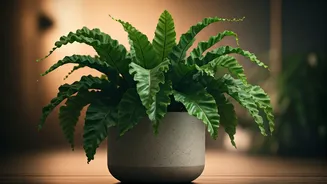
Repotting for a Fresh Start
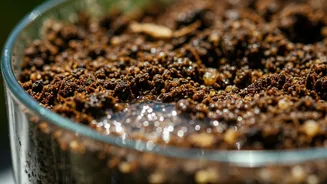
Once the rotten roots are gone, the plant needs a new, healthy home. Do not reuse the old soil; it is likely contaminated with the fungi and bacteria that caused the rot and is depleted of oxygen. Discard it completely. Select a new pot or thoroughly scrub the old one with a solution of one part bleach to nine parts water to kill any lingering pathogens, rinsing well afterward. The single most important feature of the new pot is a drainage hole. Non-negotiable. Choose a fresh, well-draining potting mix appropriate for your plant type. You can often improve aeration by adding perlite or orchid bark to a standard mix. Gently place the plant with its trimmed roots into the new pot, filling in around it with fresh soil. Pat the soil down lightly, but don't compact it. After this stressful procedure, it's best to wait a day or two before watering. This allows the freshly cut roots to callous over, making them less vulnerable to new infection.
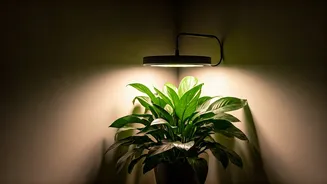
The Golden Rules of Prevention
Saving a plant from root rot is great, but never having to do it again is even better. Prevention comes down to two things: proper watering technique and the right environment. First, abandon any fixed watering schedule like “once a week.” Instead, water based on the plant’s actual needs. Before you water, check the soil. The classic “finger test” is your best friend: stick your index finger into the soil up to the second knuckle. If it feels dry at that depth, it’s time to water. If it’s damp, wait. When you do water, do it thoroughly until water runs freely from the drainage hole. Then, and this is crucial, empty the saucer beneath the pot. Letting a plant sit in a puddle is a direct invitation for root rot. Finally, understand your specific plant’s needs—a succulent wants to dry out completely, while a fern prefers to stay more consistently moist. The right knowledge is your best tool against this common plant-parent pitfall.