


So, What Exactly Are Microgreens?
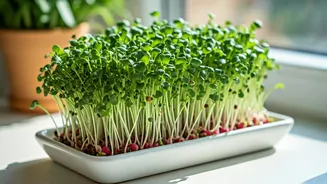
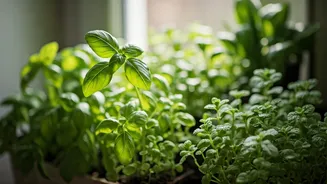
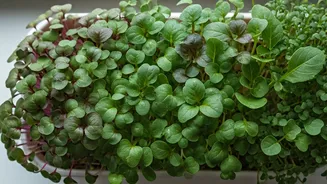
Let's clear up the biggest question first. Microgreens are not the same as sprouts. While sprouts are germinated seeds grown in water, harvested in just a few days, microgreens are young vegetable greens. Think of them as the baby stage of plants like
radishes, kale, broccoli, or arugula. They are grown in soil or a growing mat and harvested just after the first set of true leaves appear, typically between one and three weeks from planting. This small difference is crucial: because they are grown in a medium and exposed to light, microgreens develop more flavor and nutritional content than sprouts, tasting like a more concentrated version of their mature selves. A pinch of radish microgreens tastes distinctly of radish; a snip of cilantro microgreens carries the herb's signature punch.
The 'Productive' Part: Speed and Simplicity
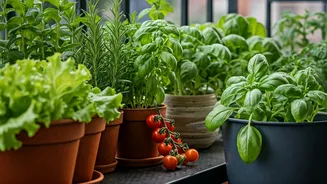
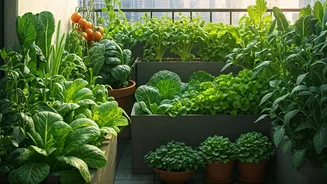
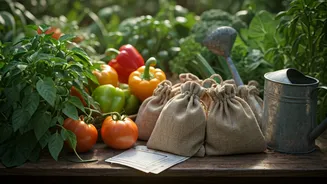
The magic of microgreens lies in the almost instant gratification they provide. If you’ve ever tried to grow a tomato or a pepper plant from seed, you know the months-long commitment it requires. You nurture a seedling for weeks, transplant it, wait for it to flower, and then hope for fruit. It’s a slow, patient process. Microgreens flip that script entirely. From sowing the seed to snipping your first harvest, you’re often looking at a timeline of 7 to 21 days. This rapid turnaround is what makes the hobby feel so productive. You can see tangible progress daily, watching the seeds sprout and grow into a dense, green carpet. For anyone living in an apartment or lacking a yard, this transforms a sunny windowsill into a productive agricultural space, no matter the season.
Your Micro-Gardening Starter Kit
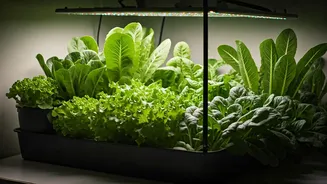
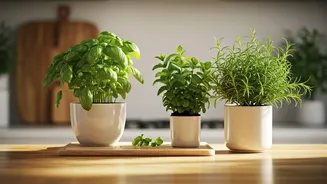
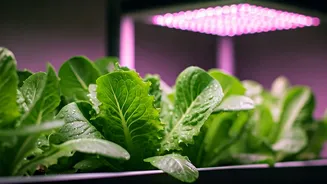
Getting started is refreshingly simple and inexpensive. You don't need fancy grow lights or complicated hydroponic systems, though you can certainly explore those later. At its core, growing microgreens requires just four things: 1. **Seeds:** Purchase seeds specifically labeled for microgreens. They are typically untreated and sold in larger quantities than regular garden seeds. 2. **A Shallow Container:** A plastic clamshell from store-bought greens, a takeout container with holes poked in the bottom, or a dedicated microgreens tray will all work. It just needs to be 1-2 inches deep. 3. **Growing Medium:** You can use a seed-starting soil mix, coconut coir, or a hydroponic grow mat. Soil provides some nutrients, but the primary energy for growth comes from the seed itself. 4. **Light and Water:** A sunny south-facing windowsill is often enough light. A simple spray bottle for watering is perfect for keeping the seeds and soil moist without dislodging them.
A Quick-Start Guide in Four Steps
Ready to try? Here’s a foolproof process: 1. **Prep Your Tray:** Fill your container with about an inch of pre-moistened soil or growing medium. Gently tamp it down to create a flat, even surface. 2. **Sow Your Seeds:** Sprinkle the seeds densely across the entire surface. Unlike traditional gardening, you want them close together, almost shoulder-to-shoulder. Don’t bury them; just press them lightly into the soil. 3. **Water and Wait:** Mist the seeds thoroughly with water. For the first few days, cover the tray with a lid or another tray to create a dark, humid environment that encourages germination. This is called the 'blackout period.' Check daily and mist as needed. 4. **Give Them Light:** Once the seeds have sprouted (usually in 2-4 days), uncover them and move the tray to a sunny spot. Water once a day from the bottom if possible, or mist gently. In another 5-10 days, once they are 1-3 inches tall and have developed their first set of leaves, they’re ready. To harvest, just snip them with scissors just above the soil line.
Easy Varieties to Grow First
Not all microgreens are created equal when it comes to ease of growth. For your first attempt, stick with the forgiving and fast-growing options. **Radish** is a star; it grows incredibly fast (often ready in 7-10 days) and has a pleasant, spicy kick. **Broccoli** is another excellent choice, known for being easy to grow and packed with nutrients, offering a mild, classic cabbage-family flavor. For something a little more gourmet, try **arugula** microgreens. They grow almost as quickly and deliver a concentrated, peppery flavor that’s fantastic on salads, sandwiches, and pizza. These three options provide a great introduction to the speed and flavor possibilities of your new indoor farm.