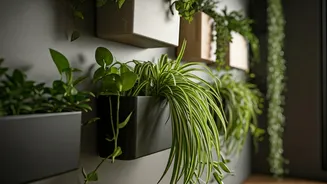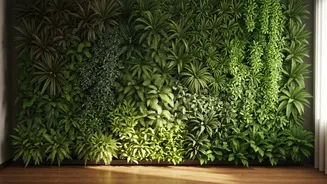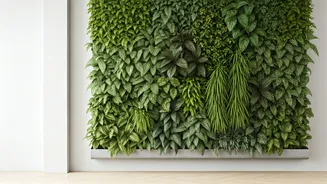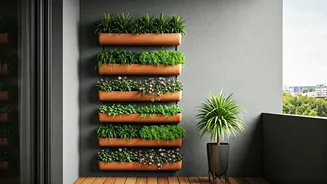


Why Vertical is the Urban Solution
In cities where square footage is a luxury, the only way to go is up. Vertical gardening isn't just a trend; it's a practical answer to the limitations of apartment and condo living. By using wall space, you free up the floor for seating, a small table,
or simply the feeling of openness. A vertical garden draws the eye upward, creating an illusion of height and transforming a bland, structural wall into a living, breathing piece of art. It’s an instant upgrade that maximizes both beauty and utility, turning your compact outdoor space into a personal sanctuary.
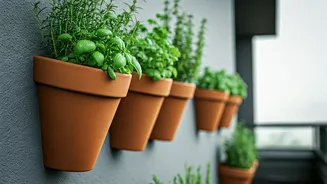
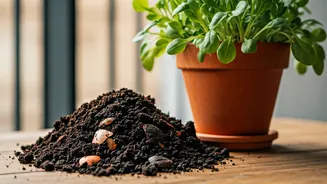
The Timeless Appeal of Terracotta
There’s a reason terracotta has been used for centuries. Its classic, earthy-red hue provides a warm, natural contrast to vibrant green foliage and cool urban materials like concrete and steel. But its benefits are more than just aesthetic. Terracotta is porous, which means it breathes. This allows air and moisture to move through the sides of the pot, preventing soil from becoming waterlogged and helping to keep plant roots healthy. This natural material weathers beautifully over time, developing a unique patina that adds character and a sense of permanence to your balcony garden.
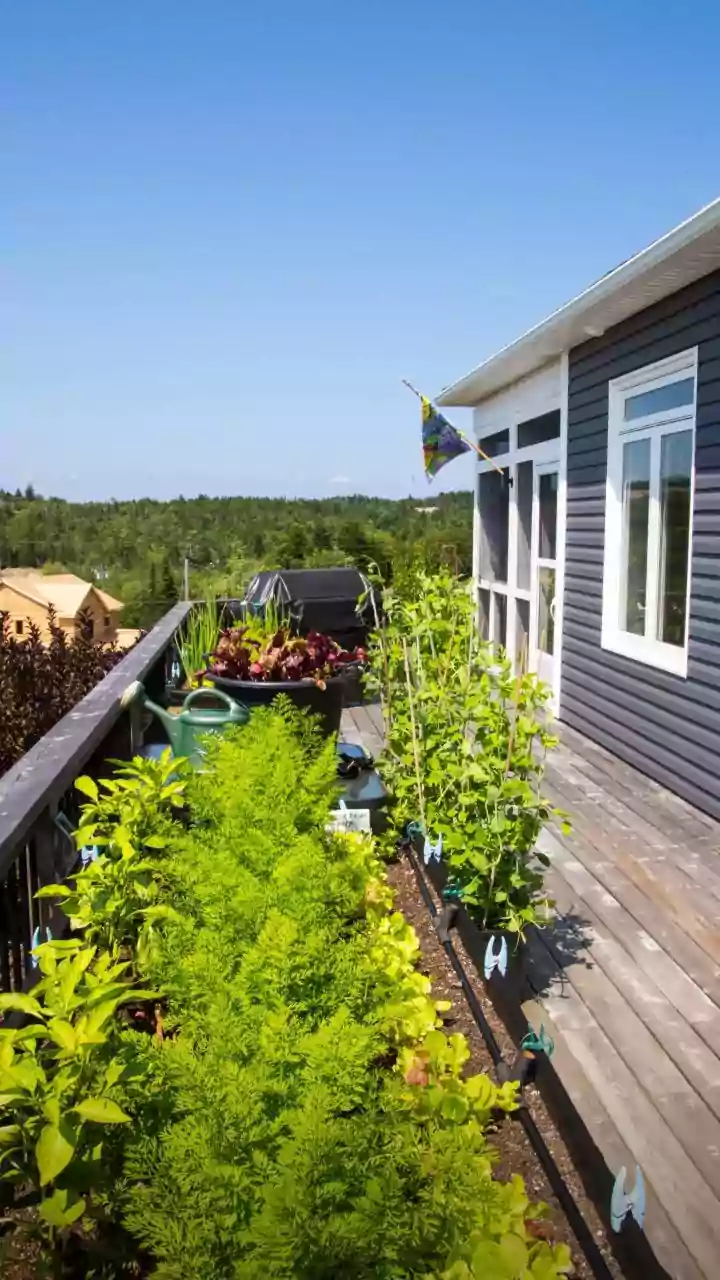
Choosing the Perfect Plants
Wall pots are typically shallower than traditional planters, so selecting the right plants is crucial. For sunny balconies, consider drought-tolerant succulents like sedum or echeveria, which thrive in well-draining soil and don't mind the heat. Trailing plants such as string of pearls or creeping Jenny create a beautiful cascading effect. For shadier spots, ferns, heuchera (coral bells), and trailing ivy are excellent choices. Aromatic herbs like thyme, oregano, and creeping rosemary are also fantastic options—they look great, smell wonderful, and are right there when you need them for cooking.
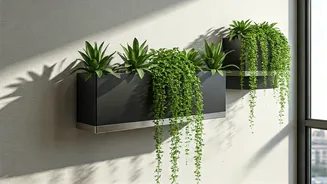
Creating Your Design Layout
Before you start drilling, plan your layout. You can create a structured, symmetrical grid for a clean, modern look. A 3x3 or 4x4 arrangement feels intentional and organized. Alternatively, a staggered or asymmetrical layout can create a more organic, free-flowing effect that feels natural and dynamic. Consider laying the pots on the ground first to visualize the spacing. Think about the growth habits of your chosen plants. Place trailing varieties in the upper pots to allow them to cascade down, and more upright plants in the lower ones to fill out the display.
Installation and Mounting Best Practices
Safety and stability are non-negotiable. A pot filled with damp soil and a plant can be surprisingly heavy. First, check your building's rules regarding attaching items to exterior walls. Ensure the wall you’ve chosen is solid—brick, concrete, or thick wood siding are ideal. Avoid mounting on drywall or flimsy partitions. Use hardware specifically designed for the weight you’ll be supporting and the wall material. This usually means heavy-duty screws and appropriate anchors. Ensure each pot is securely hung on its screw or bracket before filling it with soil and plants. It’s often easier to mount the pots first and then add the soil and plants.
Watering and Ongoing Care
Plants in wall-mounted terracotta pots tend to dry out faster than those in larger, grounded containers due to increased air circulation and sun exposure. Check the soil every day or two, especially during hot, windy weather. Water thoroughly until you see drainage from the bottom hole, but allow the soil to dry out slightly between waterings to prevent root rot. During the growing season, a monthly feeding with a balanced liquid fertilizer will keep your plants lush and vibrant. Prune away any dead leaves or stems to encourage new growth and maintain a tidy appearance.