


1. Clear the Decks for a Fresh Start
Before you can build, you have to clear the foundation. Your garden beds are likely cluttered with the remnants of winter—matted leaves, fallen branches, and the sad-looking skeletons of last year's annuals. While it’s tempting to leave some of this as “natural
mulch,” it’s often a mistake. This debris can harbor pests and fungal diseases like powdery mildew, which are just waiting for warmer weather to explode. Rake everything out thoroughly. Pull any early-bird weeds that have managed to sprout on a warm day. This gives you a clean slate and removes potential problems before they take root. Trim back any dead or damaged branches on perennials and shrubs to encourage healthy new growth. Think of it as a seasonal deep clean for your outdoor space.
2. Get to Know Your Soil
Gardening without knowing your soil is like trying to bake a cake without a recipe. You might get lucky, but you're probably in for a disappointment. Your soil’s pH and nutrient levels determine what your plants can (and can’t) access. A simple, inexpensive soil test kit from a garden center or your local university cooperative extension office is the single most valuable tool you can use. The results will tell you if your soil is acidic or alkaline and what key nutrients—like nitrogen, phosphorus, and potassium—it's missing. This information is gold. It stops you from wasting money on the wrong fertilizers and helps you choose plants that will naturally thrive in your garden’s specific conditions.
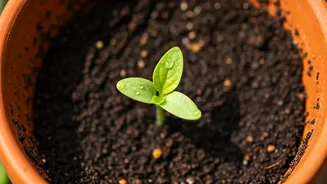
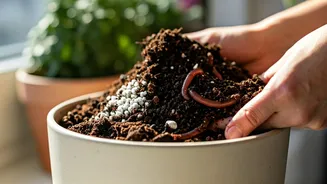
3. Feed Your Foundation
Once your soil test results are in, it’s time to amend. This is the step that transforms mediocre dirt into the rich, life-giving foundation your plants crave. For the vast majority of gardens, the answer is compost. Compost is the ultimate soil conditioner. It improves drainage in heavy clay soils, helps sandy soils retain moisture, and provides a slow-release buffet of essential nutrients. Spread a generous layer (one to three inches) of compost over your beds and gently work it into the top six inches of soil with a garden fork. Avoid over-tilling, which can destroy soil structure. If your test revealed specific deficiencies, now is the time to add targeted amendments like lime to raise pH or bone meal to boost phosphorus. This investment of effort now will pay dividends all season long.
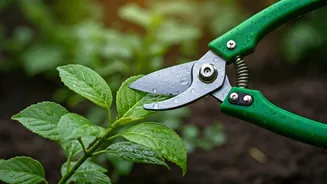
4. Sharpen Your Tools, Sharpen Your Results
Using dull, dirty tools is not only frustrating, it’s bad for your plants. A dull trowel makes digging a chore, and dirty pruners can easily spread disease from one plant to another. Take an hour now to give your tools some TLC. Scrape off any caked-on mud from shovels and forks. Use a wire brush to remove rust. Most importantly, sharpen the blades on your pruners, loppers, and shears. A sharp blade makes a clean cut, which heals faster and is less susceptible to disease. A dull blade crushes plant tissue, creating a ragged wound that invites infection. After sharpening, wipe the blades with a cloth soaked in rubbing alcohol or a bleach solution to sterilize them. A little oil on the joints and hinges will keep them moving smoothly.
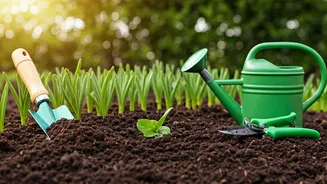
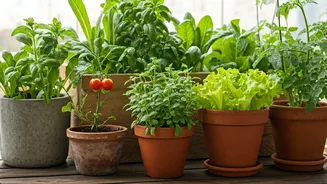
5. Map Out Your Masterpiece
The siren song of the garden center in spring can lead to impulse buys and a chaotic, overcrowded garden. Avoid this by making a plan first. Sketch out your garden beds on a piece of paper. Consider the sun's path across your yard—which areas get full sun, and which are in partial shade? Group plants with similar light and water needs together. Think about spacing; that tiny seedling will grow, so give it the room it needs as specified on the plant tag or seed packet. A good plan also helps with crop rotation in vegetable gardens, which is crucial for preventing soil-borne diseases and nutrient depletion. Having a map before you shop keeps you focused and ensures every plant you bring home has a perfect place to go.