


First, What Are Microgreens?
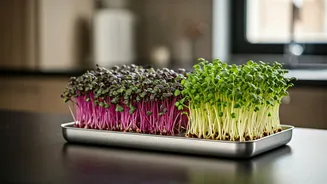
Before we start, let's clarify what we're growing. Microgreens are not sprouts. They are young vegetable greens, harvested just after the first true leaves have developed. Think of them as the toddler stage of a plant—older than a baby sprout but younger
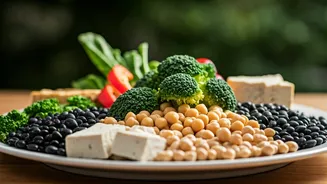
than a full-grown vegetable. This is their peak moment for both flavor concentration and nutrient density. Arugula microgreens taste like peppery arugula, but more intense. Radish microgreens have a spicy kick. They are a simple way to add a burst of flavor, texture, and nutrition to almost any dish, from avocado toast to steak.
The Simple '1-Tray' Setup
Forget expensive grow kits. The 'hack' is all about minimalism. All you truly need is one shallow container with drainage holes and a corresponding bottom tray or lid to catch water. Many plastic takeout containers or berry clamshells are perfect for this. The container itself holds the soil and seeds, and its lid, placed underneath, acts as the water reservoir. This allows for 'bottom watering,' which prevents mold and keeps the delicate stems dry. Your full supply list is short: - A shallow container with drainage holes (like a rotisserie chicken container bottom or a berry clamshell). - A tray or lid that the container can sit in (the lid from that takeout container works great). - Organic potting soil or coconut coir. - Organic microgreen seeds (radish, broccoli, and kale are great for beginners). - A spray bottle for water.
Step 1: Prep Your Tray and Soil
Start by filling your holed container with about one to two inches of pre-moistened potting soil or coconut coir. You want it damp, like a wrung-out sponge, not soaking wet. Gently press the soil down to create a flat, even surface. A level bed is crucial for ensuring all your seeds get equal access to water and light, preventing patches of poor growth. If you’re using larger seeds like peas, you might want to soak them in water for a few hours beforehand to speed up germination, but for small seeds like broccoli or kale, this step isn't necessary.
Step 2: Sow Seeds and Enter the 'Blackout'
Now for the fun part. Sprinkle your seeds evenly and densely across the entire surface of the soil. Don't be shy; you want them to be close but not overlapping, like grass seed on a new lawn. Once they're spread, gently mist the seeds with your spray bottle. Do not cover them with soil. Instead, cover the entire tray with a dark lid, a second tray flipped upside down, or even a book. This is the 'blackout' period. For the next 2-4 days, the seeds need darkness and moisture to germinate. This dark, humid environment encourages them to sprout strong roots. Mist them once a day to keep them happy.
Step 3: Introduce Light and Water
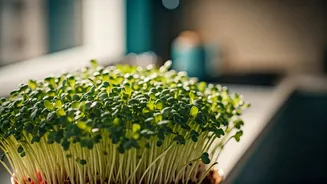
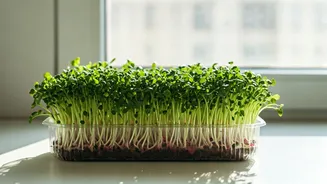
After a few days, you'll peek under the cover and see a pale, yellowish forest of tiny stems. This means it's time for light! Remove the cover and place your tray on a sunny windowsill or under a grow light. The pale shoots will quickly turn a vibrant green as they begin to photosynthesize. From this point on, stop misting the tops. Instead, pour a small amount of water (about a quarter-inch) into the bottom tray or lid. The soil will soak up the moisture through the drainage holes. This bottom-watering technique is the key to preventing rot and disease.
Step 4: Harvest Your Bounty
Your microgreens will be ready to harvest in about 7 to 14 days from sowing, depending on the variety. You'll know they're ready when they are 2-3 inches tall and have developed their first set of 'true leaves'—the small leaves that appear after the initial round 'cotyledon' leaves. To harvest, use a sharp pair of scissors or a knife and cut the stems just above the soil line. You can harvest the whole tray at once or snip them as needed for maximum freshness. Give them a gentle rinse before eating.