


The Art of Kokedama
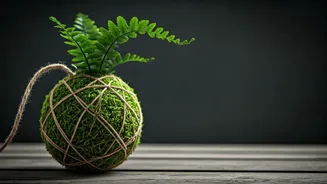
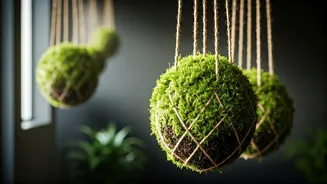
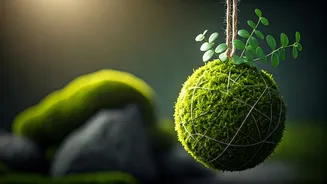
Before you get your hands dirty, it helps to know what you’re making. Kokedama, which translates to “moss ball” in Japanese, is a style of bonsai that dates back centuries. The practice is related to the “nearai” method, where a plant is grown in a way
that its roots and soil form a compact ball, which can then be displayed on a platform or hung. Instead of a pot, the plant’s root system is encased in a sphere of soil, wrapped in moss, and bound with string. The result is a stunning, self-contained living sculpture that brings a touch of organic, minimalist beauty to any space. It’s a project that’s both meditative to create and beautiful to display.
Gather Your Materials
The key to a successful Kokedama is having the right components. You can find most of these at your local nursery or garden center.
For the Soil Mix:
* Peat Moss: This holds moisture. (About 70% of your mix)
* Akadama or Bonsai Soil: This provides structure and drainage. (About 30% of your mix)
* Water: To bind the soil together.
For the Plant & Wrapping:
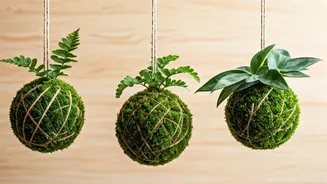
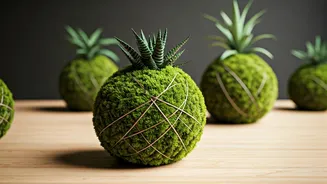
* A Small Plant: Plants that prefer indirect light and tolerate moist conditions work best. Think pothos, ferns, philodendrons, or spider plants. Avoid succulents or cacti.
* Sheet Moss: This will form the outer green layer. You’ll need enough to wrap your entire soil ball. Preserved or fresh sheet moss both work well.
* Twine or String: Jute, cotton, or fishing line are all great options for binding the moss ball together.
Step 1: Mix the Soil and Form the Ball
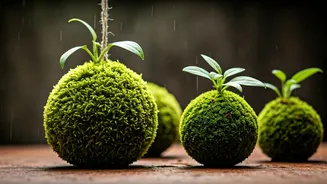
In a large bowl or bucket, combine your peat moss and akadama (or bonsai soil). Slowly add water and mix with your hands until the soil has the consistency of thick clay. It should be wet enough to hold its shape when you squeeze it, but not so soggy that it’s dripping everywhere. Once it's mixed, scoop up a handful and begin forming it into a firm, round sphere. The size of the ball will depend on the size of your plant’s root system—aim for something slightly larger than the root ball you’ll be working with. Think of it like making a giant meatball or a snowball. Keep compacting it until it feels solid.
Step 2: Add Your Plant
Gently remove your chosen plant from its nursery pot and carefully tease away the loose soil from its roots. You don't need to remove all of it, just enough to expose the main root structure. Now, break your soil ball in half, or create a small crater in the top. Gently place the plant’s roots inside, and then mold the soil ball back together around them, making sure the roots are fully encased. Add a little more of your soil mixture if needed to ensure the base of the plant stem is flush with the top of the sphere. The goal is a seamless ball with a plant happily emerging from it.
Step 3: Wrap It in Moss
Now for the fun part. Take your sheets of moss and begin pressing them onto the surface of your soil ball. This can be a bit messy, so don’t worry if it doesn’t look perfect at first. The goal is to cover the entire soil surface. Overlap the pieces slightly to avoid any exposed dirt. Gently squeeze the ball as you apply the moss to help it adhere and to maintain the spherical shape. The moisture from the soil will help the moss stick. Think of it as wrapping a present, but the present is a ball of mud and the wrapping paper is a lush green carpet.
Step 4: Secure with Twine
Once your ball is covered in moss, it’s time to secure everything. Take your twine or string and wrap it around the ball several times in one direction, pulling it taut and tying a secure knot. Then, begin wrapping the string randomly all around the ball—crisscrossing over itself to create a web that holds the moss firmly in place. There’s no right or wrong way to do this; some people prefer a neat, symmetrical pattern, while others like a more organic, free-form look. Once you feel the moss is secure, cut the string, leaving a long tail if you plan to hang it. Tie it off securely.
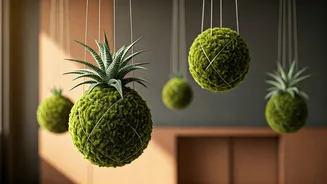
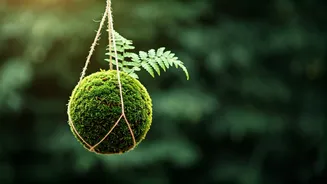
Caring For Your Kokedama
Your living sculpture is complete! To water it, simply submerge the moss ball in a bowl of room-temperature water for about 10-15 minutes, or until it feels heavy and fully saturated. Let it drip in a sink or colander before re-hanging. You’ll know it’s time to water when the ball feels light. Most Kokedama prefer bright, indirect light. You can display your creation on a decorative dish or use the extra length of twine to hang it in a window, creating a beautiful floating garden effect.