


From Powdered Dust to Culinary Gold
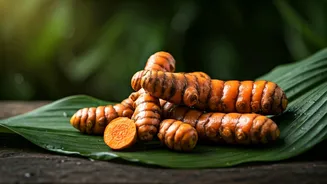
For most of us in the U.S., turmeric is a fine, yellow-orange dust in a jar. We sprinkle it into curries and golden milk lattes, appreciating its earthy flavor and color. But fresh turmeric is a different beast entirely. A knobby, finger-like rhizome
with bright orange flesh, it boasts a flavor profile that’s far more complex and lively than its dried counterpart. It has a bright, floral, almost citrusy zing layered over its signature earthy bitterness. Using fresh turmeric completely elevates a dish, providing a depth and vibrancy that the powder simply can't match. Growing your own means you have access to this culinary goldmine, turning a simple ingredient into a gourmet experience and saving you money on the often-pricey fresh rhizomes at the grocery store.
Your Simple Shopping List
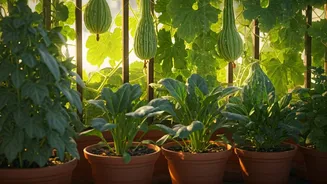
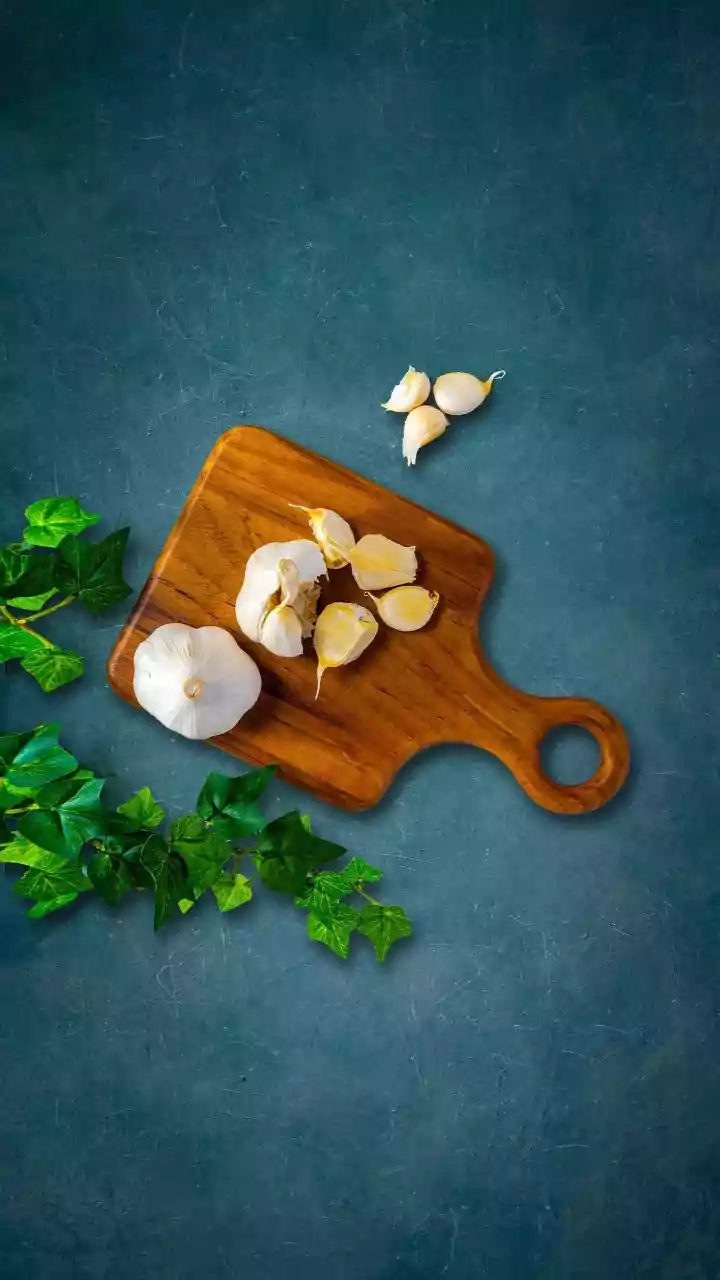
Getting started is surprisingly simple and doesn't require a sprawling garden. In fact, turmeric thrives in containers, making it ideal for patios, balconies, or a sunny indoor spot. Here’s what you’ll need: 1. **Turmeric Rhizomes:** Look for firm, plump rhizomes with several small buds (or “eyes”) on them. You can often find these at Asian markets, health food stores, or online from specialty seed suppliers. If possible, choose organic to ensure they haven't been treated with a sprout inhibitor. 2. **A Wide, Shallow Pot:** A 12- to 18-inch diameter pot with good drainage holes is perfect. Turmeric rhizomes grow horizontally, so width is more important than depth. 3. **Well-Draining Potting Soil:** A standard, high-quality potting mix will do. You can amend it with a little sand or perlite to improve drainage, as turmeric hates sitting in soggy soil.
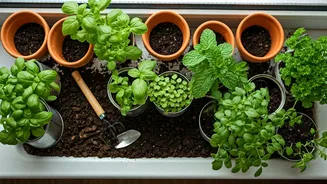
The Perfect Indoor Start
Starting your turmeric is the ideal rainy-day activity. The process, often called “waking up” the rhizome, takes a few weeks and is best done indoors where you can control the environment. In late winter or early spring, place a 2- to 3-inch piece of rhizome, bud-side up, about two inches deep in your pot of soil. Water it well once, and then place the pot in a warm, bright location, but not in direct, scorching sunlight. Now comes the patience. Don't overwater; you just want the soil to remain lightly moist. In a few weeks to a month, you should see a green shoot emerge from the soil. This is the moment your kitchen project officially becomes a houseplant.
From Sprout to Lush Plant
Once your turmeric has sprouted, its needs are straightforward. As the weather warms, you can move the pot outdoors to a spot that gets morning sun and afternoon shade, or keep it in a very bright window. Turmeric is a tropical plant, so it loves heat and humidity. Water it regularly to keep the soil consistently moist but not waterlogged. Throughout the summer, it will grow into a beautiful plant with large, lush, green leaves that can reach three feet tall, resembling a canna lily. It's an attractive ornamental in its own right, adding a tropical flair to your space while it quietly works on producing valuable rhizomes below the surface.
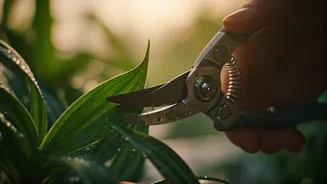
Harvesting Your Golden Reward
Turmeric requires a long growing season—about 8 to 10 months from planting to harvest. You'll know it's ready when the leaves and stem begin to turn yellow and dry out. This usually happens in the fall. At this point, stop watering the plant for about a week to make harvesting easier. To harvest, gently tip the pot over and ease the entire plant and soil ball out. Shake the soil loose from the root system, and you'll find a cluster of fresh, new rhizomes attached to the original piece you planted. You can break these off, wash them, and they are ready to use. Be sure to save a few choice pieces with buds to plant for next year's crop, continuing the cycle.