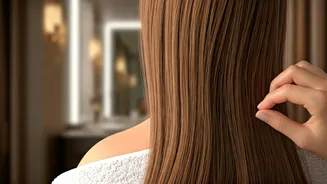

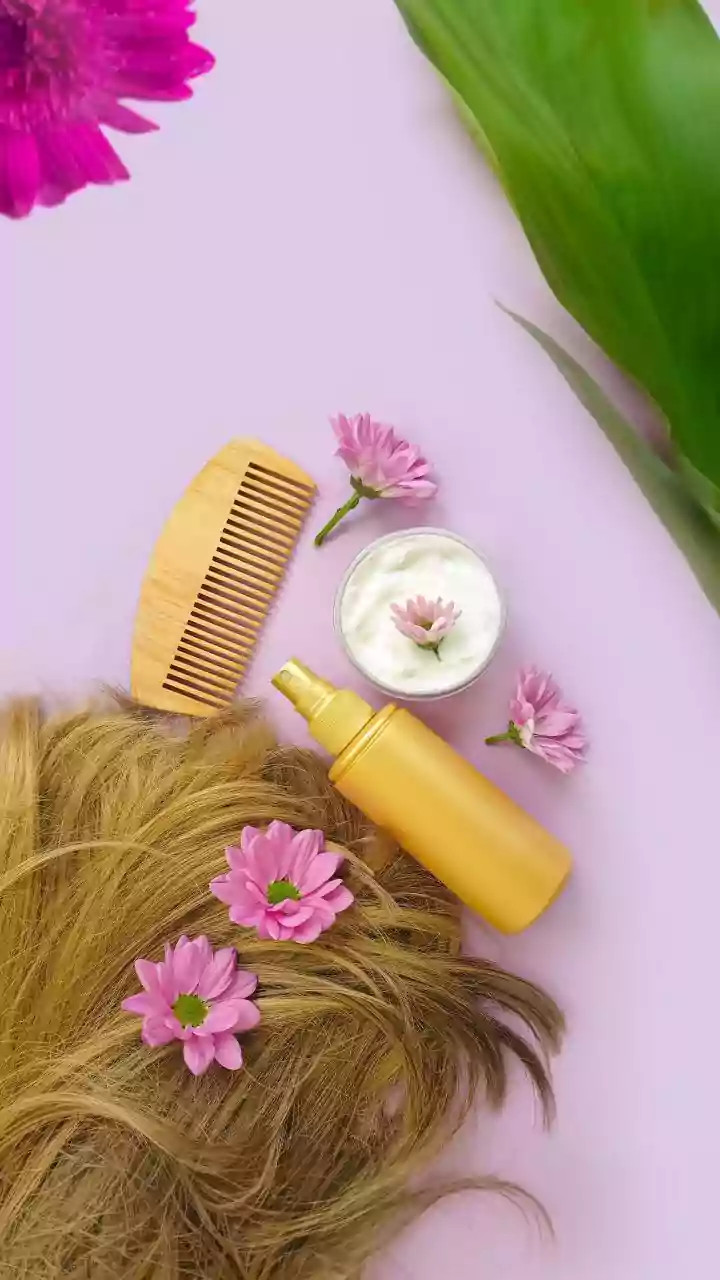


Step 1: The Conditioner Rule
Shampoo cleanses, but it can also strip your hair of its natural oils, leaving the cuticle—the hair’s protective outer layer—raised and vulnerable. That’s where conditioner comes in. Its job is to smooth that cuticle back down, restore moisture, and make
your hair manageable. The rule is simple: apply conditioner only from the mid-lengths to the ends, where your hair is oldest and needs the most hydration. Your scalp produces its own oil (sebum), so applying conditioner at the roots can weigh your hair down and make it greasy. Let it sit for a minute or two before rinsing with lukewarm or cool water, which helps seal the cuticle for extra shine.
Step 2: Ditch the Towel Rub
One of the most damaging things you can do to wet hair is vigorously rub it with a rough cotton towel. When hair is wet, it's in its most fragile state. That friction creates frizz, encourages split ends, and can cause outright breakage. Instead, gently squeeze the excess water out of your hair in the shower. Then, use a soft microfiber towel or even an old, clean t-shirt to gently pat or scrunch your hair dry. This technique, often called “plopping” in the curly hair community, absorbs water without roughing up the hair shaft, preserving your natural texture and preventing unnecessary damage.
Step 3: Detangle with Care
Now that your hair is damp, not sopping wet, it’s time to detangle. Never, ever use a brush on wet hair unless it’s specifically designed for it (like a Wet Brush or Tangle Teezer). For most people, the best tool is a wide-tooth comb. Start at the ends of your hair and gently work your way up toward the roots in small sections. If you hit a knot, don’t rip through it. Instead, hold the hair above the tangle and gently comb it out. This prevents you from pulling on your scalp and minimizes breakage. For extra slip, you can spray a detangling product or a light leave-in conditioner before you start combing.
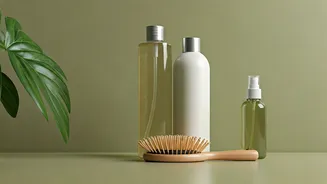
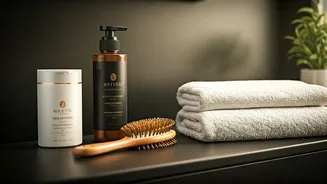
Step 4: The Optional (But Awesome) Leave-In
Think of a leave-in conditioner as a daytime moisturizer for your hair. It’s a lighter product that provides an extra layer of hydration and protection that lasts all day. Do you *need* one? Not always. But if your hair is dry, color-treated, prone to frizz, or just feels like it needs a little something extra, a leave-in conditioner is your best friend. They come in sprays (for fine hair), lotions, and creams (for thicker or curlier hair). Apply a small amount to your damp hair, focusing on the ends, before any other styling products.
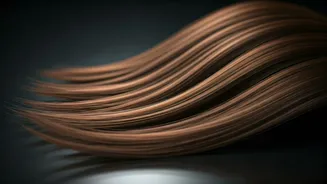
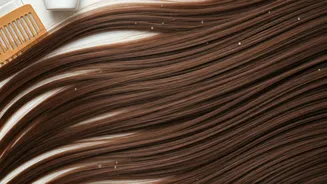
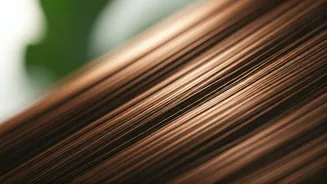
Step 5: Seal with an Oil or Serum
This is your finishing touch. A hair oil or serum has a few key jobs: sealing in the moisture from your conditioner and leave-in, fighting frizz, and adding shine. What’s the difference? Serums are often silicone-based, creating a protective coating that smooths the hair and gives it a glossy finish. Oils, like argan or jojoba oil, penetrate the hair shaft to provide nourishment from within. A good rule of thumb: use a serum for a sleek, polished look and an oil for deep conditioning and nourishment. You only need a tiny amount—one or two drops—warmed up between your palms and smoothed over the ends of your hair.
Step 6: Always Protect from Heat
If you plan on using a blow dryer, flat iron, or curling wand, this step is non-negotiable. A heat protectant spray creates a barrier between your hair and the hot tool, preventing the intense heat from scorching your strands and causing irreversible damage. Think of it like using an oven mitt to take a hot pan out of the oven. You wouldn’t skip it there, so don’t skip it here. Mist it evenly over your damp hair before blow-drying or on dry hair before using an iron. This simple step is the single best way to preserve the long-term health of your hair if you heat-style regularly.