


The $5 Challenge: Redefining 'Epic'
Let’s be clear: a five-dollar bill won’t instantly buy you a fully mature, landscape-architected paradise. The word “epic” in gardening isn’t about the initial price tag; it’s about the journey and the potential. That $5 is your seed money, both literally
and figuratively. It’s the small, accessible first step that gets you in the game. The challenge is to see the immense possibility in a humble beginning. Your garden becomes epic over time through care, creativity, and the satisfaction of watching something you planted grow from a near-zero investment.
Your Five-Dollar Shopping List
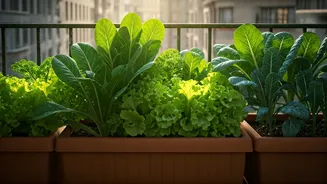
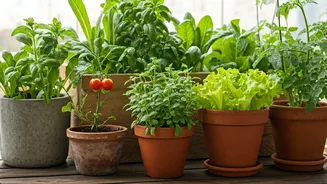
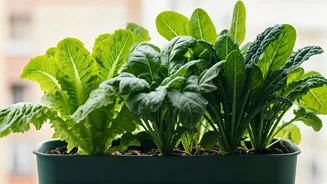
So, what can you actually get for $5? Your mission is to focus on the two things you can’t easily get for free: seeds and sterile soil. Head to a dollar store, a big-box home improvement center, or even a grocery store’s seasonal aisle. Here’s your shopping list: 1. **A Packet of Seeds ($1-$3):** Choose something easy and high-yield. For herbs, try basil, mint, or cilantro. For vegetables, look for loose-leaf lettuce, radishes, or bush beans. These grow quickly and provide a satisfyingly fast reward. 2. **A Small Bag of Seed-Starting Mix or Potting Soil ($2-$4):** Don’t just use dirt from outside, which can contain pests, weeds, and diseases. A small bag of sterile potting mix gives your seeds the best chance to germinate and thrive. Often, you can find a small 1-quart bag that’s perfect for getting started.
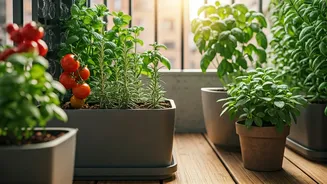
Finding the 'Free' in Your Garden
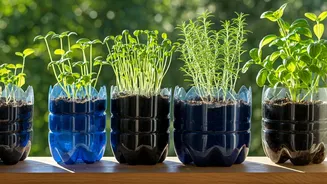
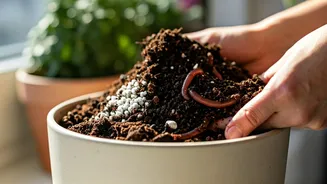
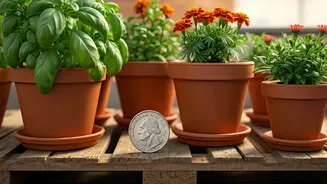
This is where your resourcefulness makes the $5 budget work. The most expensive part of container gardening is often the containers themselves, but your home is full of potential. Yogurt cups, sour cream containers, plastic soda bottles (with the top cut off), and even tin cans are perfect starter pots. The one non-negotiable rule: you must add drainage holes. Use a nail, a drill bit, or the tip of a pair of scissors to poke several holes in the bottom. Without drainage, your plant’s roots will rot. Sunlight and water are also free. Find a spot on your terrace, balcony, or stoop that gets at least six hours of sun, and you have everything you need.
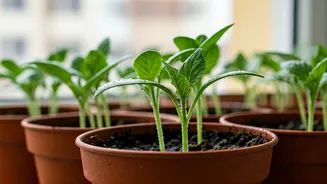
From Five Bucks to First Sprouts
With your materials assembled, you’re ready to plant. The process is simple and takes less than 15 minutes. 1. **Prepare your upcycled container:** Make sure your drainage holes are clear. 2. **Add soil:** Fill the container with your potting mix, leaving about an inch of space at the top. Lightly moisten the soil with water. 3. **Plant the seeds:** Read the seed packet for instructions on how deep to plant. A good rule of thumb for most seeds is to plant them at a depth of twice their diameter. For tiny seeds like lettuce, you can just sprinkle them on top and lightly press them into the soil. 4. **Water gently:** Give them a gentle watering to settle them in. A spray bottle is great for this if you have one; otherwise, just drizzle water carefully. 5. **Place in the sun:** Put your newly planted container in its sunny spot and keep the soil consistently moist but not waterlogged. In a week or two, you should see your first sprouts.
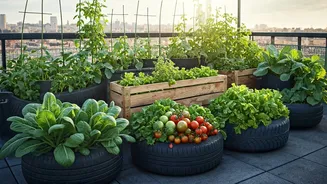
Growing Beyond the First Five
That first green shoot is the start of your epic garden. As your seedlings grow, you can start thinking about the next steps—all of which can be done on a shoestring budget. You can learn to save seeds from your own plants for the next season. You can start a small compost system with kitchen scraps to create free, nutrient-rich fertilizer. You can propagate plants like mint or basil by simply taking a cutting and placing it in water until it grows roots. The initial five dollars is just the spark that ignites a long-term, rewarding, and incredibly low-cost hobby.