


Let’s Clarify That “Five Hundred”
First, let's address the elephant in the room. Starting an herb garden doesn't require five hundred dollars—not even close. We're talking about a budget so small you might find the change in your car's cup holder. The spirit of this project is about getting
started for a “mere” sum, which in the world of home gardening, means well under ten dollars. In fact, you can easily get your first plant growing for around five dollars. This guide is about proving just how affordable and rewarding this little project can be, transforming your kitchen from a place where you cook to a place where you grow.
Choose Your Culinary Champions
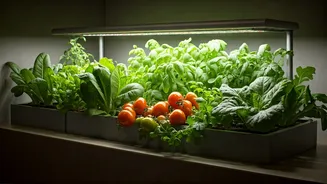
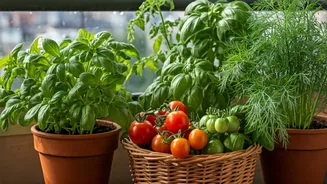
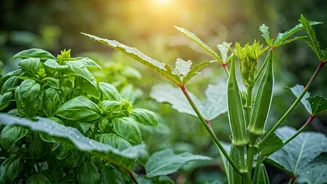
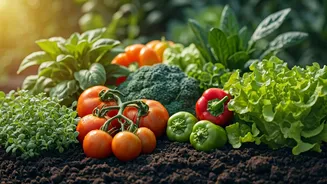
The key to a successful first garden is choosing herbs that are both easy to grow and highly useful. Don't try to cultivate a finicky French lavender on your first attempt. Stick to the reliable workhorses of the culinary world. * **Basil:** The king of Italian cooking. It loves sunshine, grows relatively quickly from seed, and one plant can supply you with fragrant leaves for pasta sauces, caprese salads, and homemade pesto all summer. * **Mint:** Almost comically easy to grow—so much so that you should always keep it in its own pot, or it will take over your entire garden. Perfect for mojitos, iced tea, or a refreshing garnish for fruit salads. * **Parsley:** A bright, versatile herb that perks up nearly any savory dish. Whether you prefer flat-leaf (Italian) or curly, it’s a forgiving plant that provides a steady supply for garnishing.
The Under-$5 Shopping List
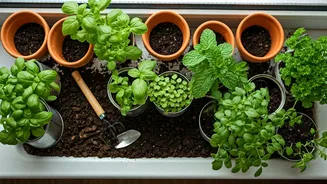
This is where the magic happens. You don't need fancy equipment, grow lights, or self-watering planters to begin. Here is your bare-bones, get-the-job-done shopping list: * **One Packet of Seeds ($2-$3):** Head to any hardware store, garden center, or even some supermarkets. A single packet of basil or parsley seeds contains dozens, if not hundreds, of potential plants for just a couple of dollars. * **A Small Bag of Potting Mix (~$3-$5):** Don't just use dirt from your backyard, which can be too dense and contain pests. A small starter bag of all-purpose potting soil is designed for container gardening and has the nutrients your seedling needs to thrive. You can often find a small 1-2 quart bag for just a few dollars. * **A “Free” Container:** This is your secret weapon for staying on budget. You don’t need to buy a pot. A clean yogurt cup, a plastic sour cream container, or the bottom half of a milk jug will work perfectly. Just make sure to poke a few holes in the bottom for drainage—this is non-negotiable, as soggy soil will rot your plant’s roots.
Planting for Success
Got your supplies? The hard part is over. Now, for the fun. Fill your chosen container with potting mix, leaving about an inch of space at the top. Moisten the soil with a little water so it’s damp but not waterlogged. Read the back of your seed packet for specific instructions, but a good rule of thumb is to plant the seeds about twice as deep as they are wide. For tiny herb seeds, this means just barely covering them with a light sprinkling of soil. Drop two or three seeds in your pot (in case one doesn't sprout) and gently press the soil down. Give it one last, light spritz of water.
Find the Sunniest Spot
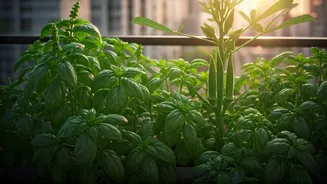
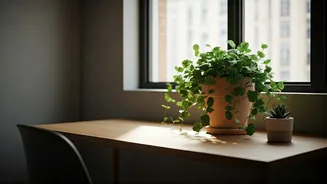
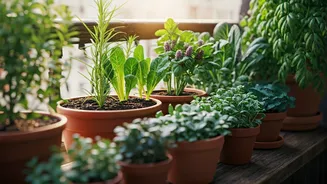
Most culinary herbs are native to sunny Mediterranean climates, and they crave sunlight. Your plant's success depends heavily on its location. Find the sunniest windowsill in your home—ideally, one that gets at least six hours of direct sunlight per day. A south-facing window is the gold standard in the U.S. If you don't have a perfect spot, don't worry. Even a window with bright, indirect light can work for less demanding herbs like mint and parsley, though they may grow a bit slower. Rotate the pot every few days so all sides of the plant get some light.
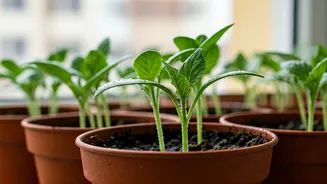
The Art of Watering and Waiting
The number one killer of beginner houseplants is overwatering. Your job is to keep the soil consistently moist, not soaking wet. A good test is to stick your finger about an inch into the soil. If it comes out dry, it's time to water. If it's still damp, wait another day. In a week or two, you should see tiny green sprouts emerge. This is the most exciting part! As your seedling grows stronger, you can thin it out by snipping the weakest-looking sprout at the soil line, leaving the strongest one to flourish.
Harvest and Enjoy the Flavor
Once your plant has several sets of leaves and looks sturdy, you can start harvesting. The key is to harvest in a way that encourages more growth. For basil, pinch off the top set of leaves right above a branching point. This will signal the plant to grow bushier. For parsley, snip the outer stalks first, allowing the center to keep producing new growth. Use your fresh herbs immediately. Toss them into salads, sprinkle them over roasted vegetables, or simply enjoy the incredible aroma. You grew that!