


Why LEDs Are a Game-Changer
For decades, indoor growing was a niche hobby, often requiring bulky, hot, and energy-guzzling fluorescent or high-pressure sodium lights. They worked, but they were impractical for the average apartment dweller or homeowner. Enter the LED (Light Emitting
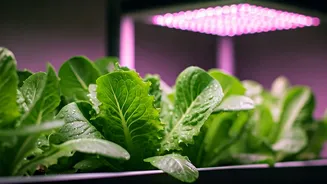
Diode). Today’s grow lights are a world apart. They are highly energy-efficient, produce very little heat (so you won’t scorch your delicate seedlings), and have a much longer lifespan. Most importantly, they can be designed to emit a “full spectrum” of light that mimics natural sunlight. Plants don’t just need brightness; they need specific wavelengths of light (especially blue and red light) to perform photosynthesis effectively, grow strong roots, and produce lush leaves. A sunny windowsill often provides too little light, especially during winter months, or offers it for too few hours. LEDs provide consistent, targeted light for the 12-16 hours a day that leafy greens need to flourish, taking the guesswork out of the equation.
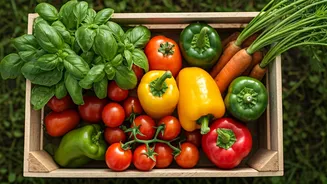
Choosing Your Easiest Greens
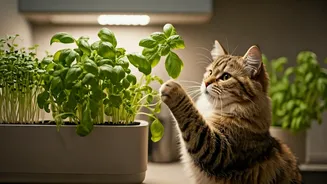
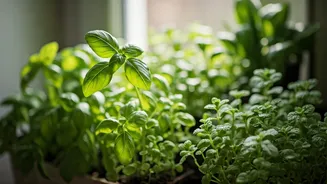
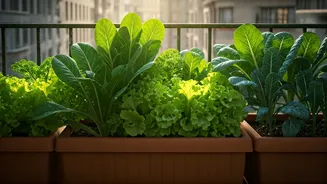
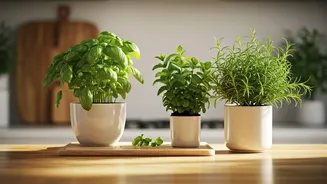
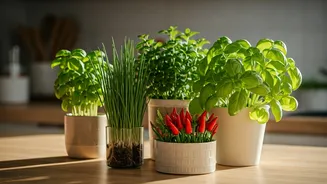
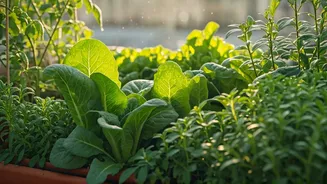
While you could technically try to grow anything indoors, starting with leafy greens offers the quickest and most rewarding results. These plants are grown for their foliage, not for fruit, so you don’t have to worry about the more complex stages of flowering and pollination. They are also relatively fast-growing, with some lettuce varieties ready for a haircut in as little as three to four weeks. Great beginner choices include: loose-leaf lettuces (like Black Seed Simpson or Red Sails), spinach, arugula, kale, Swiss chard, and most common herbs like basil, mint, parsley, and cilantro. These varieties are known as “cut-and-come-again” plants. Instead of harvesting the whole head, you can simply snip off the outer leaves, and the plant will continue to produce more from the center, giving you a continuous supply.
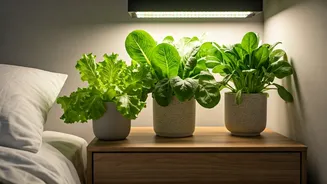
The Right Light for the Job
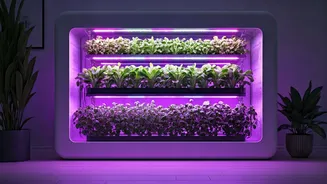
Walking into the world of grow lights can feel overwhelming, but you can ignore 90% of the jargon. For leafy greens at home, you don’t need a massive, industrial-grade panel. Look for simple, full-spectrum LED fixtures. They often come in long strips that are perfect for mounting under a cabinet or on a wire shelf, or as single bulbs that can be screwed into a standard desk lamp or clamp light fixture. The key is positioning. The light source should be kept close to the plants—typically just a few inches above them. As the plants grow taller, you’ll need to raise the light. This proximity ensures the light is intense enough to prevent the plants from becoming “leggy”—a term for weak, stretched-out stems that happen when a plant is desperately reaching for a distant light source. A simple timer, available at any hardware store, is your best friend here. Set it to turn the lights on for 14 hours and off for 10, and you’ve automated the most critical part of the process.
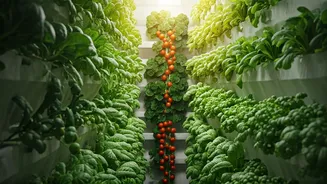
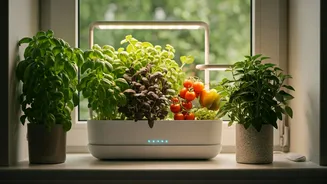
Soil, Water, and a Place to Grow
Your indoor farm doesn’t require a dedicated room. A simple wire shelving unit from a big-box store is a popular and affordable solution, allowing you to create multiple vertical layers of growing space. You can use traditional pots filled with a high-quality potting mix, which holds moisture and nutrients. Ensure any container has drainage holes to prevent root rot. For those who want to feel a bit more futuristic, simple hydroponic methods are surprisingly easy. The “Kratky method,” for example, involves placing plants in a net pot over a container of nutrient-rich water. The plant’s roots grow down into the solution, and as the water level drops, an air gap is created, providing the roots with oxygen. It’s a passive system with no pumps or moving parts, making it a fantastic entry into soil-free growing. Either way, your plants will need food. If using soil, a balanced liquid fertilizer every few weeks will do. In hydroponics, you’ll use a nutrient solution specifically formulated for that purpose.