


Why This Project Works So Well
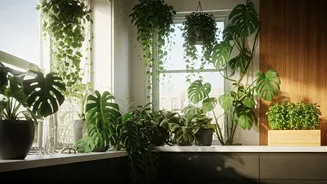
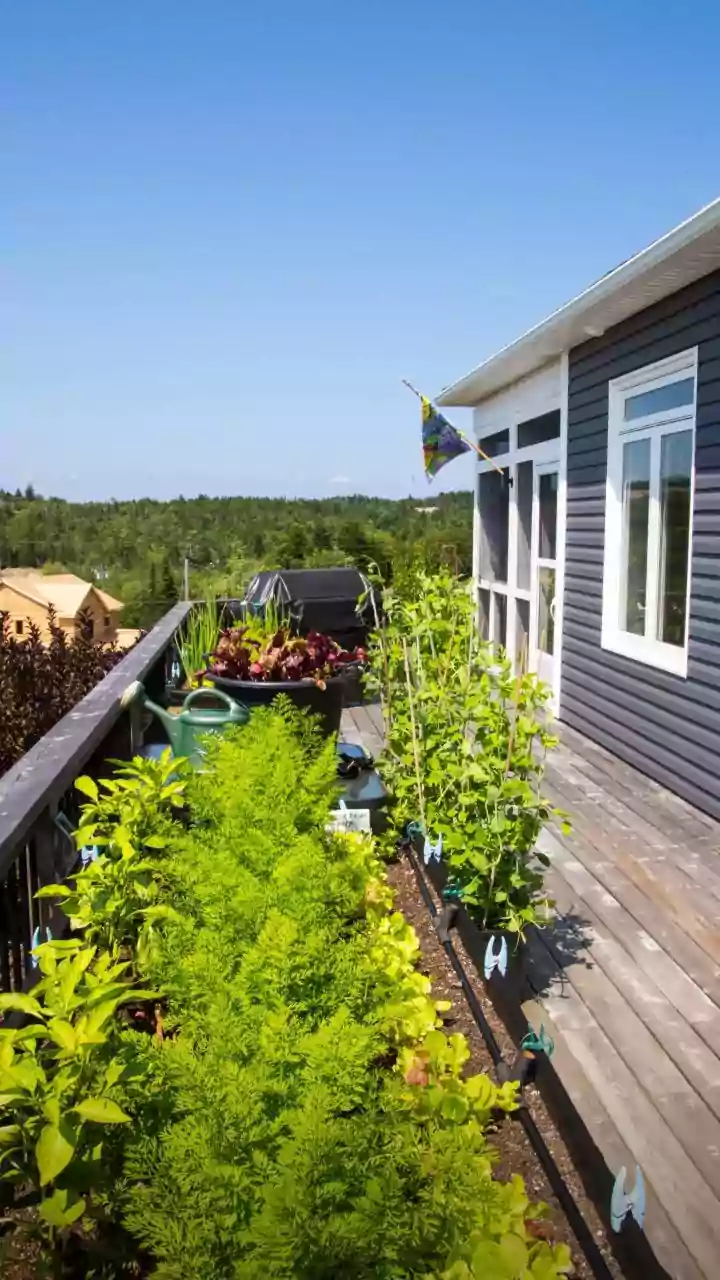
Before we dive into the how-to, let's appreciate the why. This project hits a sweet spot for modern home life. First, it’s a brilliant act of upcycling, giving a beautiful object a second life instead of sending it to a landfill. Second, it brings greenery
indoors, which is proven to boost moods, purify the air, and add a touch of natural serenity to any space. Finally, it’s an incredibly low-maintenance and forgiving way to get into plant care. You’re not dealing with soil, messy repotting, or complex watering schedules. You are creating a simple, self-contained ecosystem that’s beautiful to look at, especially as you watch the roots begin to grow.
Gathering Your Simple Supplies
The beauty of this DIY is its simplicity. You don’t need a long shopping list, and you probably have most of what you need already. Here’s your short list: * **A Glass Bottle or Jar:** Wine bottles, olive oil bottles, antique glass jars, or even a simple mason jar will work. Choose something with a shape you love. Clear glass lets you watch the roots grow, while amber or green glass helps slow algae formation. * **A Money Plant Cutting:** While several plants are called 'Money Plant,' the best one for this project is *Epipremnum aureum*, commonly known as Pothos. It’s incredibly resilient and roots in water with remarkable ease. Ask a friend for a cutting from their plant—it’s the gift that keeps on growing. * **Water:** Simple tap water is usually fine. If your water is heavily treated, let it sit out for 24 hours to allow chlorine to dissipate before using.
Step 1: Prep Your Vessel
Your bottle needs to be sparkling clean to give your plant a healthy start. If it has a label, soak the bottle in warm, soapy water for about an hour to help loosen the adhesive, then scrub it off. For stubborn glue, a little rubbing alcohol or cooking oil can do wonders. Once the label is gone, wash the inside and outside of the bottle thoroughly with soap and water, and rinse it well to remove any residue. A clean environment prevents bacteria from growing in the water and harming your new plant cutting.
Step 2: Take the Perfect Cutting
This is the most crucial step for ensuring your plant will root. Look at the Pothos vine and identify the nodes—these are the small, brown bumps on the stem where leaves and aerial roots sprout from. A successful cutting must have at least one or two of these nodes. Using clean scissors or shears, snip a piece of the vine that is 4-6 inches long, making sure your cut is about a half-inch *below* a node. You can remove the lowest leaf or two on the stem, especially if they are likely to be submerged in water, as submerged leaves will rot.
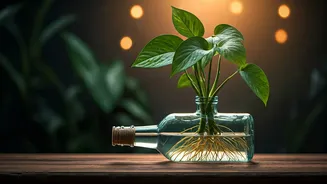
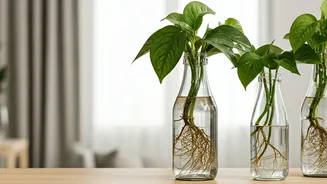
Step 3: Assemble Your Hydroponic Station
This is the satisfying final move. Fill your clean bottle with water, leaving an inch or so of space at the top. Now, gently place your Pothos cutting into the bottle. The key is to ensure that the nodes you identified are fully submerged in the water, as this is where the new roots will emerge. The remaining leaves should be well above the water line, sitting pretty outside the mouth of the bottle. And that's it! You've officially created your bottle station.
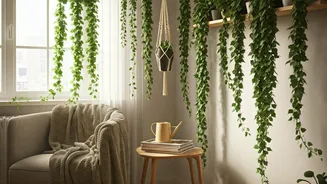
Placement and Long-Term Care
Place your new creation in a spot that receives bright, indirect sunlight. A north-facing window or a spot a few feet away from a sunnier window is perfect. Direct, scorching sun can burn the leaves. Within a few weeks, you should see delicate white roots begin to emerge from the submerged nodes. To keep your plant healthy, change the water every 1-2 weeks. This replenishes oxygen and prevents the water from becoming stagnant. Simply pour out the old water, rinse the roots gently if you see any sliminess, and refill with fresh water. Once the plant has a robust root system (after a month or two), you can add a single drop of a balanced liquid houseplant fertilizer to the water once a month to provide essential nutrients.