


The Magic of 'No-Soil' Gardening
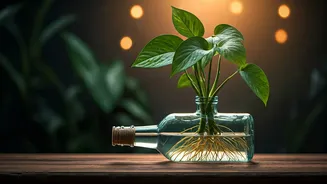
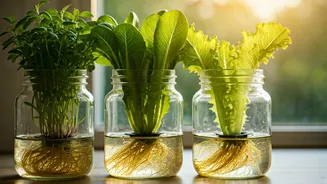
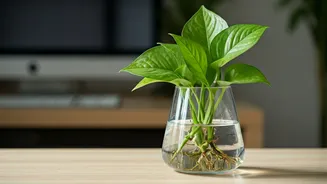
Hydroponics might sound like something out of a science fiction movie, but the concept is brilliantly simple: growing plants in water enriched with nutrients, instead of in soil. What makes this project perfect for a weekend is its passive, set-it-and-forget-it
nature. You aren't building a complex system with pumps and tubes. Instead, you're creating a tiny, self-contained ecosystem in a glass jar. As the plant grows, its roots reach down into the nutrient solution. The water level drops over time, creating a pocket of humid air that provides the roots with essential oxygen. It’s a genius, low-maintenance method that’s perfect for beginners and small spaces.
Gathering Your Supplies
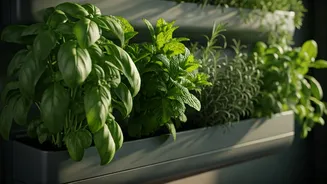
The beauty of this hobby is its emphasis on upcycling, but you will need a few specific items to ensure your plants thrive. Here's your checklist: * **A Wide-Mouth Glass Jar:** A 32-ounce mason jar or an empty spaghetti sauce or pickle jar is perfect. The key is to be able to see the roots and water level. * **A Net Pot:** A 2-inch or 3-inch net pot (a small plastic basket for hydroponics) will hold your plant. These are inexpensive and can be found online or at garden supply stores. * **Hydroponic Nutrients:** This is the special sauce. Look for a complete formula designed for leafy greens or general-purpose hydroponics. A small bottle will last for many jars. * **Growing Medium:** Lightweight clay pebbles (often called LECA) are ideal because they provide support and wick moisture without becoming waterlogged. * **A Seedling:** For the fastest results, start with a small seedling from a local nursery. Think lettuce, basil, mint, or parsley. You can also start plants from seed in a starter plug.
Step 1: Prepare Your Jar
First, thoroughly clean your glass jar and its lid to remove any residue. Next, you need to create an opening in the lid for your net pot. Trace the circumference of the net pot's rim onto the center of the lid. Using a utility knife or a drill with a hole-saw bit (have a handy person help if you're not comfortable), carefully cut out the circle. The goal is to create a hole where the net pot can sit securely, with its rim resting on the lid.
Step 2: Mix Your Nutrients
This step is crucial. Every nutrient brand has different mixing instructions, so follow the directions on the package precisely. Usually, it involves adding a small amount of concentrated liquid to a specific volume of water. Mix the solution in a separate container first, then pour it into your glass jar. Fill the jar so that when you place the net pot in the lid, the bottom quarter-inch of the pot is submerged. This ensures the growing medium and young roots get the initial moisture they need.
Step 3: Pot Your Plant
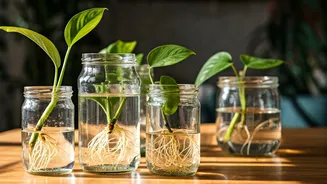
Gently remove your seedling from its soil, carefully rinsing the roots with lukewarm water until they are completely clean. This is a delicate process, so take your time to avoid damage. Next, place a small layer of clay pebbles in the bottom of your net pot. Position the seedling in the center, and carefully fill in the space around the roots with more clay pebbles until the plant is stable. The stem should be above the pebbles, and the roots should be dangling through the bottom of the net pot.
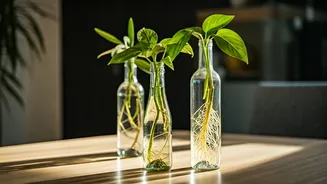
Step 4: Assemble and Grow
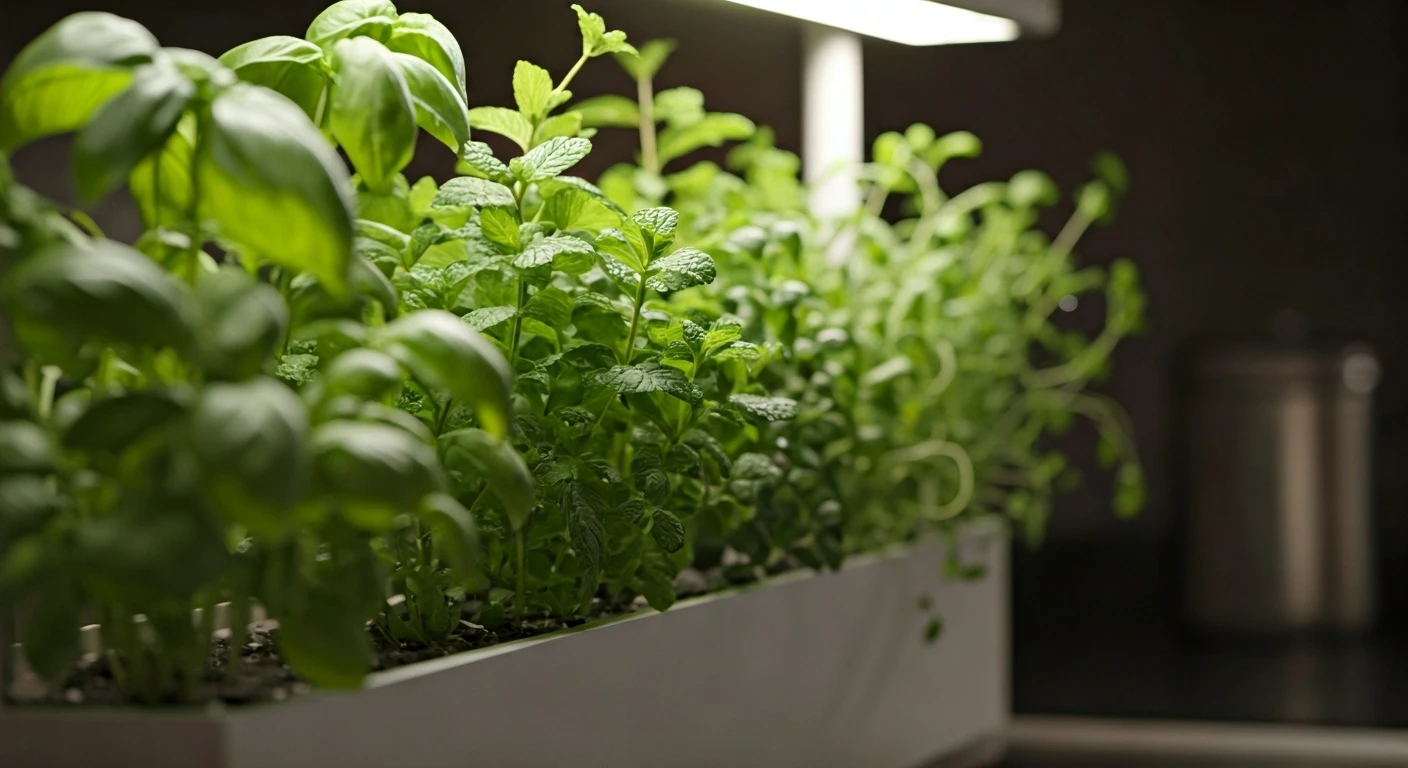
Now for the satisfying final step. Place the filled net pot into the hole in your jar lid, and then secure the lid onto the jar. The roots should now be partially submerged in the nutrient solution. Find a home for your new hydroponic garden on a sunny windowsill where it will get at least six hours of light per day. That’s it! There’s no need to water. You just get to watch as the roots grow down into the water and the leaves flourish. Most herbs and lettuces will be ready for their first harvest in just a few weeks.