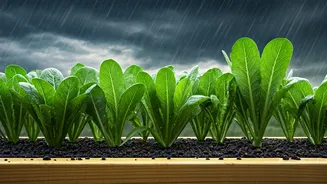


Why Soggy Soil is a Plant Killer
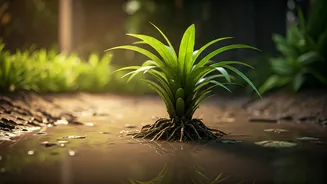
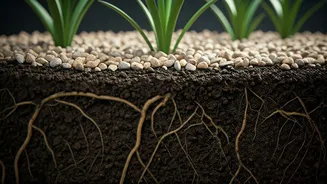
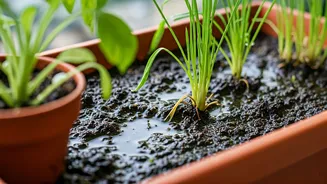
Before we even get to the gravel, let’s talk about why this matters. When you see a waterlogged garden, you’re looking at a plant-drowning scenario in slow motion. Plant roots don't just need water; they need oxygen. In well-aerated soil, tiny air pockets
exist between soil particles, allowing roots to breathe. But when heavy rain saturates the ground, those pockets fill entirely with water. The roots, deprived of oxygen, can begin to suffocate in as little as 24 hours. This leads to root rot, a fungal disease that thrives in anaerobic conditions and is often a death sentence for your favorite perennials, vegetables, and shrubs. So, the goal isn’t just to get rid of standing water on the surface, but to ensure water moves *through* the soil profile quickly enough for the roots to stay healthy and breathe.
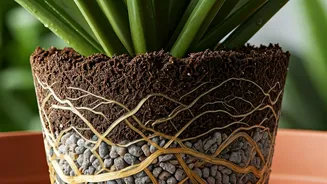
The Big Myth: The Gravel Layer in Pots
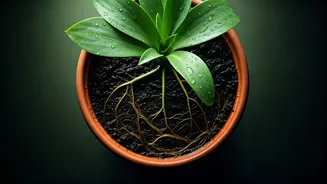
Here is the single most important—and most misunderstood—concept when it comes to gravel and drainage. For generations, gardeners were told to put a layer of gravel at the bottom of their pots before adding soil. The logic seemed sound: water will hit the gravel and drain out faster. Unfortunately, physics says otherwise. This practice actually makes drainage worse by creating what scientists call a “perched water table.” Think of your soil as a sponge. Water moves through the fine particles of the sponge until it's fully saturated. Only then does excess water drip out. When you place that sponge (your soil) on top of a layer of gravel, water won’t immediately move into the coarse gravel layer. Instead, it will pool in the soil directly above it, completely saturating the lowest part of the pot where the roots are. This creates a miniature swamp right where you don’t want it, effectively raising the waterlogged zone and suffocating the roots. The same principle applies to creating a gravel layer at the bottom of a planting hole in your garden.
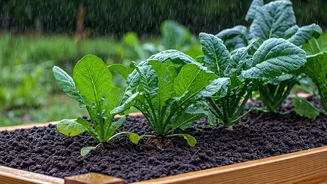
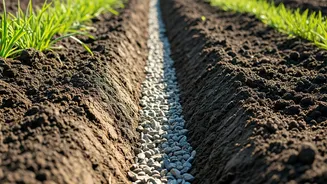
The Right Way: Amending the Entire Soil Mix
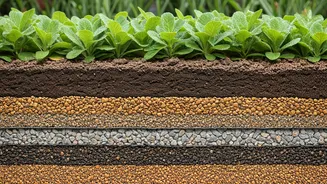
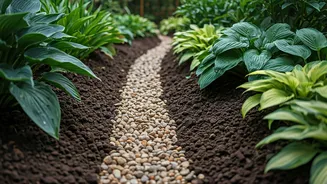
So, how can gravel actually help? The secret is not to create separate layers, but to improve the structure of the soil itself. If you’re dealing with heavy, compacted clay soil that holds water like a bathtub, you need to change its texture. This is where gravel, used correctly, comes in. By thoroughly mixing small, gritty materials *into* the entire soil volume, you create more permanent air pockets and pathways for water to flow. For this purpose, you’ll want to use materials like pea gravel, coarse sand (not fine playground sand, which can turn clay into concrete), or small granite chips. The key is integration. When amending a garden bed, you should work the gravel or grit into the top 8-12 inches of soil, blending it completely so there are no layers. This lightens the soil's density, permanently improving its porosity and allowing it to handle heavy rainfall without becoming a muddy mess.
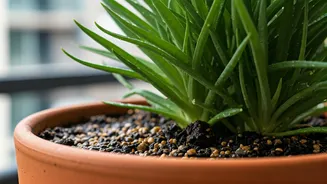
Another Smart Use: Gravel as Mulch
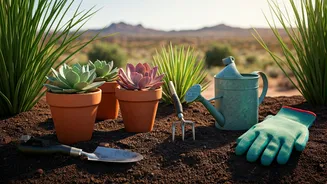
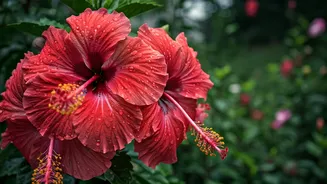
Another effective way to use gravel is on the surface, as a type of mulch. This is particularly useful for Mediterranean or drought-tolerant plants like lavender, rosemary, and succulents that despise having wet foliage. A top-dressing of pea gravel or decorative stone does several things. First, it prevents soil from splashing up onto the leaves during a hard rain, which can spread fungal diseases. Second, it helps keep the soil surface dry, discouraging rot around the plant's crown—its most vulnerable point. It’s also a great weed suppressor and can give your garden a clean, modern look. The main drawback? Unlike organic mulches like wood chips or compost, gravel doesn't break down to enrich the soil. It also absorbs and radiates heat, which can be a problem for heat-sensitive plants in hot climates but a benefit for those that love “warm feet.”