


The Magic of Water Propagation
Before we get started, what exactly is propagation? It's the simple process of creating new plants from cuttings of existing ones. And doing it in water—a form of hydroponics—is one of the easiest methods for beginners. There’s no soil, no mess, and you
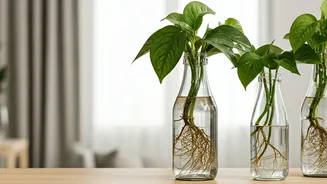
get a front-row seat to the fascinating process of watching roots sprout and grow. It’s a fantastic way to multiply your favorite Pothos, Philodendron, or Spider Plant for free. Plus, a collection of cuttings in assorted glass bottles arranged on a windowsill creates a living art piece that brings a touch of green elegance to any room.
Gather Your Simple Supplies
The beauty of this project lies in its simplicity. You likely have most of what you need already. Here’s your checklist: * **Glass Bottles:** Collect a few empty and interesting bottles. Wine, olive oil, artisanal soda, or small liquor bottles all work wonderfully. Varying heights and shapes create a more dynamic look. * **Healthy “Mother” Plants:** Choose mature, thriving houseplants that are known to propagate well in water. Good starters include Pothos, Philodendron, Monstera Deliciosa, Spider Plants, and Tradescantia. * **Sharp, Clean Scissors or Pruners:** A clean cut is crucial to prevent disease and encourage healthy rooting. * **Room-Temperature Water:** Tap water is usually fine, but if yours is heavily treated, let it sit out for 24 hours to allow chlorine to dissipate.
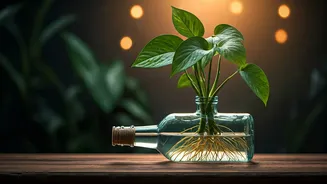
Choosing and Prepping Your Bottles
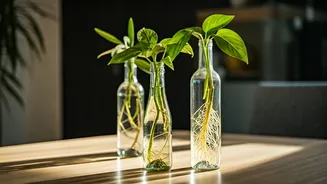
The bottle you choose becomes the vase for your new plant. Look for narrow-necked bottles, like those for wine or olive oil, as they provide excellent support to hold a single cutting upright. Clear glass is fantastic for watching root development, but amber or green bottles can help slow algae growth by filtering some light. The most important step is cleaning them thoroughly. Peel off any labels by soaking the bottles in warm, soapy water. Use a bottle brush to scrub the interior and remove any residue, then rinse well. A sparkling clean environment is key for a healthy cutting.
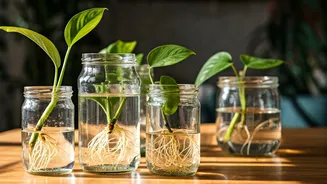
How to Take a Perfect Cutting
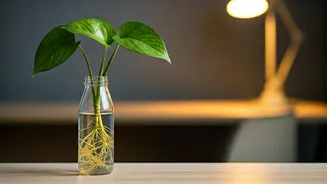
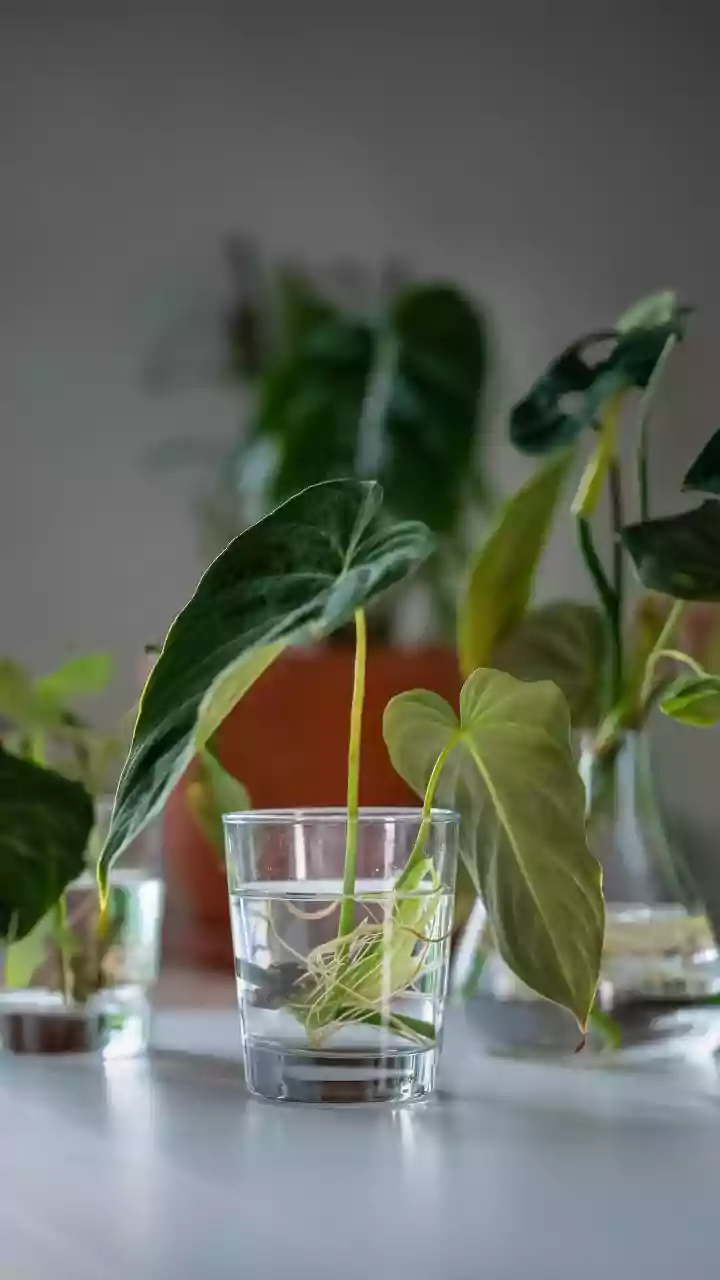
This is the most critical step for success. Look for a healthy stem on your mother plant with at least two or three leaves. Your goal is to find a “node”—the small bump on the stem where leaves and aerial roots grow. Using your sharp scissors, make a clean cut about a quarter-inch below a node. This node is where the new roots will emerge. Once you have your cutting, remove the bottom-most leaf or two. You want to ensure that no leaves are submerged in the water, as they will rot and contaminate it. You should have a bare stem with one or two nodes at the bottom and a few leaves at the top.
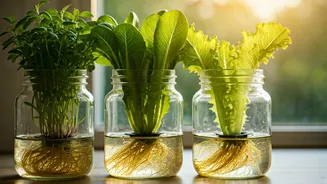
Assembly and Finding the Right Spot
Now for the fun part. Fill your clean bottle with room-temperature water, leaving about an inch of space at the top. Gently place your plant cutting into the bottle, making sure the nodes are submerged but the leaves are well above the waterline. That’s it! Your propagation station is ready. Group several bottles together on a windowsill, bookshelf, or mantelpiece for a beautiful display. The ideal location is one that receives bright, indirect sunlight. Direct sun can be too intense for a new cutting and may encourage algae growth in the water.
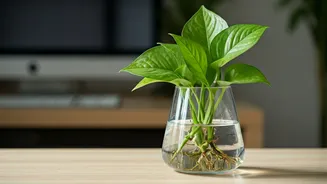
Caring For Your Growing Plant
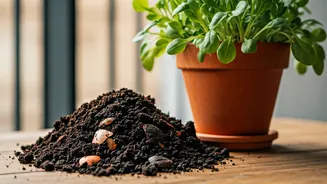
Your main job now is to be patient and observant. Change the water every five to seven days, or whenever it looks cloudy. This provides fresh oxygen and nutrients for your developing roots. Within a few weeks, you should see delicate white roots begin to sprout from the nodes. It’s a magical moment! Once the roots are a few inches long and have started to develop their own smaller, secondary roots, you have a choice: you can either leave the plant in its beautiful water vase indefinitely (just keep changing the water) or transfer it to a small pot with soil to grow into a full-sized plant.