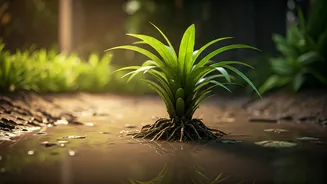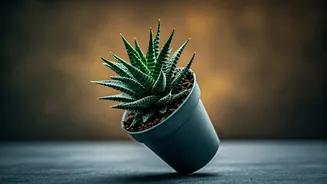


The Silent Killer in Your Container
We’re told not to overwater our plants, but the real enemy isn't the volume of water—it's the standing water that remains at the bottom of the pot after you’re done. When soil is completely saturated, with no air pockets left, it creates an anaerobic
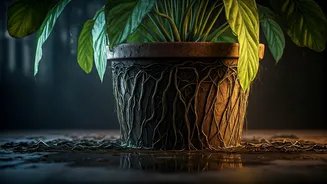
(oxygen-free) environment. Plant roots, just like the rest of the plant, need to breathe. They absorb oxygen from the tiny air gaps between soil particles. When those gaps are filled with stagnant water, the roots effectively begin to drown. This condition, often called “wet feet,” is the precursor to almost every major water-related plant problem. Even if a pot has drainage holes, the soil at the very bottom can remain waterlogged due to simple physics, creating a saturated layer that spells trouble.
Meet Root Rot: The Real Diagnosis
Drowning roots are just the beginning. The low-oxygen, high-moisture environment created by standing water is the perfect breeding ground for opportunistic fungi and water molds, such as *Pythium*, *Phytophthora*, and *Fusarium*. These pathogens are the agents of root rot. They attack the weakened, suffocated roots, turning them from healthy, firm, and white to brown, mushy, and decayed. On the surface, the symptoms can be confusingly similar to underwatering: yellowing leaves (especially lower ones), wilting, and stunted growth. This often tricks well-meaning gardeners into watering even more, which only accelerates the plant's demise. If you were to gently unpot the plant, you’d likely find a foul, swampy smell and roots that are visibly disintegrating.
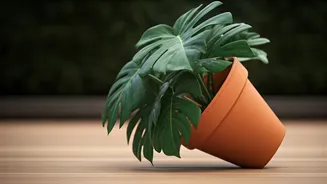
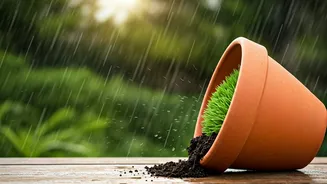
The Simple Tilt: Why It Works Wonders
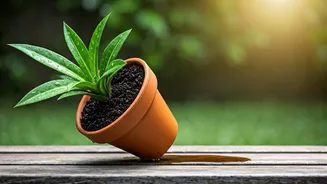
This is where the headline’s advice becomes so powerful. By slightly tilting your pot, you change the dynamic of how water behaves inside it. Gravity is your best friend here. Propping up one side of the pot, even by just half an inch, creates an angle of descent that encourages excess water to flow directly toward the drainage hole instead of pooling at the bottom. It helps break the surface tension that can hold a final layer of water in the saucer or just inside the pot’s base. This simple adjustment ensures that the “perched water table”—that layer of saturated soil at the bottom—is dramatically reduced or eliminated entirely. It guarantees that air can get back into the soil faster, allowing roots to recover and breathe between waterings.
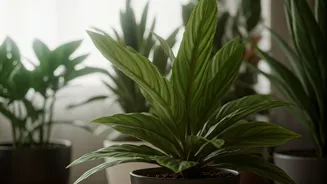
How to Do It Right
Implementing this fix is incredibly easy. You don’t need a dramatic, precarious angle. A subtle lift is all it takes. You can use almost anything to achieve the tilt. Specially designed “pot feet” or “pot risers” are available at any garden center and provide a clean, stable solution. But you can get creative with household items, too. A small, flat stone, a piece of a broken terracotta pot, a small block of untreated wood, or even a couple of bottle caps placed under one edge of the pot will do the trick. For indoor plants, this also has the benefit of lifting the pot out of any standing water that collects in its decorative saucer, providing a double layer of protection against wet feet. The key is consistency: make sure every pot has that slight elevation to guarantee airflow and drainage.
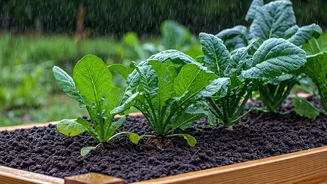
Beyond the Tilt: Other Drainage Boosters
While tilting is a fantastic and universal solution, it works best as part of a holistic approach to drainage. First, always use pots with drainage holes. If you fall in love with a decorative pot that doesn't have one, use it as a cachepot—a decorative outer container that holds the plain plastic nursery pot your plant lives in. Second, use a quality potting mix, not heavy garden soil, which compacts easily and holds too much water. Finally, resist the old myth of putting a layer of gravel or pebbles at the bottom of the pot. Contrary to popular belief, this actually worsens drainage by raising the perched water table closer to the plant’s main root ball. A good potting mix and a simple tilt are far more effective.