


The Allure of Jar Hydroponics
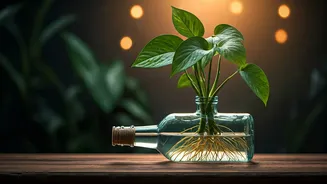
Before you start, it helps to understand the simple magic at play. You're creating a passive hydroponic system, often called the Kratky method. Unlike complex setups with pumps and tubes, this technique is beautifully simple. A plant is suspended above
a reservoir of nutrient-rich water in a jar. As the plant grows, its roots reach down into the water. As the water level drops from the plant drinking it, an air gap is created. This gap is crucial: it exposes the upper roots to oxygen, preventing them from drowning. The plant gets everything it needs—water, nutrients, and oxygen—in one self-contained, elegant vessel. It’s a nearly self-sufficient ecosystem that’s perfect for busy people and small spaces.
Gather Your Simple Materials
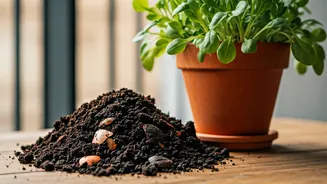
The beauty of this project lies in its accessibility. You likely have some of these items already. For each station, you’ll need: * **A Glass Jar:** A wide-mouth quart-sized Mason jar or a recycled spaghetti sauce jar is perfect. Amber or painted jars are even better, as they block light and prevent algae growth, but a clear jar works just fine. * **A Net Pot:** These are small, slotted plastic baskets that fit into the mouth of your jar. A 2-inch or 3-inch pot is standard. If you can’t find one, you can DIY a holder from a plastic cup by carefully cutting slots in the sides. * **A Growing Medium:** This is what supports the plant in the net pot. Clay pebbles (LECA), perlite, or coconut coir are excellent choices. They are inert, sterile, and provide great aeration for the roots. * **Hydroponic Nutrients:** This is the one specialized item you'll need. Don't use regular fertilizer. Look for a complete hydroponic nutrient solution, often sold as a two-part A/B formula. Brands like General Hydroponics are widely available and beginner-friendly. * **A Seedling or Cutting:** You can start with seeds, but for instant gratification, a small seedling from a garden center is easiest. Choose plants that don’t get too large.
Step 1: Prep the Jar and Seedling
First, make sure your jar is sparkling clean. Wash it thoroughly with hot, soapy water and rinse well to remove any residue. If you're using a seedling that was grown in soil, you’ll need to gently rinse all the dirt from its roots. Fill a small bowl with room-temperature water and swish the root ball around until the roots are completely clean. This step is vital to prevent contamination and rot in your hydroponic system. If you are starting from a seed in a starter plug (like a rockwool cube), you can skip this and place the whole plug directly into your growing medium.
Step 2: Mix Your Nutrient Solution
This is where you feed your future plant. Read the instructions on your hydroponic nutrient packaging carefully. Most formulas require you to mix specific amounts of Part A and Part B into your water. Never mix the concentrated A and B solutions directly together, as this can cause nutrient lockout. Always add Part A to your water, stir well, and then add Part B and stir again. Use filtered or distilled water if your tap water is very hard. For a quart jar, you won't need much. Mix a larger batch in a gallon jug so you have extra for future projects.
Step 3: Assemble Your Hydroponic Station
Pour your prepared nutrient solution into the jar until the water level is high enough to just touch the bottom of the net pot when it's placed in the opening. Next, place your chosen growing medium (like clay pebbles) into the net pot. Gently thread your seedling’s clean roots through the bottom of the net pot and nestle the plant into the medium, adding more pebbles to secure it. Finally, set the net pot into the mouth of the jar. The bottom of the pot should be submerged by about a quarter-inch. This ensures the young roots have immediate access to water before they grow longer.
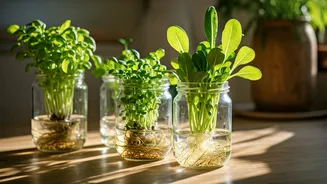
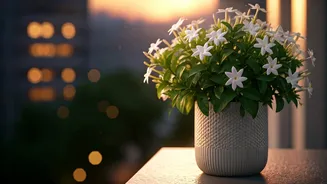
Step 4: Choose the Right Plants and Place
The best candidates for this method are leafy greens and herbs that grow quickly and don't require a massive root system. Excellent choices for beginners include: * **Lettuce:** Leaf varieties like Black Seed Simpson or Buttercrunch do exceptionally well. * **Herbs:** Basil, mint, oregano, and parsley thrive in jar hydroponics. * **Greens:** Spinach and Swiss chard are also great options. Avoid fruiting plants like tomatoes or peppers, as they require much more space and nutrients. Place your finished station on a sunny windowsill where it can receive at least six hours of direct sunlight per day. Rotate the jar every few days to encourage even growth. Now, all that’s left to do is watch it grow.