
Why June Is the Magic Month
Timing is everything in the garden, and for tropical hibiscus, June is the sweet spot. By now, the plant has put on a burst of spring growth and has plenty of energy stored up. Pruning now gives it the entire summer to recover, branch out, and, most importantly,
produce a magnificent flush of flowers. Pruning stimulates the plant to create new stems, and since hibiscus blooms on new growth, a good trim is a direct invitation for more blossoms. Waiting until later in the summer, like August, shortens the recovery window before cooler weather arrives. Acting earlier, in spring, can be fine, but June pruning is perfectly timed to maximize that iconic, lush summer display that makes hibiscus a patio favorite.
First, Know Your Hibiscus Type
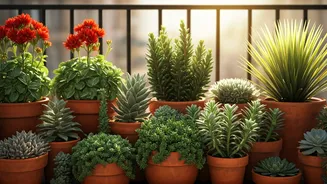
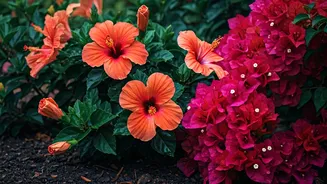
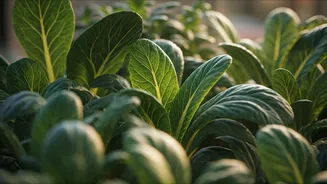
Before you grab your shears, it's crucial to identify what kind of hibiscus you have, as their needs differ. The advice for June pruning primarily applies to *tropical hibiscus* (Hibiscus rosa-sinensis), the kind you often see in pots on patios and decks, which isn't winter-hardy in most of the U.S. These are the plants that benefit most from a mid-season trim.
If you have a *hardy hibiscus* (like 'Rose of Sharon' or the large-flowered 'dinner plate' varieties), your pruning schedule is different. These are typically pruned much harder, down to about a foot from the ground, in late winter or early spring before new growth appears. Pruning a hardy hibiscus in June would mean cutting off the very wood that is about to produce flowers, so be sure of your variety before you start cutting.
Gather Your Simple Toolkit
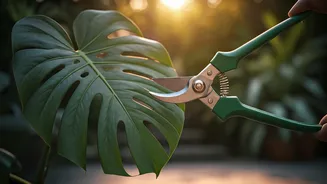
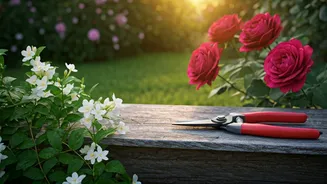
You don't need a lot of gear for this task, but using the right tools makes a world of difference. Your primary weapon will be a sharp, clean pair of bypass pruners. Bypass pruners work like scissors, making a clean cut that heals quickly. Anvil-style pruners can crush stems, leaving the plant more vulnerable to disease. Before you start, and between plants, wipe the blades with rubbing alcohol or a household disinfectant spray. This simple step is the best way to prevent the spread of any potential plant diseases. A pair of gardening gloves is also a good idea to protect your hands from sap and scratches.
The Art of the Cut: A Step-by-Step Guide
Don’t be intimidated; pruning is straightforward. The goal is to encourage a fuller, more balanced shape and more flowering sites.
1. **Assess the Plant:** Step back and look at the overall shape. Are some branches way too long? Is the center crowded? Is it leaning to one side? Your goal is to create a pleasing, vase-like or rounded shape.
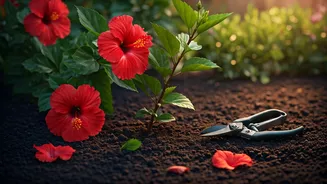
2. **Remove the 3 D's:** Start by cutting out any wood that is Dead, Damaged, or Diseased. This is basic garden hygiene and immediately improves the plant's health and appearance.
3. **Make Your Cuts:** Identify a branch you want to shorten. Look for a “node”—a small bump on the stem where a leaf grows. Make your cut about 1/4 inch above an *outward-facing* node. Cutting above an outward-facing node encourages the new branch to grow out, not back into the center of the plant, improving air circulation.
4. **Don't Go Overboard:** A good rule of thumb is to never remove more than one-third of the plant's total mass at one time. You can give it a light shaping or a more significant haircut, but avoid cutting it back to just a few bare sticks. Focus on branches that are crossing, growing inward, or look weak and spindly.
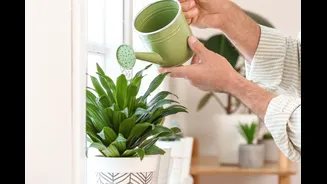
Post-Pruning Care for a Quick Recovery
You've done the hard part. Now, give your hibiscus a little TLC to help it bounce back. After pruning, it’s a great time to give the plant a dose of balanced liquid fertilizer. This provides the nutrients it needs to push out all that new growth you’ve just encouraged. Ensure the plant is well-watered, especially as summer heat kicks in. Within a few weeks, you should see fresh new leaves and stems appearing right where you made your cuts. And a few weeks after that, those new stems will be covered in the big, beautiful flowers that are your reward for a job well done.