


Why Wet Feet Are a Plant’s Worst Enemy
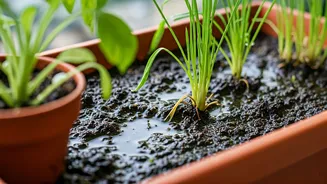
We think of roots as straws, pulling water up into the plant. That’s only half the story. Roots also need to breathe. Healthy soil is a porous mix of solids, water, and, crucially, air. The tiny air pockets in soil provide the oxygen roots require for
respiration—the process of converting sugars into energy for growth. When a plant is overwatered, those air pockets fill up with water. The roots, submerged and unable to access oxygen, effectively begin to drown. This anaerobic (oxygen-free) environment is not just suffocating; it’s a breeding ground for opportunistic fungi and bacteria. Pathogens like *Pythium* and *Phytophthora*, which cause the dreaded “root rot,” thrive in these soggy conditions. Once they take hold, they turn healthy, white roots into a brown, mushy mess that can no longer absorb water or nutrients, leading to the plant’s demise.
Reading the Distress Signals
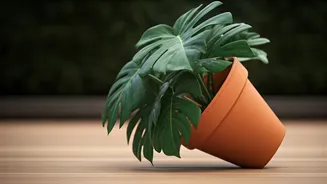
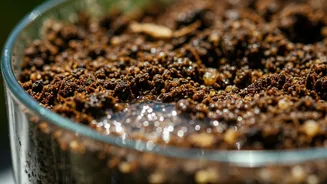
A waterlogged plant often mimics the look of a thirsty one, which is why so many gardeners make the fatal mistake of watering it again. But there are key differences to watch for. The most common sign is yellowing leaves, a condition called chlorosis. This often starts with the lower, older leaves and works its way up. Unlike underwatering, where leaves might get crispy and brown, overwatered leaves tend to be soft and limp. The entire plant might look wilted, even when the soil is damp to the touch. This is because the damaged roots can no longer supply the foliage with the water it needs, causing it to droop. Other telltale signs include stunted growth, new leaves that are small or fall off prematurely, and a green, mossy, or moldy layer on the surface of the soil. If you’re brave enough to peek, the smell of the soil itself can be a giveaway. Healthy soil smells earthy; waterlogged soil often has a sour or rotten odor.
The Best Cure Is Good Prevention
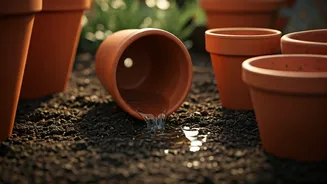
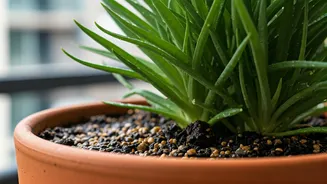
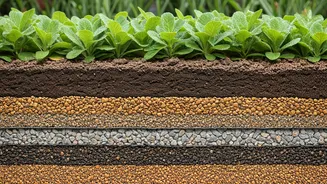
The easiest way to deal with waterlogged roots is to never have them in the first place. Success starts with the right foundation. First, ensure every pot has adequate drainage holes. No exceptions. If you use a decorative cachepot without holes, always place a plastic nursery pot inside it and remove the plant to water, letting it drain completely before returning it. Second, use the right soil mix. Standard potting soil can be dense and retain too much moisture for some plants. Amend your soil with materials like perlite, pumice, or coarse sand to increase aeration and improve drainage. This creates more of those essential air pockets. Finally, learn to water based on the plant’s needs, not a rigid schedule. Before watering, stick your finger an inch or two into the soil. If it feels damp, wait. If it’s dry, it’s time for a thorough soaking until water runs from the bottom, then let it drain away completely.
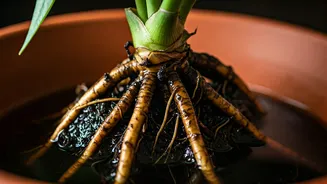
The Emergency Rescue Mission
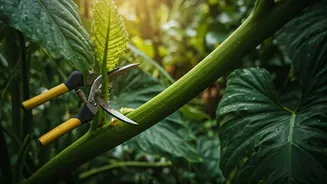
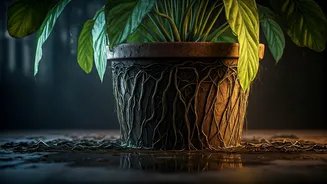
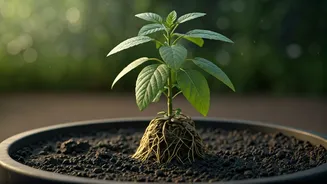
If you suspect you have a waterlogged plant, you need to act fast. The longer the roots sit in soggy soil, the less likely they are to recover. Carefully slide the plant out of its pot to perform an inspection. Healthy roots are typically firm and white or light-colored. Rotted roots will be dark brown or black, mushy to the touch, and may even fall apart as you handle them. If you find root rot, a rescue mission is in order. Using a clean, sharp pair of scissors or pruning shears, trim away all the dead, mushy roots. Be ruthless; the diseased tissue must go. If a significant portion of the root ball is removed, you may need to prune back some of the top growth to reduce the stress on the remaining roots. Gently rinse the remaining healthy roots and repot the plant in a clean container with fresh, well-draining potting mix. Water it lightly once, then wait. Give the plant a chance to recover in a spot with bright, indirect light and hold off on fertilizing until you see signs of new growth.