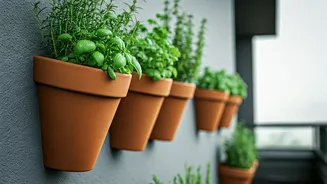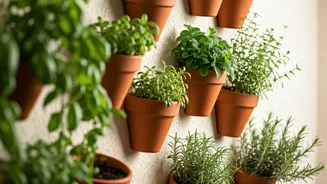


Why Terracotta and Why Vertical?
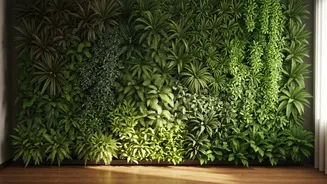
Before you start planting, it’s helpful to understand why this specific combination works so well. Vertical gardening is a game-changer for apartments, balconies, and small patios, turning unused wall space into a productive oasis. It maximizes your growing
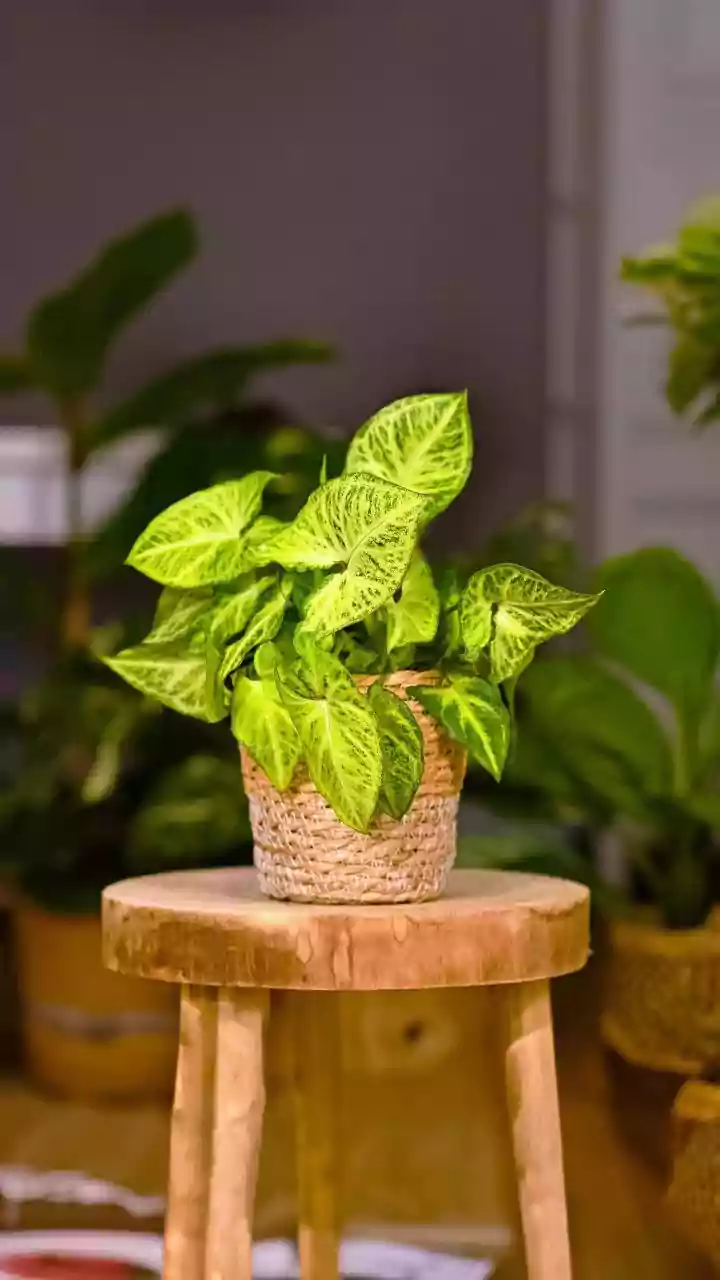
area without sacrificing a single square foot of floor space. The choice of terracotta is just as important. These classic, unglazed clay pots are porous, meaning they allow air and moisture to move through their walls. This “breathing” is fantastic for root health, preventing the dreaded root rot that can plague plants in plastic containers. The natural material also lends a warm, earthy aesthetic that complements both modern and rustic decor. A vertical terracotta garden isn't just a place to grow food; it's a living piece of art that adds texture and life to your home.
Choosing the Right Herbs
Not all herbs are created equal when it comes to vertical terracotta life. Because terracotta dries out more quickly than other materials, the best candidates are herbs that prefer drier conditions and well-drained soil. Mediterranean herbs are your all-stars here. Think rosemary, thyme, oregano, sage, and marjoram. These plants are naturally adapted to sunny, arid climates and will feel right at home. Herbs that love consistently moist soil can be trickier. Basil, mint, and parsley are notoriously thirsty. While you can certainly grow them, you’ll need to be extra vigilant about watering. Mint, in particular, is an aggressive spreader, so keeping it contained in its own pot is a smart move anyway. For beginners, starting with a lineup of drought-tolerant favorites is the surest path to a lush, successful herb wall.
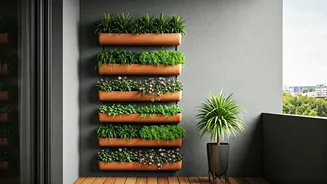
Getting Your Setup Right
Proper installation is key to a safe and thriving garden wall. First, consider the weight. Soil, water, and terracotta are heavy. Ensure you’re mounting your system to wall studs or using heavy-duty anchors rated for the combined weight. If you're renting, check your lease or talk to your landlord before drilling into walls. Next, think about sunlight. Most culinary herbs need at least six hours of direct sunlight per day to flourish. An east-facing wall that gets gentle morning sun or a south-facing wall with full-day sun are ideal. Observe the light in your chosen spot for a full day before you commit. Finally, prepare your pots. If they’re brand new, soak them in water for about 30 minutes to an hour before planting. This prevents the dry clay from wicking all the moisture away from the soil immediately.
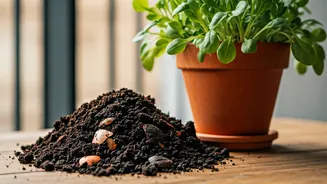
Planting for Success
Now for the fun part. Fill your pots with a high-quality potting mix designed for containers. Avoid using garden soil, which is too dense and will compact, suffocating the roots. A mix with added perlite or vermiculite is excellent for improving drainage—a must for terracotta. Fill each pot to about an inch below the rim. If you're using starter plants, gently loosen the root ball before placing it in the pot. If it’s tightly wound, you can make a few shallow vertical cuts with a knife to encourage the roots to grow outward. Position the plant so the top of its root ball is level with the soil line, then backfill with more potting mix, gently firming it down. Water thoroughly after planting to help the soil settle.
The Art of Watering and Care
Watering is the most critical task for maintaining a terracotta garden. Because the pots are porous and often in full sun, they dry out quickly. Forget a rigid schedule; instead, learn to check the soil. The best method is to stick your finger about an inch deep into the soil. If it feels dry, it's time to water. Water thoroughly until you see it run from the drainage hole at the bottom. Be aware that the pots at the top of a vertical system may dry out faster than the ones at the bottom. Check each one individually. Harvest your herbs regularly, even if you don't need them for a recipe. Pinching back the tips encourages bushier growth and prevents the plants from becoming leggy or flowering prematurely. A light feeding with a balanced liquid fertilizer every 4-6 weeks during the growing season will keep your plants healthy and productive.