


The Definition of Low-Maintenance
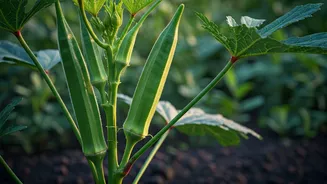
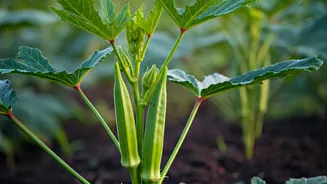
Let’s be honest: summer gardening can feel like a second job. Between the constant watering, weeding, and worrying about pests, it’s easy to get discouraged. Okra, however, operates on a different level. Native to Africa, this vegetable is genetically
programmed to love the sun and tolerate dry spells. While your lettuce is bolting and your cucumbers are succumbing to mildew, a well-sited okra plant is just getting started. It scoffs at the brutal afternoon sun and asks for little more than a spot with good drainage. Pests and diseases that plague other popular garden vegetables often leave okra alone, making it a fantastic organic choice for beginners who don’t want to mess with chemical sprays. In the world of garden vegetables, okra is the laid-back cousin who shows up, thrives, and never causes any drama.
Getting Seeds in the Ground
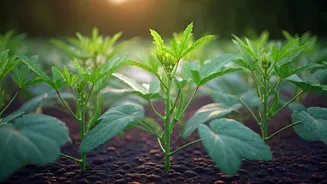
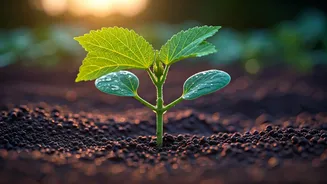
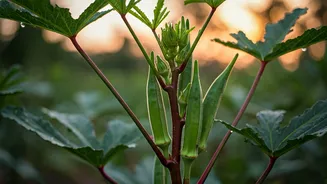
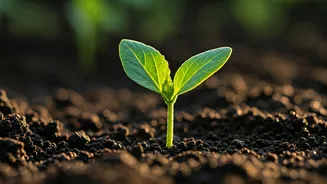
The secret to starting okra is simple: wait for the soil to get warm. This isn't a plant you want to rush in early spring. Aim for at least two to three weeks after your last frost date, when soil temperatures are consistently above 65°F. You can give the seeds a head start by soaking them in water overnight, but it’s not strictly necessary. Plant the seeds about half an inch to an inch deep and about 12 to 18 inches apart. Because it’s so heat-dependent, okra is best sown directly into the garden bed or a large container rather than started indoors. Find the sunniest spot in your yard—the one where everything else seems to bake—and that’s where your okra will be happiest. Give it a good initial watering and then be patient. Once those first two leaves appear, the plant will take off.
More Than Just a Vegetable
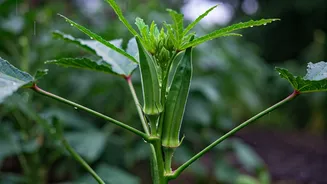
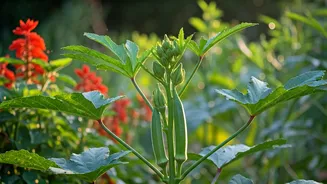
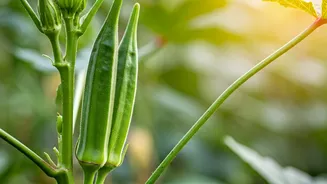
One of the best-kept secrets of the vegetable garden is that okra plants are stunningly beautiful. As a member of the mallow family, okra is closely related to hibiscus and produces large, creamy-yellow flowers with deep red or purple centers. These blossoms are not only gorgeous to look at, attracting pollinators like bees to your garden, but they are also the prelude to your harvest. Each flower lasts only a day before it wilts and a tiny okra pod begins to form in its place. Planting a row of okra is like adding a temporary ornamental hedge to your landscape that also happens to produce food. For gardeners who value aesthetics as much as utility, okra delivers on both fronts, adding a touch of tropical beauty to the functional vegetable patch.
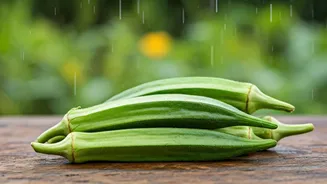
The Art of the Harvest
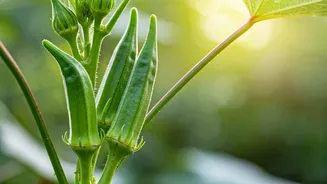
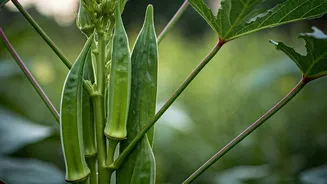
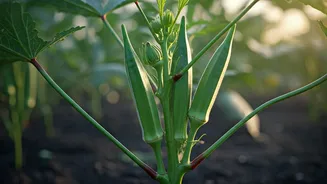
The key to a successful okra harvest is frequency. The pods grow incredibly fast, and the ideal time to pick them is when they are young and tender—typically around 2 to 4 inches long. Any larger, and they can become tough and woody. Check your plants every day or two, as a pod that’s too small one morning can be perfect by the next afternoon. Use a sharp knife or pruning shears to cut the stem just above the pod's cap. Regular harvesting is crucial because it signals the plant to keep producing more flowers and pods. If you let the pods mature on the stalk, the plant thinks its job is done and will slow or stop production entirely. A handful of well-tended plants can provide a steady supply for a family all summer long. And if you fear the infamous slime? Try grilling, roasting, or air-frying the pods whole. These high-heat, dry-cooking methods give you a deliciously crisp and tender vegetable with none of the slick texture.