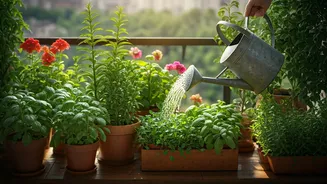


The Silent Killer: Waterlogged Roots
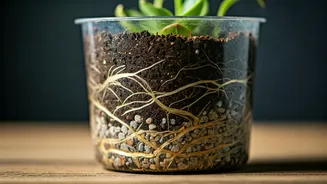
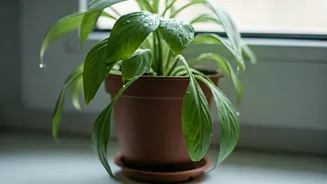
To understand the solution, we first need to appreciate the problem: root rot. It’s one of the most common ways well-intentioned gardeners accidentally kill their plants. When soil at the bottom of a pot stays saturated with water, it chokes the roots,
cutting off their oxygen supply. This anoxic environment is the perfect breeding ground for fungi and bacteria that cause roots to turn into a mushy, brown, and foul-smelling mess. On the surface, the plant might look thirsty—yellowing, wilting leaves are a common symptom—prompting you to water it even more, which only accelerates its demise. This condition, often called “wet feet,” is a death sentence for countless houseplants and container-grown ornamentals that prefer their soil to be moist, not sodden.
Why Drainage Holes Aren't a Perfect Solution
“But my pot has drainage holes!” is the common refrain. While essential, drainage holes are not a guarantee against waterlogged soil. The issue lies in a scientific principle known as the “perched water table.” Think of the soil in your pot like a sponge. Even after you let a soaked sponge drain, it still holds a significant amount of water. Similarly, adhesion and cohesion—the forces that make water molecules stick to each other and to soil particles—create a zone of saturated soil at the bottom of any container. Gravity can only pull so much water out; the rest “perches” there, held in place against gravity's pull. The height of this saturated zone is consistent for a given soil type, regardless of the pot's height. This means a short, wide pot can have a much higher percentage of its soil volume waterlogged compared to a tall, narrow one.
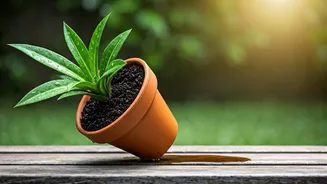
The Simple Physics of a Tilted Pot
This is where the magic of tilting comes in. By propping up one side of your pot, you change the geometry of the situation. The perched water table, which wants to remain level, is now at an angle relative to the pot's base. The lowest point of the pot’s base is now significantly lower relative to the water line inside the soil. This gives gravity a new advantage. The water that was previously “stuck” in that saturated zone now has a path to escape through the drainage hole. Tilting the pot effectively tricks the water into draining out, dramatically reducing the volume of the perched water table and leaving more of the soil profile properly aerated. It’s a simple, elegant hack that uses physics to create a healthier environment for your plant’s roots.
How to Put the Tilt into Practice
Implementing this technique is incredibly easy. You don’t need a dramatic, precarious angle—a slight tilt of 10 to 20 degrees is more than enough. You can use almost anything to prop up one edge of your container. For smaller indoor pots, a small stone, a wine cork, a piece of a broken terracotta pot, or a purpose-made “pot foot” works perfectly. For larger, heavier outdoor containers, a sturdy brick, a small block of wood, or a set of three or four pot feet distributed around the edge provides both the necessary tilt and crucial stability. The goal is simply to lift one side of the drainage hole higher than the other. This ensures water can always find the path of least resistance and exit the pot, rather than pooling inside.
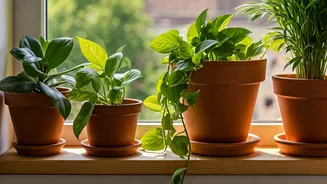
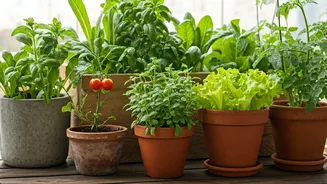
Which Plants Benefit the Most?
While nearly any container plant can benefit from improved drainage, some need it more than others. This trick is a game-changer for plants that are notoriously fussy about wet feet. This includes most Mediterranean herbs like rosemary, lavender, and thyme, as well as nearly all succulents and cacti. It’s also incredibly useful for outdoor container gardens during rainy seasons, preventing your pots from becoming swamps during a downpour. If you have a decorative pot with only a single, small drainage hole, tilting is almost mandatory. By ensuring that hole is always at the lowest point, you maximize its effectiveness and give your plant the best possible chance to thrive.