


DIY Skincare: Realistic Expectations
Embarking on a DIY skincare journey can be incredibly rewarding, but it's essential to approach it with grounded expectations. While natural ingredients
offer wonderful benefits, they also come with inherent limitations. For instance, the Vitamin C derived from natural sources like orange peels is quite unstable. This means that if your homemade serum begins to change color, leaning towards a darker yellow or brown hue, or if it develops an unusual odor, it has likely oxidized. In such cases, it's best to discard the batch and prepare a fresh one, as effectiveness diminishes significantly. These natural creations typically require remaking every 7 to 10 days. Furthermore, it's important to understand that a water-based extract made at home won't achieve the same deep skin penetration as scientifically formulated clinical serums. However, it excels at providing a delightful surface-level brightness and a boost of hydration, offering a gentler approach to skin enhancement. As a crucial safety measure, always perform a patch test on a small area of your jawline at least 24 hours before applying the serum to your entire face, ensuring no adverse reactions occur.
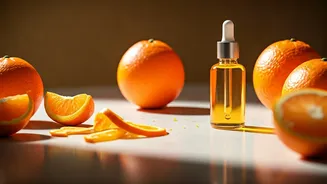
Harnessing Orange Peel Power
The quest for luminous, youthful skin often leads us down a path of expensive products, each promising transformative results. Yet, the key to achieving a brighter, firmer complexion might be simpler and more accessible than you think, possibly residing right in your kitchen. Before discarding those orange peels, consider their hidden potential. These seemingly discarded rinds are remarkably rich in natural Vitamin C and potent antioxidants. These compounds are instrumental in combating free radicals, which contribute to premature aging, and in actively supporting the body's natural collagen production, crucial for skin elasticity. The best part? Transforming these peels into a powerful, hydrating, and age-defying serum at home is a surprisingly straightforward process. This guide will walk you through all the necessary steps to create your own citrus-infused skincare marvel.
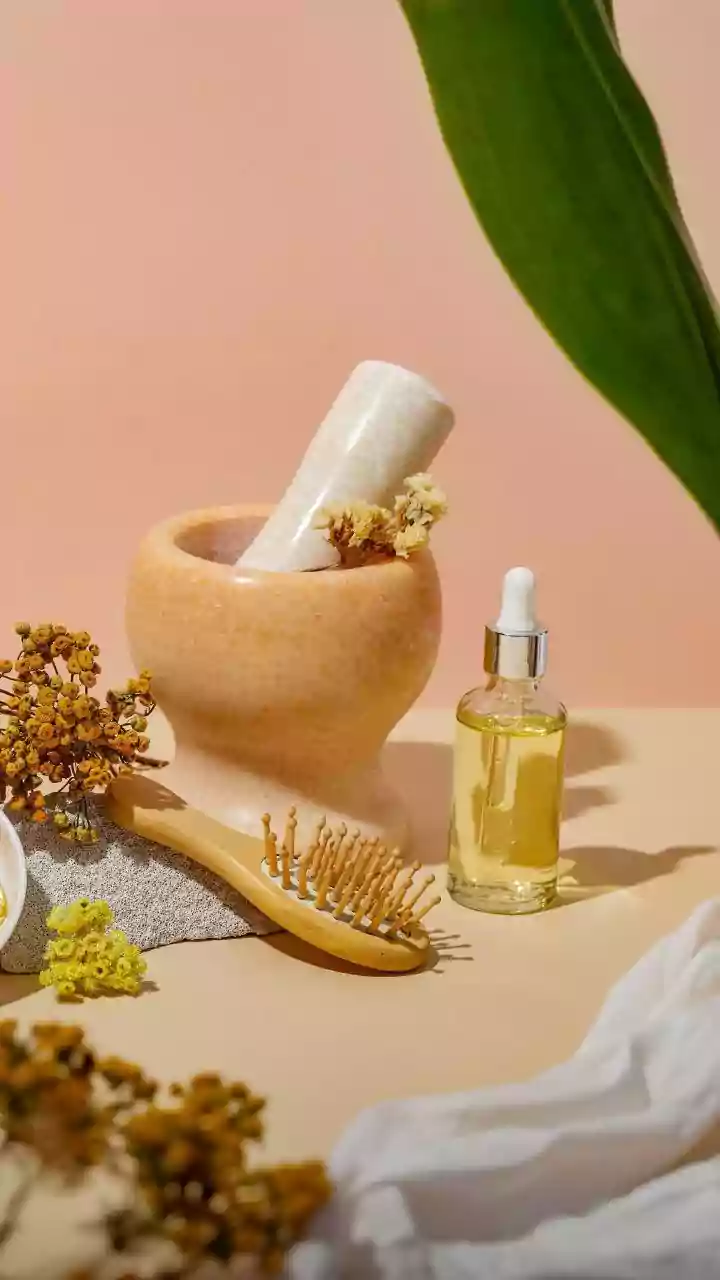
Storage & Application Tips
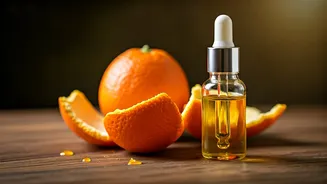
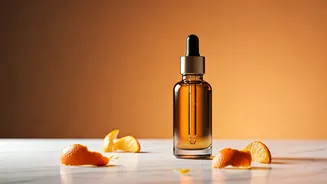
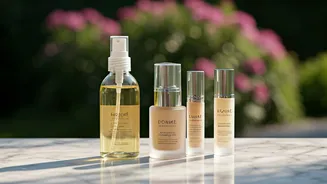
Once your radiant serum is ready, transferring it to the correct storage container is paramount for preserving its potency. Opt for a dark glass dropper bottle, such as amber or cobalt blue, as these colors effectively shield the delicate Vitamin C from light, a common culprit in its degradation. Given that you're not using synthetic preservatives, maintaining the serum's freshness and preventing microbial growth is critical. Therefore, it is imperative to store the bottle in the refrigerator. When it's time for application, begin by cleansing your face thoroughly. Then, dispense 3-4 drops of the serum and gently massage it into your skin using upward motions. Follow this with your preferred moisturizer to lock in the benefits. A vital reminder for morning application: never skip your broad-spectrum sunscreen. Vitamin C inherently increases your skin's sensitivity to UV radiation, and unprotected sun exposure can rapidly neutralize the beneficial antioxidants you've just applied.
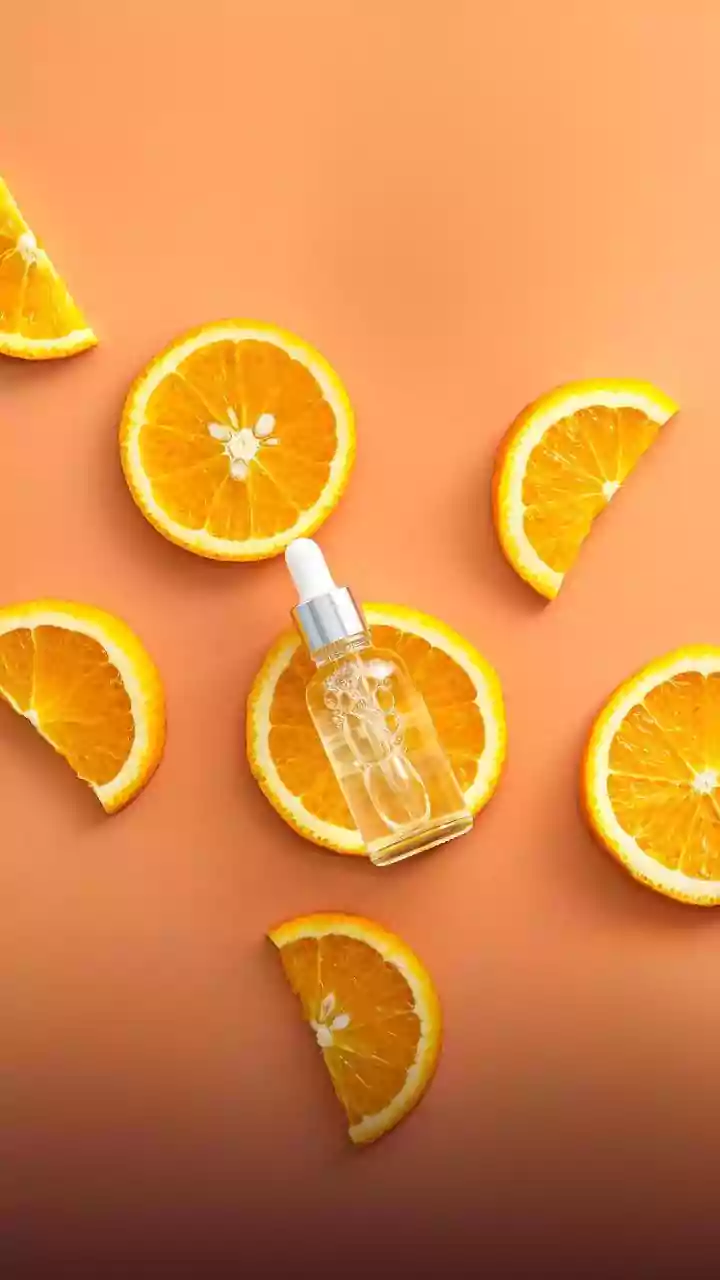
Essential Ingredients List
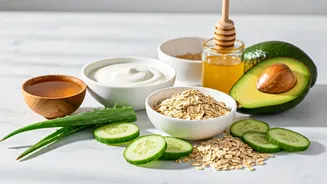
To begin crafting your effective DIY anti-aging serum, you'll only need a few easily obtainable items. Firstly, gather 2 to 3 organic oranges. Choosing organic is highly recommended to avoid any residual pesticides that might be present on conventional fruit, ensuring a cleaner ingredient. Next, you'll need 2 tablespoons of rose water. If rose water isn't available, distilled water can serve as a suitable alternative. For the hydrating base of your serum, incorporate 1 tablespoon of pure aloe vera gel. This ingredient is renowned for its soothing and moisturizing properties. To enhance moisture retention, add ½ teaspoon of vegetable glycerin; it acts as a humectant, drawing hydration directly into your skin. Finally, include 2 Vitamin E capsules to provide an extra antioxidant punch and to help extend the serum's shelf life by delaying oxidation. These simple components combine to create a powerful, natural skincare solution.
Step 1: Peel Preparation
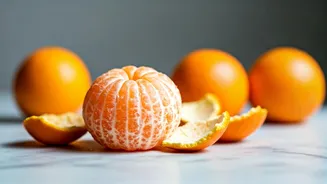
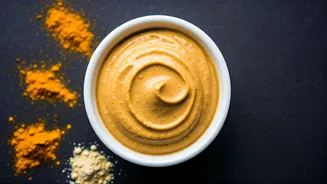
The initial step in creating your potent orange peel serum involves meticulously preparing the citrus rind. Begin by thoroughly washing your oranges to remove any surface impurities. Next, carefully peel the oranges, paying close attention to scraping away as much of the bitter white pith as possible, as this can impart an undesirable taste and texture. Once peeled, lay the citrus rinds flat on a clean tray. Allow them to air dry completely. You can achieve this by leaving them in direct sunlight for a few days. If you're short on time, an alternative is to bake them in your oven on the lowest possible setting for approximately one to two hours until they are completely dry and brittle. After drying, transfer the peels to a blender or food processor and process them until they are reduced to a very fine powder. To ensure a smooth, non-gritty texture for your serum, it's crucial to pass this powder through a fine-mesh sieve, discarding any larger, stubborn pieces.
Step 2: Extracting Essence
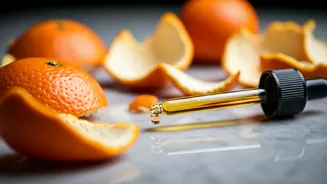
With your orange peel powder ready, the next phase involves extracting the beneficial compounds. Take a small mixing bowl and add one tablespoon of your freshly ground citrus powder. Introduce a couple of tablespoons of rose water (or distilled water) into the bowl, stirring gently to combine with the powder. Cover the bowl securely and allow the mixture to steep for a period of 4 to 6 hours. This crucial resting time enables the water-soluble Vitamin C and other beneficial elements from the orange peels to infuse into the liquid. Once the steeping period is complete, it's time to separate the liquid from the solid residue. Pour the mixture through a fine-mesh sieve lined with cheesecloth or a coffee filter. Gently squeeze the cloth or filter to extract every last drop of the infused liquid. The remaining pulp can be discarded, as its primary beneficial compounds have now been transferred to the liquid essence.
Step 3: Concocting Serum
Now that you have your infused orange liquid, it's time to blend it into a complete serum. Carefully add your aloe vera gel and vegetable glycerin to the extracted liquid. Next, pierce the Vitamin E capsules and gently squeeze the nourishing oil into the mixture. Whisk all the ingredients together vigorously using a small whisk or fork. Continue to stir until the aloe vera gel is fully incorporated and the combined mixture achieves a slightly cloudy appearance with a desirable, gel-like consistency. This final mixture is your potent, homemade anti-aging serum, ready to offer its natural brightening and hydrating benefits to your skin. Remember to store it properly as outlined previously to maintain its efficacy.