

Realistic Skincare Expectations
Embarking on a DIY skincare journey can be incredibly rewarding, but it's crucial to approach it with grounded expectations. Natural Vitamin C, while beneficial,
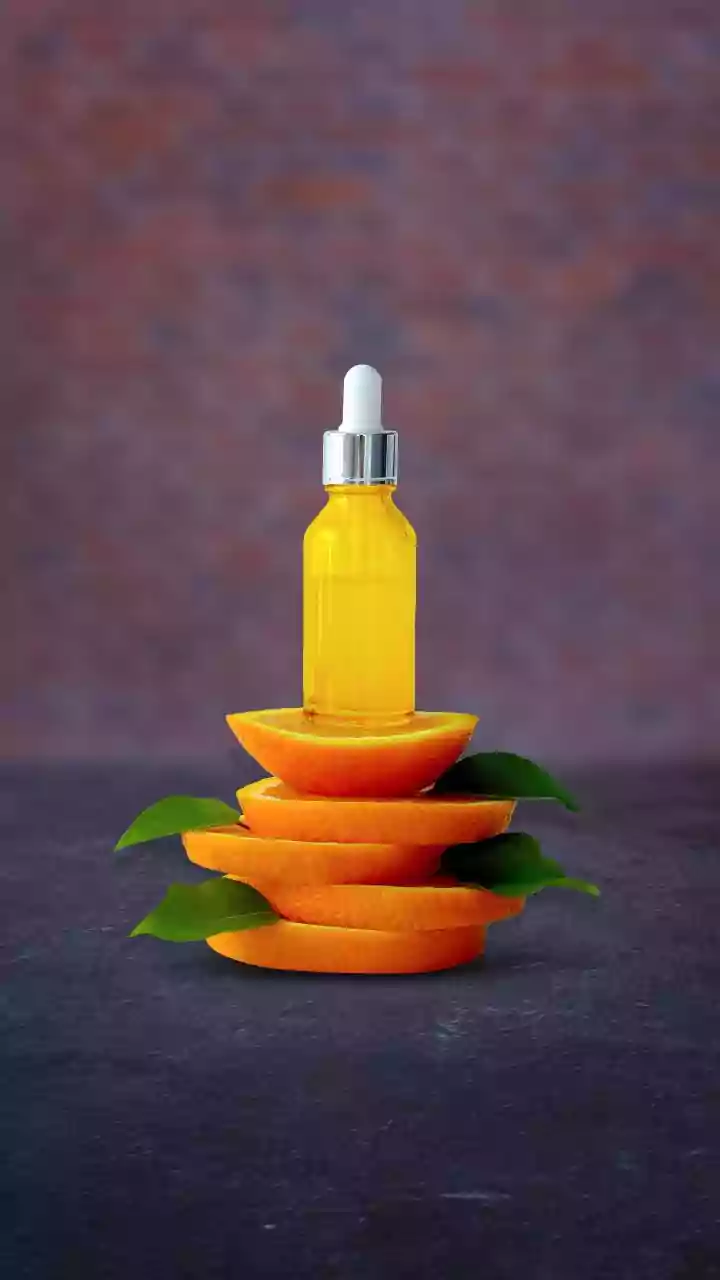
is inherently unstable and prone to oxidation. If your homemade serum develops a dark yellow or brown hue, or if its scent turns unpleasant, these are clear indicators that it has oxidized and should be discarded immediately. To maintain efficacy, you'll need to prepare fresh batches of this serum every seven to ten days. Furthermore, it's important to understand that a water-based extract made at home won't penetrate the skin's barrier as deeply as advanced, lab-formulated clinical serums. Instead, this natural creation offers a beautiful, gentle approach, providing surface-level brightening and a significant hydration boost. Before applying the serum to your entire face, always perform a patch test on your jawline at least 24 hours in advance to ensure your skin tolerates it well.
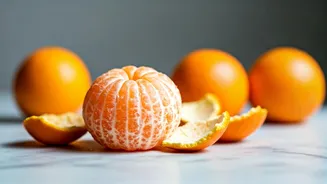
Harnessing Orange Peel Power
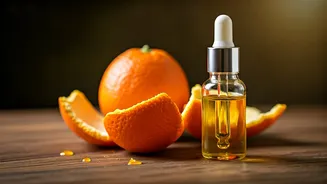
We all aspire to achieve that coveted radiant and youthful complexion, often leading us to invest considerable sums in high-end skincare products that promise miraculous results. Yet, the secret to achieving brighter, firmer skin might be simpler and more accessible than you think, potentially residing in everyday kitchen items. Before discarding your orange peels, consider their incredible potential. These often-overlooked components are densely packed with natural Vitamin C and powerful antioxidants. These properties make them exceptionally effective in neutralizing damaging free radicals and actively supporting the skin's natural collagen production. The exciting part is that transforming these peels into a potent, hydrating, and anti-aging serum right in your own home is a surprisingly straightforward process. This guide will walk you through everything you need to know to create your own revitalizing citrus serum.
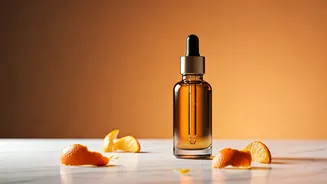
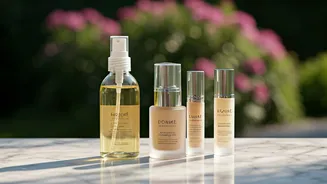
Optimal Storage & Application
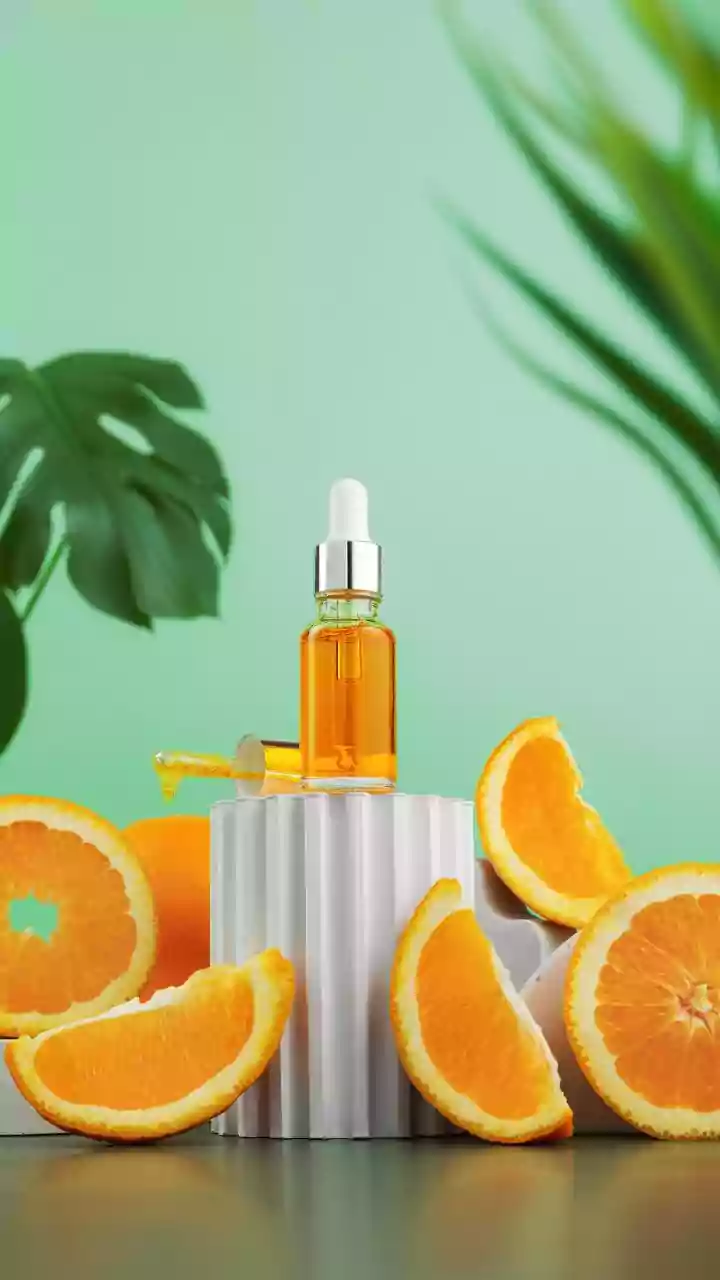
To preserve the integrity of your freshly made serum, transfer it into a dark glass dropper bottle. Opt for amber or cobalt blue hues, as these colors effectively shield the delicate Vitamin C from light, which is a primary factor in its rapid degradation. Since this homemade concoction lacks chemical preservatives, it is imperative to store the bottle in the refrigerator. This step is crucial for inhibiting the growth of mold and bacteria, ensuring the serum remains safe and effective. When it's time to use your serum, begin by cleansing your face thoroughly. Apply three to four drops of the serum, gently massaging it into your skin using upward strokes. Follow this with your preferred moisturizer to lock in the benefits. If you choose to apply the serum in the morning, it is absolutely essential to finish your skincare routine with a broad-spectrum sunscreen. Vitamin C can increase your skin's sensitivity to ultraviolet (UV) rays, and unprotected sun exposure will quickly neutralize the beneficial antioxidants present in the serum and on your skin.
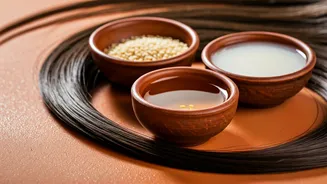
Essential Ingredients List
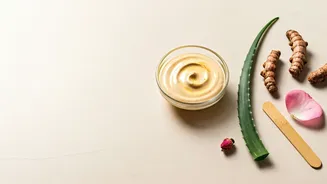
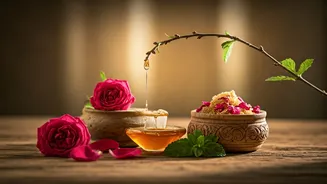
To begin crafting your rejuvenating orange peel serum, you will require just a few easily obtainable ingredients. First, gather two to three organic oranges. Choosing organic is highly recommended to avoid any potential residue from pesticides commonly used on conventional produce. Next, you'll need two tablespoons of rose water. If rose water is unavailable, distilled water can serve as an adequate substitute. Incorporate one tablespoon of pure aloe vera gel; this ingredient acts as a soothing and hydrating foundation for the serum. Add half a teaspoon of vegetable glycerin, a remarkable humectant that actively draws moisture into your skin. Finally, include two Vitamin E capsules to provide an extra antioxidant boost and help extend the serum's shelf life by delaying oxidation.
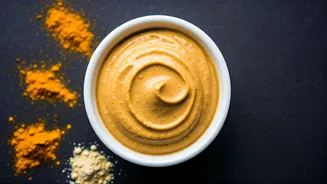
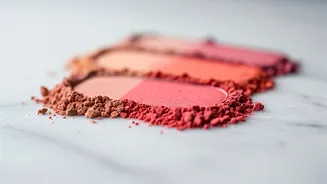
Peel Preparation & Powdering
Begin the process by meticulously washing your oranges to ensure they are thoroughly clean. Carefully peel the oranges, paying close attention to removing as much of the bitter white pith as possible, as this can impart an undesirable taste and texture. Once peeled, arrange the orange peels in a single layer on a tray. Allow them to air dry completely. You can achieve this by placing the tray in direct sunlight for several days. Alternatively, for a quicker method, you can bake the peels in your oven on the lowest possible temperature setting for one to two hours. After drying, break down the peels into a fine powder using a blender or food processor. It's essential to process them until they form a superfine dust. For an exceptionally smooth texture, pass the powder through a fine-mesh sieve to eliminate any remaining coarse or gritty particles that could affect the serum's feel on your skin.
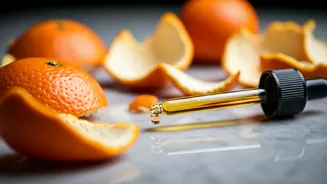
Extracting the Potency
With your finely ground orange peel powder ready, proceed to the extraction phase. Take a small bowl and add one tablespoon of your freshly prepared citrus powder. Combine this with approximately two tablespoons of rose water, stirring them together. Cover the bowl securely and let the mixture steep undisturbed for a period of four to six hours. This crucial resting time allows the water-soluble Vitamin C present in the orange peels to effectively infuse into the rose water. Once the steeping process is complete, strain the mixture through a piece of cheesecloth or a coffee filter, ensuring you gently squeeze out every last drop of the liquid extract. Discard the remaining orange peel pulp.
Mixing the Final Elixir
Now, take the infused orange liquid you've extracted and combine it with your aloe vera gel and vegetable glycerin in a clean bowl. Next, carefully pierce the Vitamin E capsules and squeeze their oil content into the mixture. Whisk all the ingredients together vigorously until they are thoroughly combined. Continue stirring until the aloe vera gel has completely dissolved and the mixture achieves a slightly cloudy appearance with a pleasant, gel-like consistency. This final step brings together all the beneficial ingredients, creating your potent, homemade anti-aging serum.