
Warm The Milk
The journey to crafting these delightful popsicles begins with warming the milk. Gentle heating is key here, ensuring it's not too hot, which can affect
the final texture. This initial step softens the milk, making it ready to accept other flavors and blend seamlessly. By warming the milk, you're essentially preparing the base for a creamy, smooth texture, setting the foundation for the subsequent steps. The temperature should reach warmness, not a simmer, ensuring the milk's integrity remains intact.
Mix Cocoa & Sugar
Next, blend cocoa powder and sugar. This step is about achieving the ideal balance of sweetness and the deep, rich chocolate flavor. The cocoa powder imparts the distinctive chocolate taste, while the sugar provides the sweetness necessary for a perfect popsicle. Ensure the cocoa powder and sugar are combined thoroughly, eliminating any lumps before adding them to the warm milk. This pre-mixing step ensures an even distribution of flavor throughout your popsicles, promising a harmonious blend in every bite. The ratio of sugar to cocoa is crucial, so adjust according to personal preference to get the ideal taste.
Combine With Milk
Now, incorporate the cocoa and sugar mixture into the warmed milk. Stir the mixture continuously to guarantee that the cocoa and sugar completely dissolve, resulting in a smooth consistency. This amalgamation lays the groundwork for a creamy, rich mixture that, once frozen, will transform into a delightful frozen treat. Be patient with this step; the key to achieving the perfect texture lies in thoroughly dissolving the solids, preventing grittiness in your final product. This mixing ensures a consistent chocolate flavor throughout the popsicles.
Melted Chocolate & Vanilla
Enhance the chocolate base by adding melted chocolate and a touch of vanilla. The melted chocolate intensifies the overall chocolate taste, while a dash of vanilla adds a subtle complexity, elevating the flavor profile. Ensure the chocolate is melted smoothly, and then blend it in with the other ingredients. The vanilla extract should be added in small amounts to prevent overpowering the other ingredients. These additions significantly improve the richness and depth of the chocolate popsicles, providing an enhanced flavor dimension. This combination is responsible for the final flavor of the popsicle.
Pour into Molds
Once the chocolate mixture is thoroughly prepared, it's time to pour it into popsicle molds. Use your preferred molds—be it classic shapes or fun designs. Pour the mixture carefully to prevent spills, ensuring each mold is adequately filled. This is where the fun begins—transforming the liquid concoction into individual popsicles. Careful pouring prevents air pockets, ensuring uniform freezing and a visually appealing end product. You can also insert popsicle sticks into the molds before placing them in the freezer. This step prepares the mixture for the upcoming freezing stage.
Freeze the Popsicles
Next, place the molds into the freezer. Allow sufficient time for the mixture to completely freeze solid. The freezing time will depend on your freezer’s temperature, but usually, it takes a few hours. It's critical to leave the popsicles undisturbed during freezing. This undisturbed freezing process is what allows the molecules to bind to give you the perfect texture. The patience involved in this step is crucial for the final product. Keep a close eye on the freezing time to be sure the popsicles have completely frozen; otherwise, they will be difficult to remove from their molds.
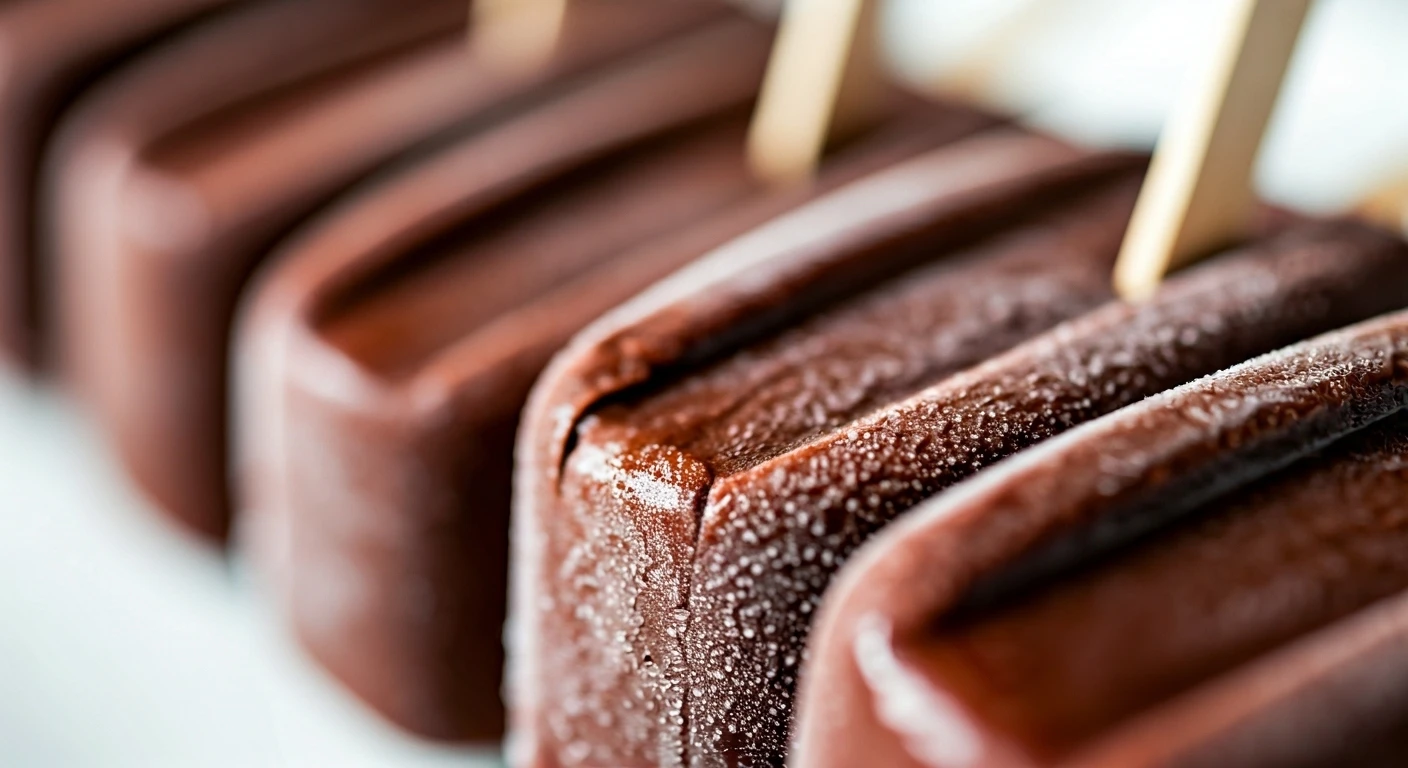
Unmold & Enjoy!
Finally, remove the frozen popsicles from their molds. Gently warm the molds under lukewarm water for a few seconds to help release the popsicles. Once they come free, you can enjoy your homemade chocolate popsicles. This is the reward for your effort, offering a perfect blend of flavors and a refreshing texture. The joy of the first bite of your popsicle makes this a great experience. Enjoy the fruits of your labor by relishing in the taste of the homemade chocolate popsicles.