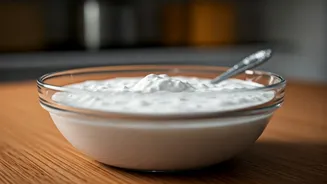


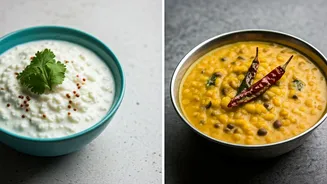
Why Homemade Curd?
Embracing homemade curd offers a healthier alternative to store-bought options, significantly cutting down on long-term health risks associated with preservatives
and artificial additives commonly found in commercial products. Beyond health benefits, crafting your own curd can be more economical than frequent purchases. It's a natural source of probiotics, vital for maintaining a healthy gut microbiome, aiding in digestion, and potentially easing discomfort for individuals with lactose intolerance. Furthermore, curd is a nutritional powerhouse, supplying essential proteins, calcium crucial for bone health, phosphorus, and a range of B-vitamins that contribute to overall well-being. By preparing it yourself, you gain complete control over the ingredients and quality, ensuring a fresh, wholesome product for daily consumption.
Method 1: Lemon Juice
For a reliably thick and slightly tangy curd, the lemon juice method is remarkably effective. Begin by taking one litre of whole milk and dividing it into three separate bowls for distinct preparations. In the first bowl, introduce the juice extracted from half a lemon. The inherent acidity of lemon juice acts as a natural catalyst, accelerating the fermentation process. This technique is lauded for yielding curd with an excellent consistency and a pleasant, mild tang, making it a great option for those who appreciate a bit of zest in their dahi.
Method 2: Green Chilli
The green chilli method presents another fascinating approach to cultivating homemade curd. In the second bowl of whole milk, add either one whole green chilli or one with its top portion neatly snipped off. This technique leverages the natural presence of lactobacillus bacteria on the surface of chillies. These beneficial bacteria are instrumental in the curd-making process, ensuring the milk sets effectively. While this method results in well-set curd, it's important to note that it might be slightly thinner in consistency compared to curd made with lemon juice. Reassuringly, the curd does not acquire a strong chilli flavour, making it palatable for most.
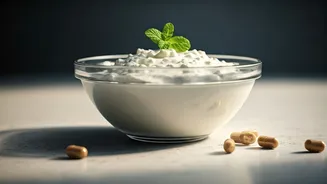
Method 3: Starter Culture
The most tried-and-tested method for consistent, perfect curd involves using a small amount of existing curd as a starter culture. In the third bowl of whole milk, incorporate approximately one spoonful of previously prepared, good-quality curd. This approach is widely considered the most dependable because the starter curd already contains active bacterial cultures, which are essential for initiating and maintaining the fermentation required to transform milk into curd. The result is curd with a familiar, classic taste and a desirable, firm texture, making it a go-to for many home cooks.
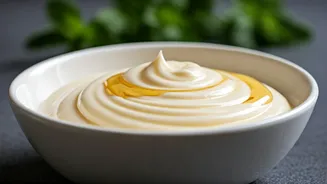
Achieving Ultimate Thickness
To elevate your homemade curd to an exceptional level of thickness and firmness, several key steps are recommended. Start by boiling one litre of whole milk and then allowing it to simmer on low heat until it has noticeably reduced and thickened. Crucially, let the thickened milk cool down to a lukewarm temperature – it should not be completely cold nor scalding hot. Next, vigorously froth the milk by pouring it back and forth between two containers multiple times; this aeration is vital. Once frothed, gently incorporate your chosen curd culture (a teaspoon to a tablespoon is usually sufficient) and stir lightly. Transfer this mixture to a thick-bottomed bowl, a casserole, or an earthen vessel. Cover it securely with a lid and let it set in a warm environment for approximately 5 to 8 hours, or overnight, depending on the ambient temperature. Promptly refrigerate the curd once it has set to maintain its consistency.
Essential Do's and Don'ts
For optimal curd consistency, always opt for whole milk, as it contributes to a richer, thicker final product. Simmering the milk for an additional 10 minutes after boiling can further enhance thickness, but be vigilant to prevent it from scorching. Ensure your starter curd is fresh and of good quality, bringing it to room temperature before adding it to the milk. Thoroughly whisk the starter culture into the milk to ensure uniform distribution, preventing lumps and ensuring even fermentation. Avoid using sour starter curd, as this will inevitably lead to sour final dahi. Earthenware pots are highly recommended for setting curd, as they offer excellent insulation. In colder climates, extending the setting time or placing the curd in a warm oven or wrapped in warm sweaters can aid the process. Remember that milk quality significantly impacts curd consistency; expect variations, and don't be discouraged if initial attempts aren't perfect – practice makes perfect!