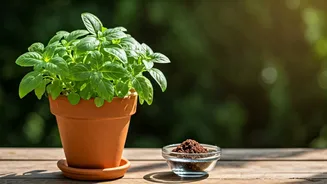


Warming Soil Temperatures
The allure of warm spring days often tempts gardeners to sow seeds and plant seedlings prematurely. However, the success of germination and transplant
establishment hinges on achieving specific soil temperatures. For most seeds, including those for cool-season vegetables like lettuce and peas, an optimal soil temperature of 50°F is essential. Transplanting cool-weather crops such as cabbage and broccoli is best when the soil ranges between 50°F and 65°F, while heat-loving plants like tomatoes and peppers require a warmer ground, ideally around 70°F. The most reliable way to gauge this is by using a soil thermometer, preferably a digital or instant-read probe. Take readings in the early morning, before the sun heats the soil surface, to get the coolest, most accurate representation of the day. Insert the probe 2 to 4 inches deep in areas without vegetation and repeat tests in spots with varying sun exposure. Beyond temperature readings, observe the natural world. The presence of earthworms, ground beetles, ants, and spiders indicates that soil life is becoming active, a sure sign that the ground is waking up from its winter slumber. Dark, moist, bare soil warms faster than dry soil or areas covered by mulch, cover crops, or weeds because water absorbs and retains heat more effectively. Clearing away debris and weeds not only helps the soil warm up quicker but also reduces the chance of overwintering pests and weeds emerging. For an accelerated warming effect, consider solarization by covering cleared soil with thin, clear plastic sheeting, which traps solar radiation to heat the ground several inches down while minimizing moisture loss.
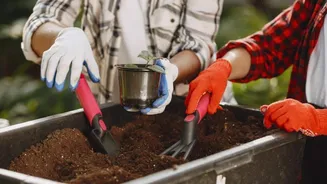
Assessing Soil Moisture
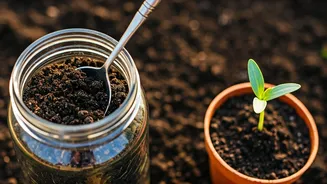
Adequate soil moisture is paramount for plant life, but too much water can be just as detrimental as too little, especially when it comes to preparing the soil for cultivation. Working wet soil, whether by tilling or rotototilling, can lead to severe compaction. This dense, heavy soil structure hinders root development and suffocates beneficial soil microorganisms. Obvious signs of waterlogged conditions include standing water on the surface, footprints that fill with water, or deep imprints that don't quickly dissipate. Even if the surface appears dry, it's crucial to check moisture levels deeper down. A simple yet effective method is the 'ball test.' Dig down about 4 to 6 inches in the area you plan to plant. Collect a handful of soil from this depth and form it into a compact ball. Gently try to break the ball apart. If it crumbles easily, the soil has reached an ideal moisture level for working. Conversely, if the soil remains sticky, slick, or is hard and resistant to breaking, it indicates that the area needs more time to dry out. For more precise measurements, moisture meters are valuable tools that can accurately assess water content at various depths, with some models also providing temperature and humidity readings. Incorporating organic matter, such as compost, shredded bark, or straw, into your soil significantly improves drainage, preventing oversaturation and speeding up the drying process, making your soil ready for planting sooner.
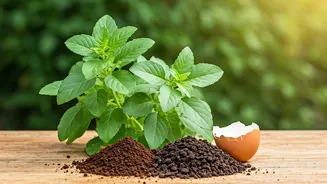
Understanding Soil Texture
The physical composition of your soil, its texture, plays a critical role in its ability to support healthy plant growth. The ideal soil for most gardens is a nutrient-rich loam with a pH level that is neutral to slightly acidic. Maintaining this ideal balance can be challenging due to various factors. Chemical treatments like fertilizers, pesticides, and herbicides, along with the repeated use of heavy machinery and significant foot traffic, can create a compacted layer known as hardpan beneath the topsoil. This dense stratum resembles concrete, exhibiting poor drainage, limited aeration, and an often unfavorable pH, which severely restricts root penetration and overall plant vitality. Before planting, it's essential to assess your soil's texture and pH to make necessary adjustments. Simple home tests can provide basic pH information, or for a comprehensive analysis, including nutrient deficiencies, consider sending a soil sample to your local extension office. They can offer tailored advice and solutions for improvement. The 'ribbon test' is an accessible way to gauge soil texture. After digging 4 to 6 inches deep and collecting a handful of soil, form it into a ball. Then, gently squeeze a ribbon of soil between your thumb and forefinger. The length of this ribbon offers insights into the soil's composition. Clay-rich soils will yield a ribbon of 2 inches or longer. Loamy soils will form a ribbon about an inch long before breaking. Sandy soils tend to break apart easily and may not form a ribbon or even a stable ball. Regularly enriching your soil with organic materials, such as aged manure or compost, is fundamental. Applying a 2 to 4-inch layer of these amendments annually on the soil surface, and then tilling them in once the soil is dry enough, replenishes nutrients, enhances soil structure, and helps maintain the optimal pH for robust plant development, ensuring your garden is truly ready when planting season arrives.