


Assess Your Needs
Before diving into any hair treatment, a thorough assessment of your hair's condition is crucial. Different hair types have unique needs. For example,
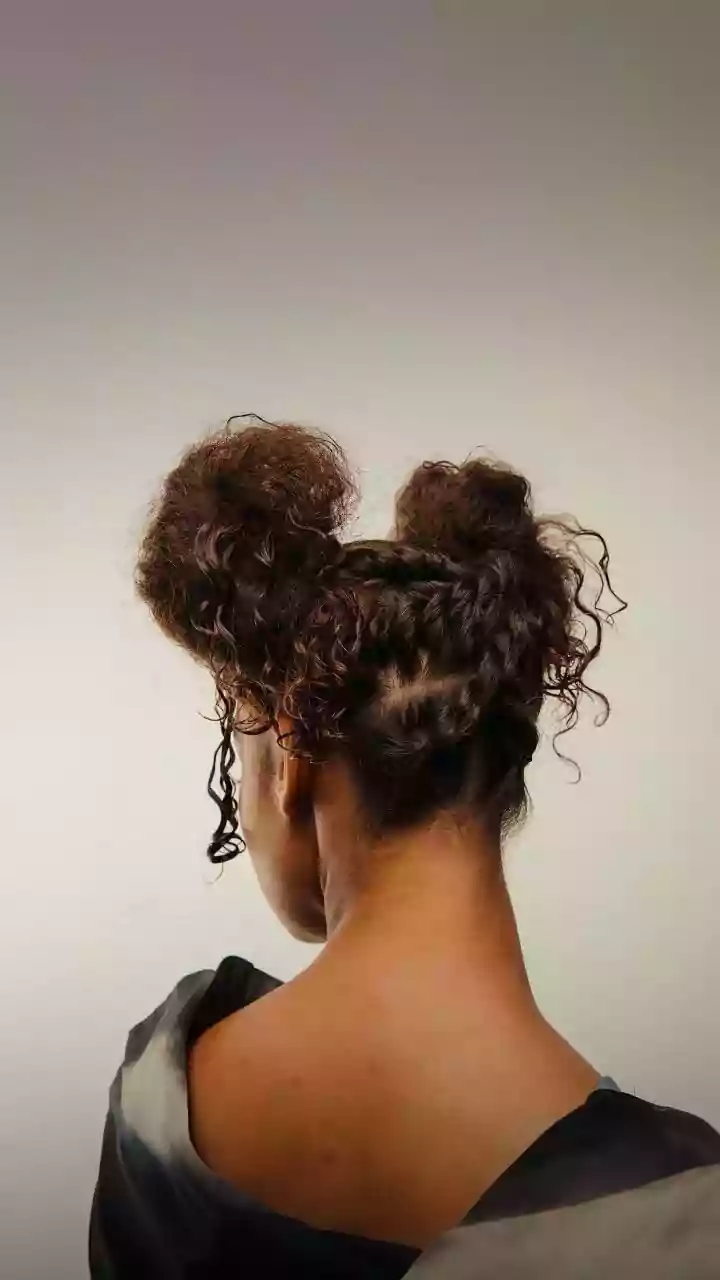
dry hair benefits from deep conditioning and moisturizing treatments, while oily hair thrives on clarifying masks to remove excess oil. Examine your hair closely. Look for signs of damage, such as split ends, breakage, or dullness. Also, consider any specific concerns like dandruff, frizz, or lack of volume. Understanding your hair's specific requirements allows you to tailor your DIY spa treatments for maximum impact. This targeted approach ensures that the treatments you choose are effective and beneficial. Knowing your hair type – whether it's fine, thick, straight, curly, or a combination – also influences the products and techniques you'll use. For instance, fine hair may benefit from lightweight products that don't weigh it down, while thick hair might need richer formulations for adequate hydration.
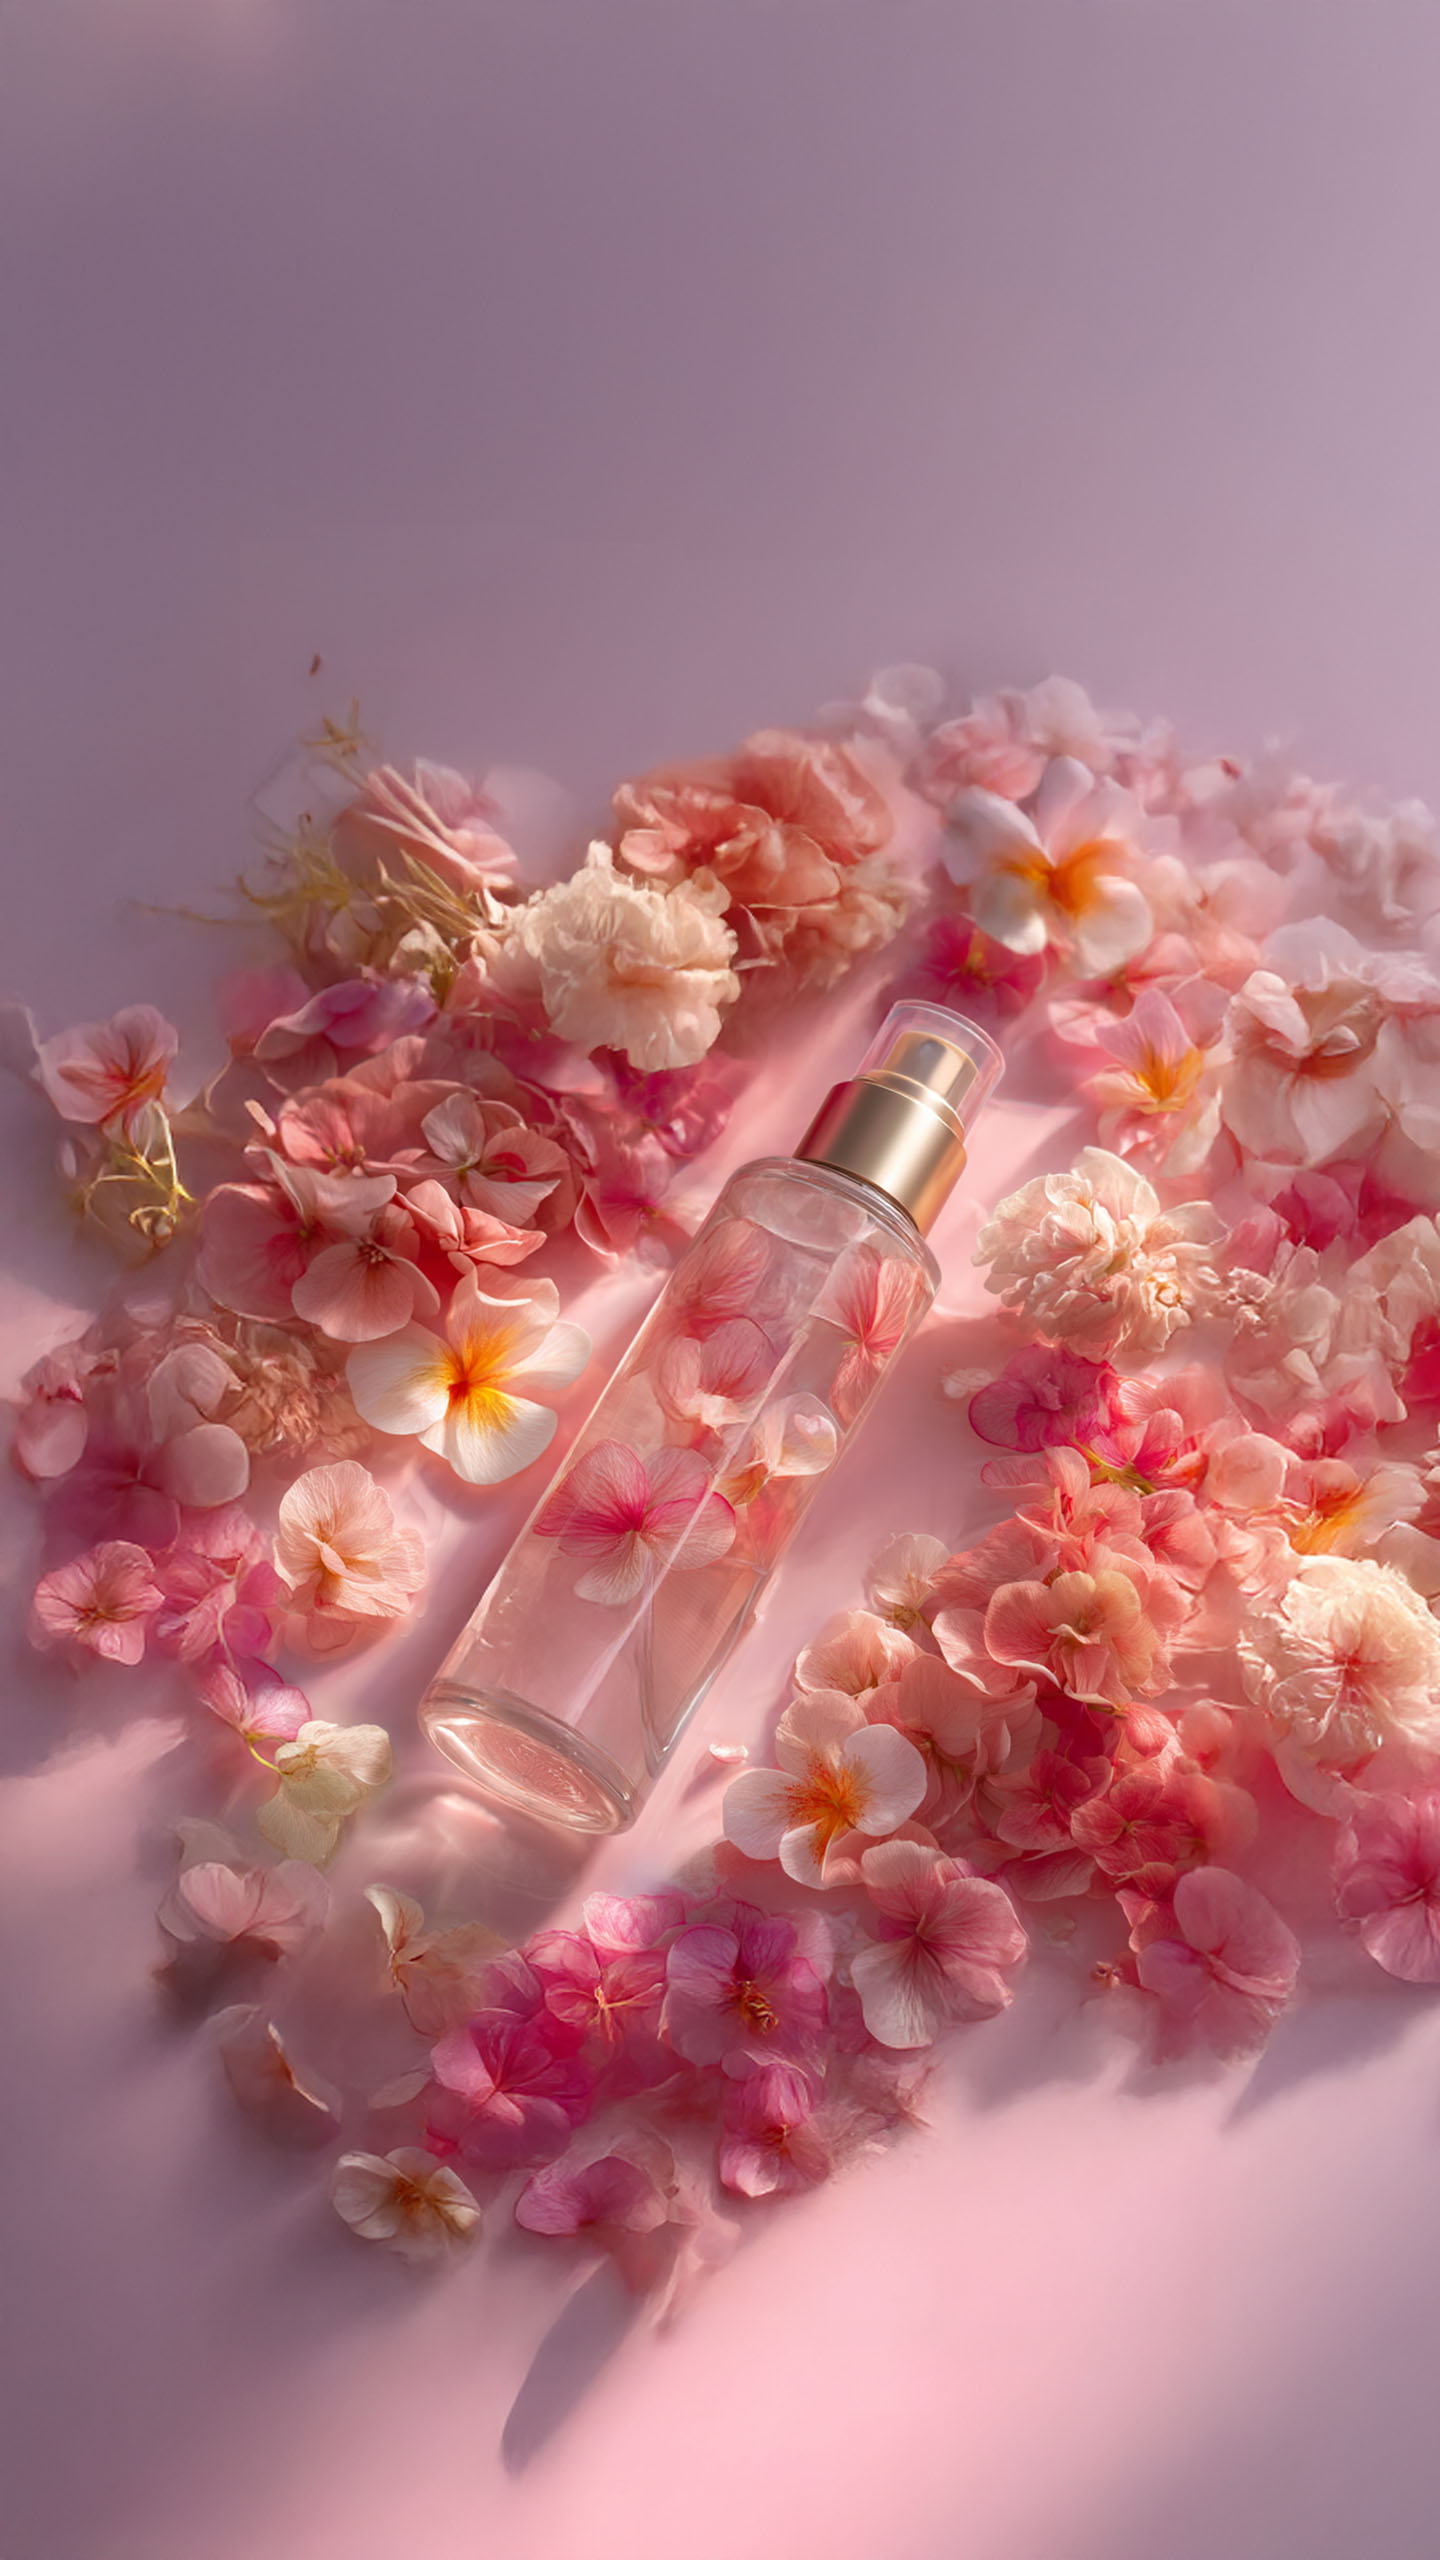
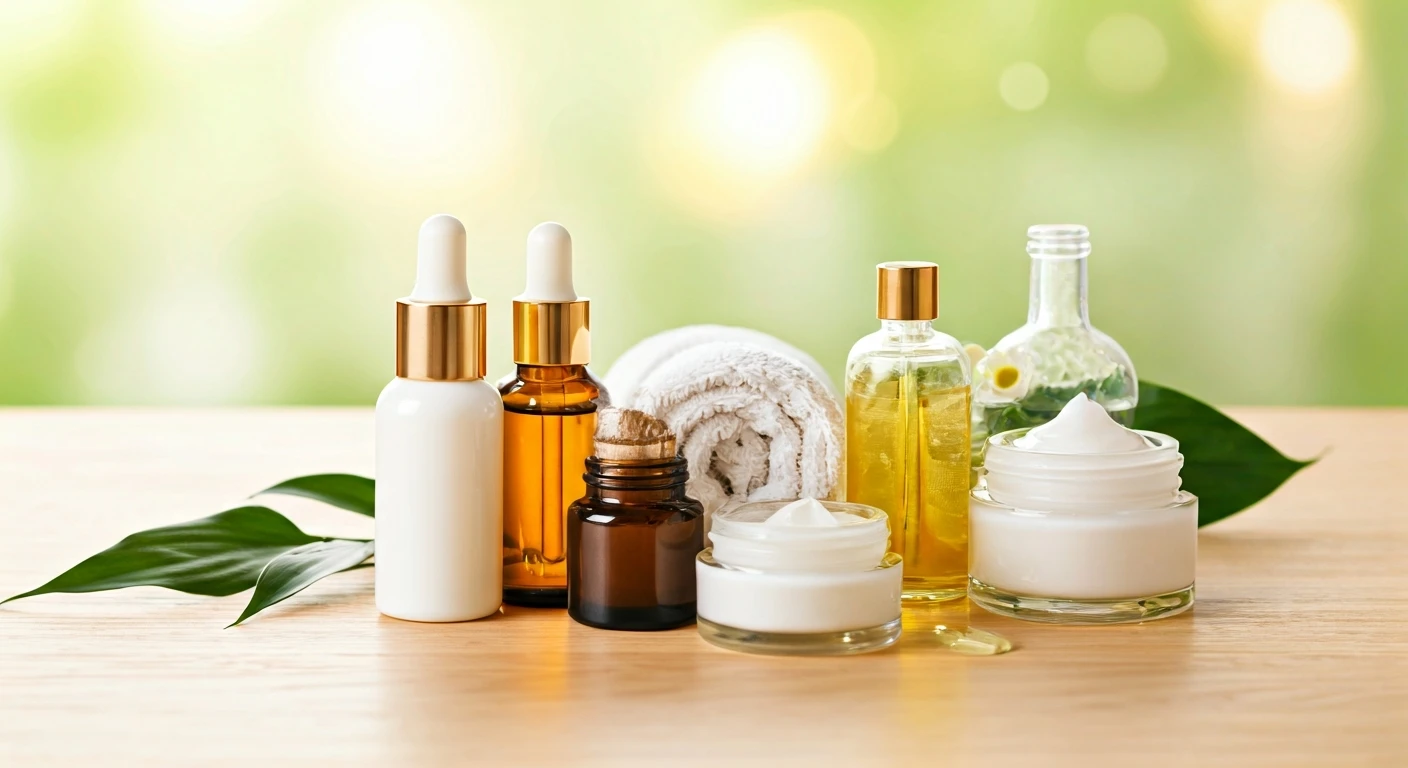
Choosing Right Products
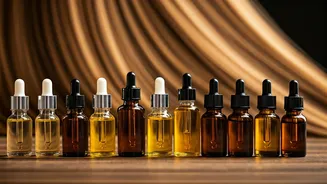
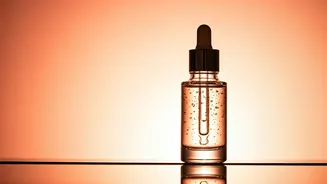
Selecting the appropriate products is key to successful at-home hair spa treatments. You don’t need to spend a fortune; many effective options are readily available and affordable. Start by identifying the ingredients that address your specific hair needs. For hydration, look for products containing ingredients like argan oil, coconut oil, or shea butter. For strengthening, consider those with keratin or protein. Always opt for products that are free of sulfates and parabens, as these can strip the hair of its natural oils, leading to dryness and damage. Natural and organic options can be particularly beneficial, as they often contain fewer harsh chemicals. Also, consider the products' purpose: a deep conditioner for hydration, a clarifying shampoo for removing buildup, or a hair mask for targeted treatment. Read reviews and consider what others with similar hair types have found effective. It’s also wise to patch-test new products to check for allergic reactions or sensitivities before applying them to your entire head of hair. Careful selection will maximize the effectiveness of your DIY spa treatments.
DIY Hair Masks
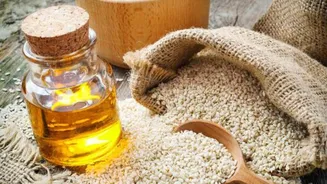
Creating your own hair masks allows you to customize treatments and avoid unnecessary additives. There are several DIY hair mask recipes for different hair concerns. For dry and damaged hair, mix equal parts of coconut oil and honey. Apply this mixture from roots to tips, leave it on for 30 minutes, and then rinse thoroughly. For a protein treatment, combine an egg with olive oil and a few drops of lemon juice. This helps strengthen hair. If you have oily hair, a clay mask made with bentonite clay, apple cider vinegar, and water can help absorb excess oil. Always perform a patch test on a small area of your scalp. After applying the mask, wrap your hair in a warm towel to enhance absorption. Allow the mask to sit for the recommended time before rinsing it off with lukewarm water. By making your own masks, you can control the ingredients and address your hair's unique requirements with natural, cost-effective solutions.
Steam Your Hair
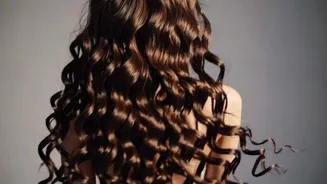
Steam treatments open the hair cuticles, allowing for better absorption of products, enhancing their effectiveness. This process is very easy to do at home. After applying a hair mask or deep conditioner, wrap your hair in a warm, damp towel or use a hair steamer if you have one. Steam helps the treatment penetrate deeply into the hair shaft, providing intense hydration and repair. If you don't have a steamer, simply soak a towel in hot water and wring it out, then wrap it around your hair. Allow it to sit for 15-20 minutes, re-wetting the towel as needed. The warmth encourages the cuticles to open, allowing the beneficial ingredients in your mask or conditioner to work more effectively. Steaming improves the hair's elasticity and softness. Once the steaming process is complete, rinse your hair with cool water to seal the cuticles, trapping moisture and nutrients inside. This simple step can significantly improve your hair's health and appearance, making it shinier, softer, and more manageable.
Rinsing and Washing
The washing and rinsing stages are crucial for a complete at-home spa experience. When washing your hair, use lukewarm water, as hot water can strip the hair of its natural oils, leading to dryness. Choose a gentle, sulfate-free shampoo to avoid harsh chemicals. Focus on massaging the scalp to stimulate circulation and promote healthy hair growth. Rinse thoroughly to ensure that all shampoo residue is removed. After shampooing, apply a conditioner or hair mask. Leave it on for the recommended time to allow it to work its magic. Rinse thoroughly with cool water to seal the hair cuticles, which helps to lock in moisture and add shine. Avoid rubbing your hair vigorously with a towel. Instead, gently pat it dry or use a microfiber towel to minimize breakage. Detangle your hair with a wide-tooth comb while it’s still damp. This prevents breakage and distributes products evenly.
Post-Spa Hair Care
Maintaining healthy hair after your DIY spa treatment involves adopting a few simple yet effective practices. Protect your hair from heat by minimizing the use of heat-styling tools like hair dryers, straighteners, and curling irons. When you do use them, apply a heat protectant spray beforehand. Nourish your hair by regularly using leave-in conditioners or serums. These products help to keep your hair moisturized and protected from environmental damage. Consider incorporating hair oil, such as argan or coconut oil, into your routine to add shine, reduce frizz, and provide additional hydration. Eat a balanced diet rich in vitamins and minerals, as nutrition plays a crucial role in hair health. Drink plenty of water to keep your hair hydrated from within. Trim your hair regularly to remove split ends and maintain its overall health. Lastly, be patient, as consistent care will lead to noticeable improvements in your hair's health and appearance over time. Following these steps ensures your hair remains healthy and vibrant.